We’ve been moving Sam away from nap time the past few weeks because his nighttime sleep was getting pretty crazy. He gets quiet time in his room instead of naps, which he is growing to like more and more. No naps in the afternoon can make for long days though. I recently whipped up this little activity for him to try out just to break up one particularly long afternoon.
Ok. So I have to admit that I actually did this project with Sam well over six months ago, back when he was a toddler. Somehow I didn’t get around to posting about it until now. Go figure.
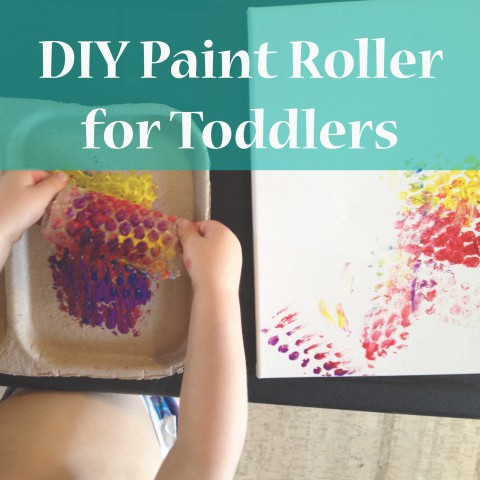
This is a simple project for you to make when your creative time with the kiddos needs a little refreshing. Sam was getting bored with the typical paint options, so I put together his own little paint roller to add some fun.
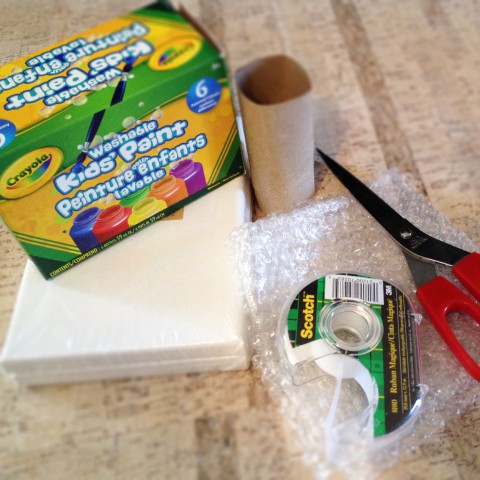
Here are the supplies you will need for this project:
empty toilet paper roll
bubble wrap
scissors
tape
paint tray (we have cardboard trays that I saved from something, but use whatever you prefer, as long as it is wide enough for the the toilet paper roll)
canvas (or paper depending on what you want to paint on)
washable kids’ paint
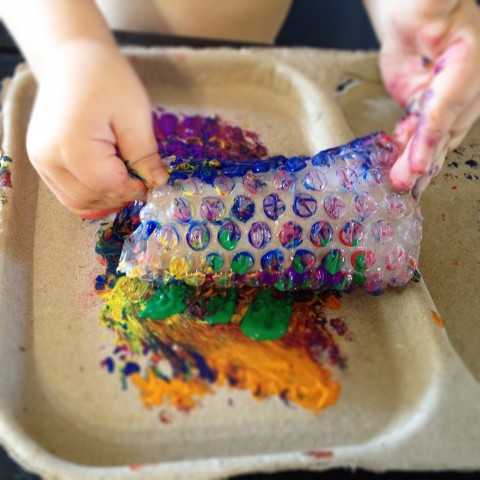
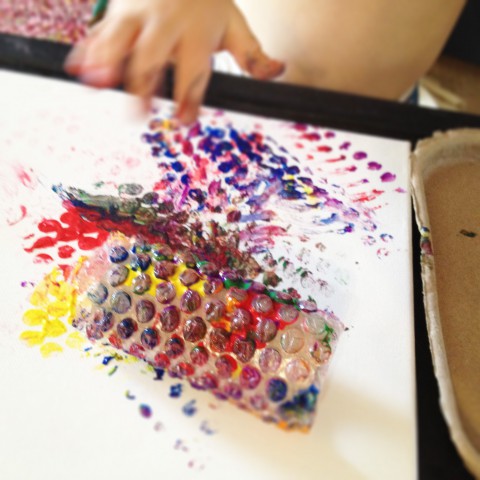
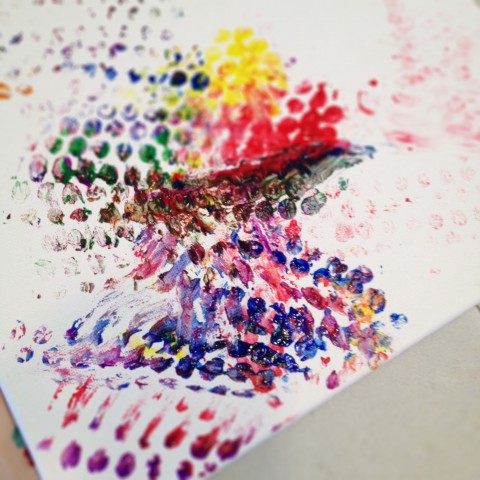
Simply cut a piece of bubble wrap large enough to wrap around the toilet paper roll. Fold a couple pieces of tape under the edge of the bubble wrap to secure into place. Using your paint tray, pour in your child’s choice of paint colours {Sam wanted every colour}.Once the paint is in the tray, it’s time to play. Have your child experiment with placing the paint roller in the tray to “pick up” different colours. When there is paint on the roller, have them try rolling it across their canvas.The bubble wrap roller creates very interesting textures. Your child might like rolling it across the whole length of the canvas, or they might enjoy using it more like a stamp. Let them explore with it.TIP: If colours start to get too muddy on the roller, simply give it a quick rinse and start over. Sam also enjoyed using some of his previously painted canvases and rolling new colours on them. They are some of my favorite paintings now.
After thoughts:
The toilet paper rolls are a nice size for the little ones to use, but you could also try empty paper towel rolls. And of course, I hope the the bubble wrap is inspiration for you to try other materials too. It’s fun for them to see what textures different things create. Here are some other DIY Paint Roller techniques to consider:
glue leaves (or other natural objects) onto an empty toilet paper roll
glue buttons onto an empty toilet paper roll (just thought of this one & really want to give it a try)
Also, just a note to mention, that at the same time I was writing this post, my friend Kerri was experimenting with bubble wrap painting on FABRIC!! You can see the results of her project on her newly started blog Soham Design.
I’ve been thinking about past art projects, in particular, mail art. Years ago, when hubby and I lived in B.C., we started a postcard exchange with several of our friends from art school. It was a really fun way to keep in touch with each other and I loved receiving random surprises of wonderful artwork in the mail. I kept all the postcards that we received, with the intention of displaying them somehow as a larger piece of art. Sadly, they are still just sitting in a shoebox, untouched, but not quite forgotten. One day perhaps…
V for Vest
Back in those days, I was horrible at documenting everything, so very few of the postcards that I made were properly scanned before I mailed them on their merry way. I thought I’d share a small sample of ones I made for an Alphabet series (you’re probably not that surprised to discover that I’m the type of person who likes to make art in a series). Each postcard was a different letter of the alphabet (and I really did manage make it through the whole alphabet, although don’t ask me what I did for the letter X). Of course there was a theme to the whole thing… fashion. The definition of each word represented was written on the back of the postcard.
Back of postcard for letter G
All of the postcards were made on inexpensive card stock, using water colour paints, rubber stamps, and graphite pencil. The first step was to lay a light wash of water colour in a fairly random pattern. Once dry, I would make my sketches in simple pencil and then go back in with the water colour to bring out certain areas. Then I would begin creating textures and patterns with rubber stamps & ink. Finally, I would bring out particular details of the drawing and patterns by filling them in with graphite pencils. It all involved just a lot of experimenting with layers and colours.
I really don’t get much of a chance to do any mail art these days, but sometimes I get the hankering to. I started a Pinterest board quite some time ago, dedicated to inspirational mail art. With close friends moving across the country and our inevitable move out to the farm in a few years, I’m thinking that we might have to resurrect the postcard exchange real soon. Besides, think of all the great stuff that Sam could start making into postcards. Fun times and exciting mail await us…
Mentioned briefly last week that I have been enjoying some simple creativity with coloring books. Here are a couple of pages I’ve been working on. And yes, those are buttons.
A friend gave me a copy of My Wonderful World of Fashion by Nina Chakrabarti. Best coloring book EVER! So much fun! Page after page of coloring goodness and design activities. Any fashion book that devotes space to buttons easily wins a place in my heart! With a limited amount of creative time, the coloring book has been a nice way to do a little something without too much commitment. I can stop as soon as baby boy requires my attention. Not a ton to clean up and I can keep it nearby on the coffee table to pick up whenever I have a spare (right) hand. Tried coloring with my left hand, but I’m just not ambidextrous enough. The coloring book is starting to fill the need I have had lately of keeping a sketchbook and doing more artwork. Little steps, as usual.
I’m not quite ambitious enough to say that I’ll share a weekly “Doodle Days” post, but there will definitely be the occasional post about it.
PS – Nina Chakrabarti has two other coloring book titles that I might need to check out, My Even More Wonderful Book of Fashion and My Wonderful World of Shoes. Now if there was just an entire book of buttons…