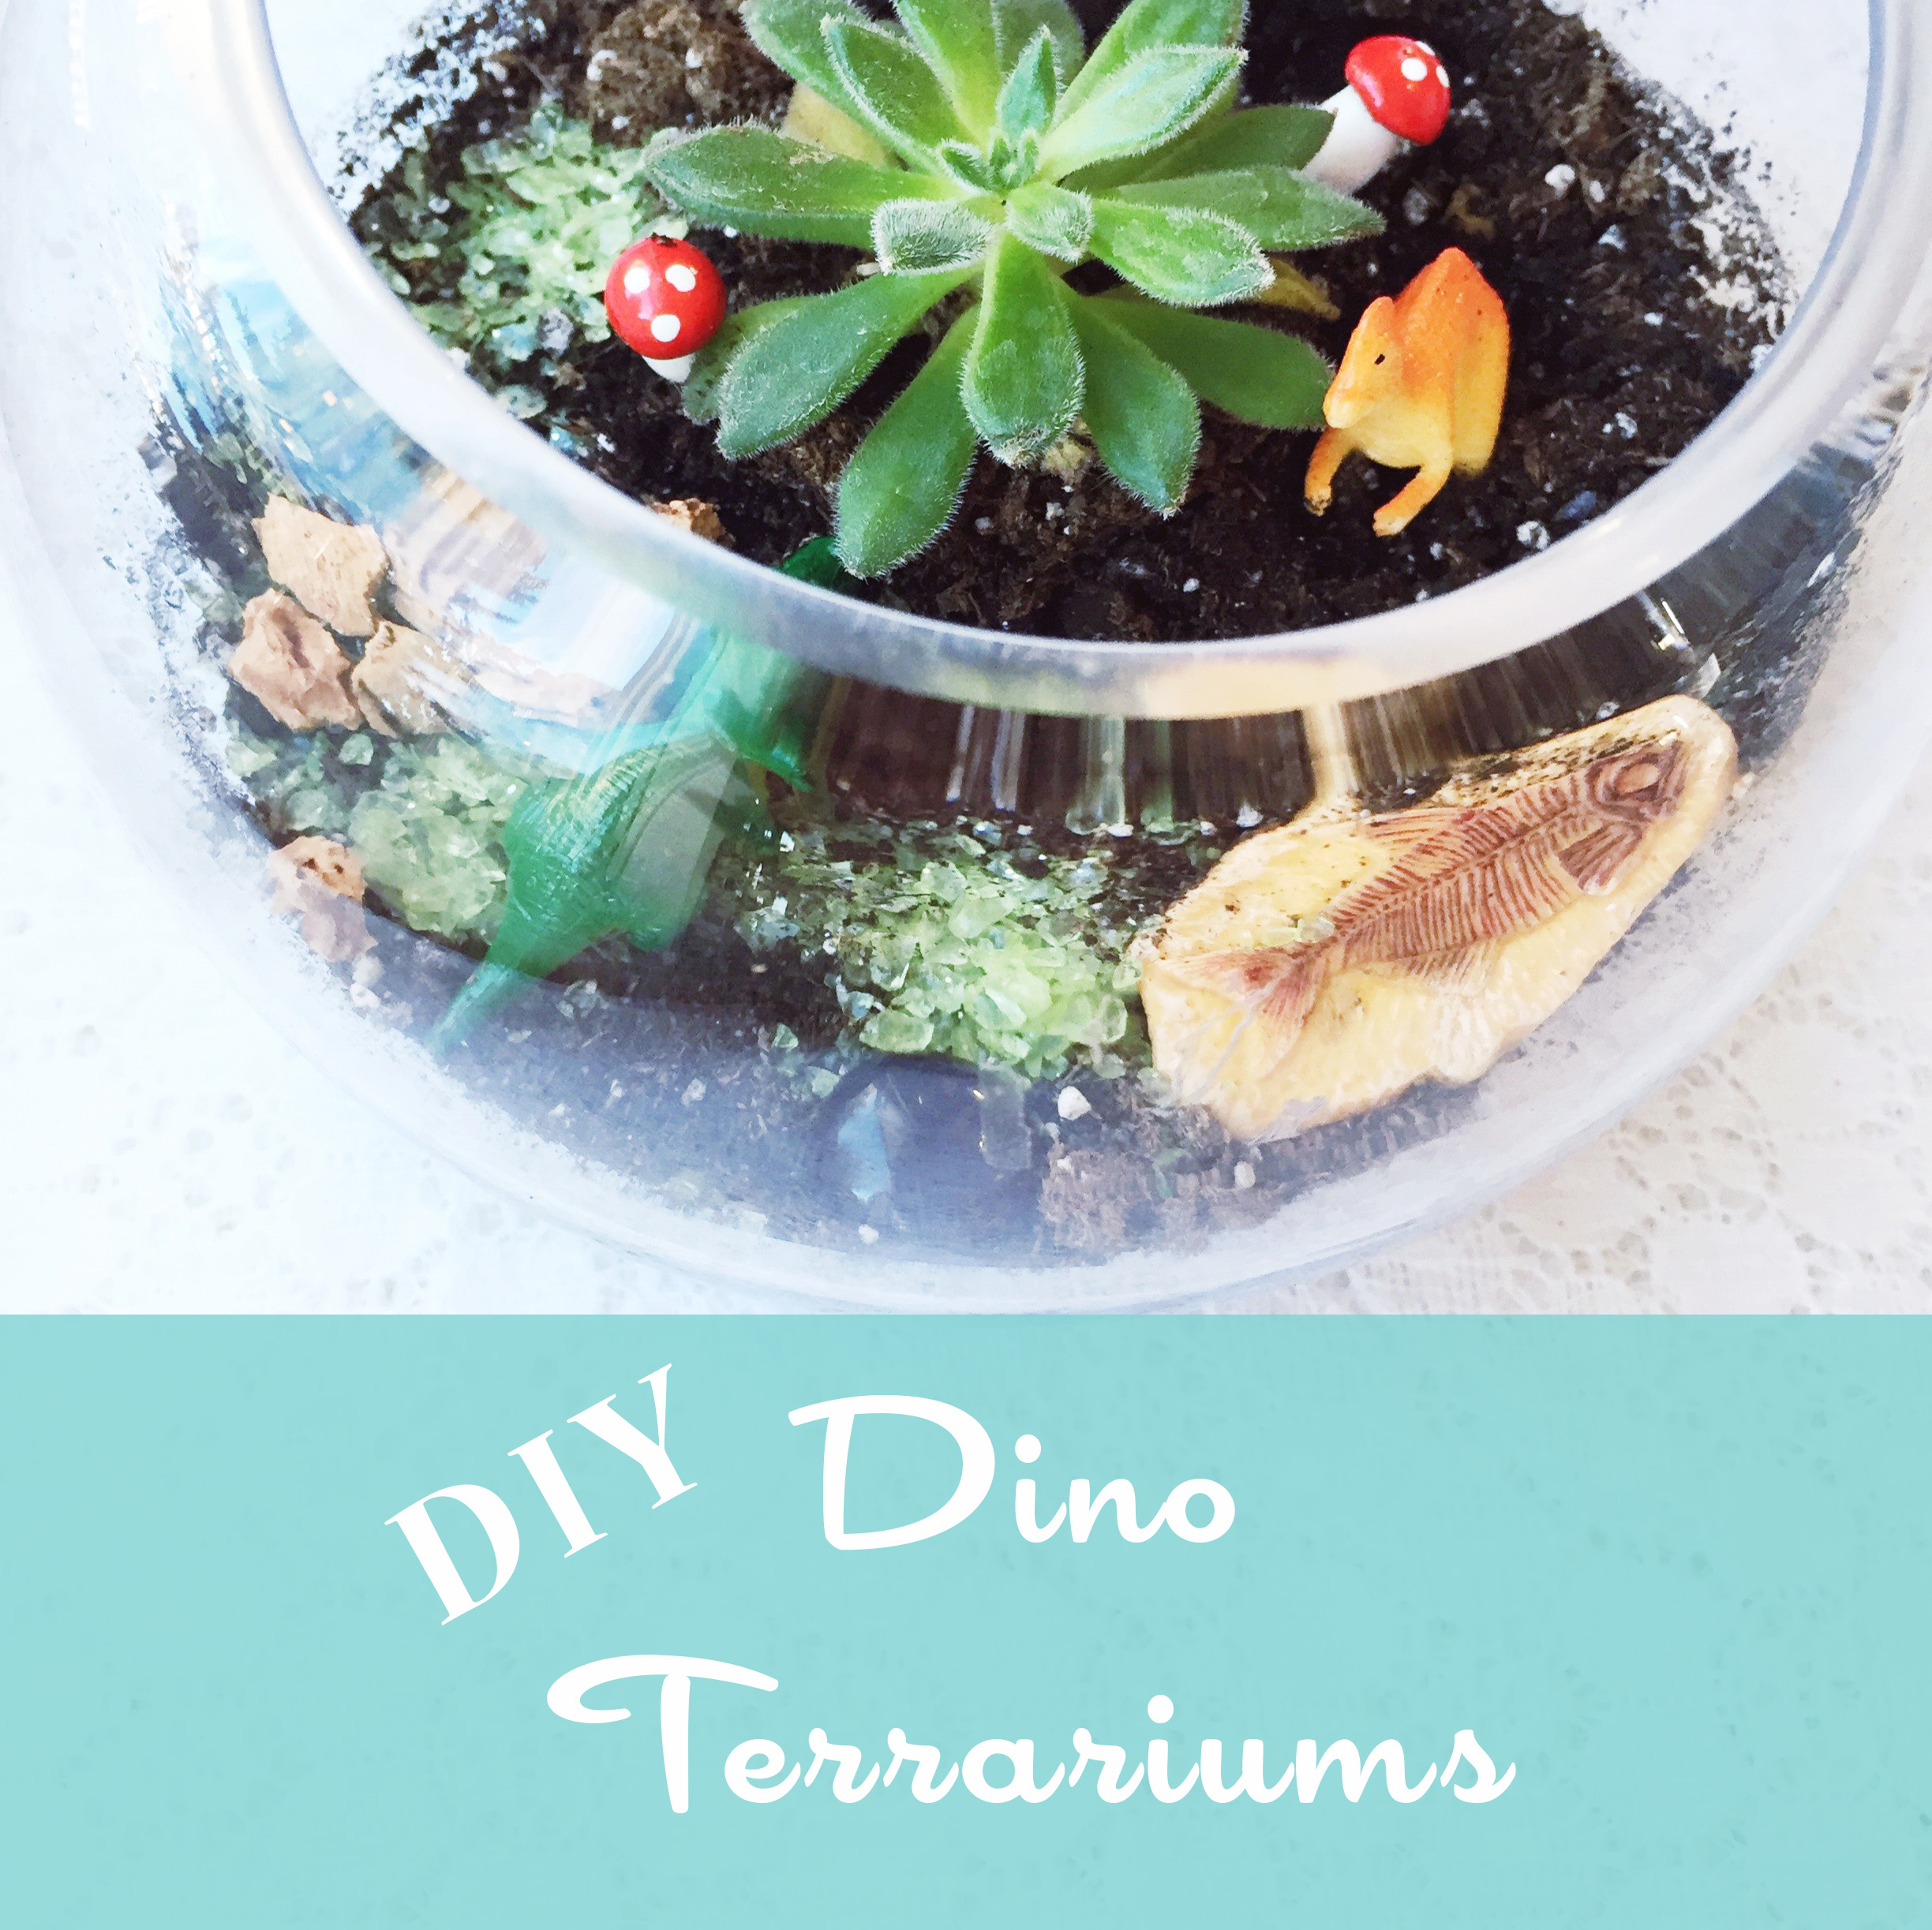
This was the second year in a row that Sam requested a Dino themed birthday party and when you’re kiddo is turning FIVE, you smile & embrace all the fun! Which for me, means diving into all the Dino Pinterest projects I’m constantly pinning.
I grew up in the age of birthday favors, but struggle a bit with them now as a mama. In the past, it has just been candy. This year, I really wanted something the kiddos could keep & enjoy. From that the Dino Terrariums started to take shape. I opted for spending more money on the favors, but made them serve dual duty as a party craft too.
Here’s a basic list of the items you’ll need {for any type of succulent terrarium}. We found many of these supplies at our local, specialty terrarium shop Plant:
- Glass container {any shape or size that you feel works}
- Small, pea-sized pebbles
- Activated charcoal
- Succulent soil
- Potting soil
- Small succulent
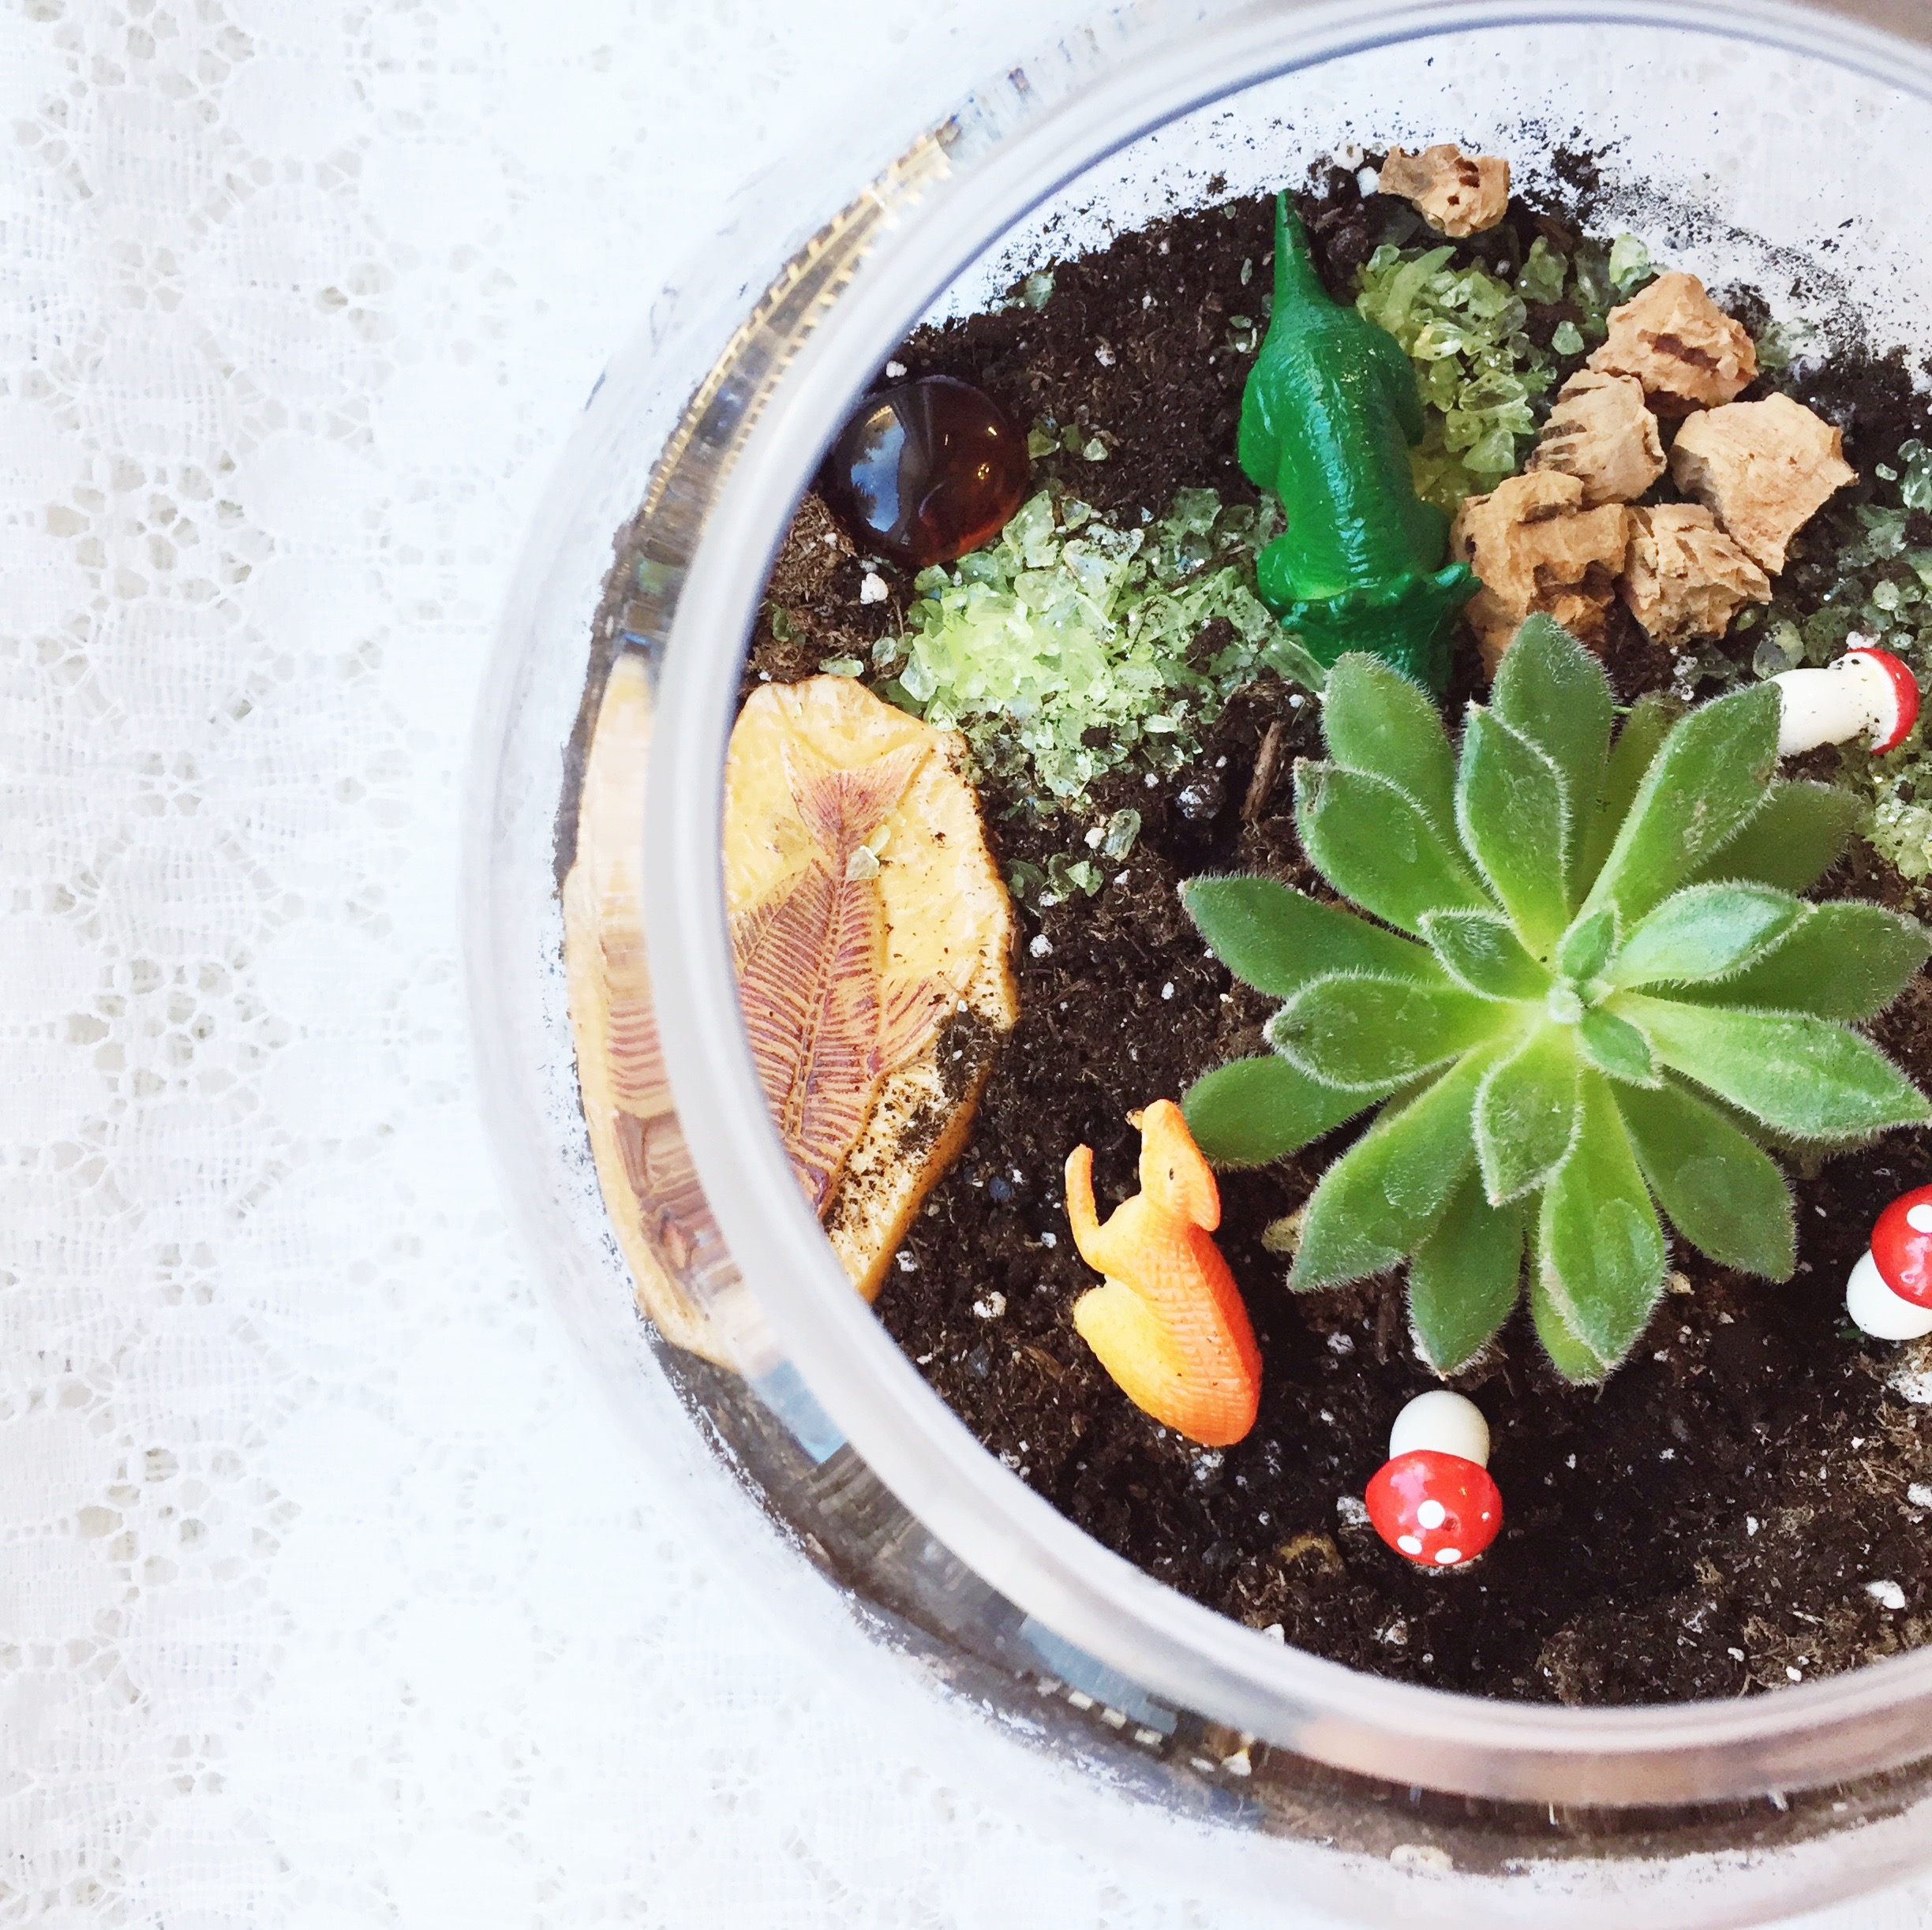
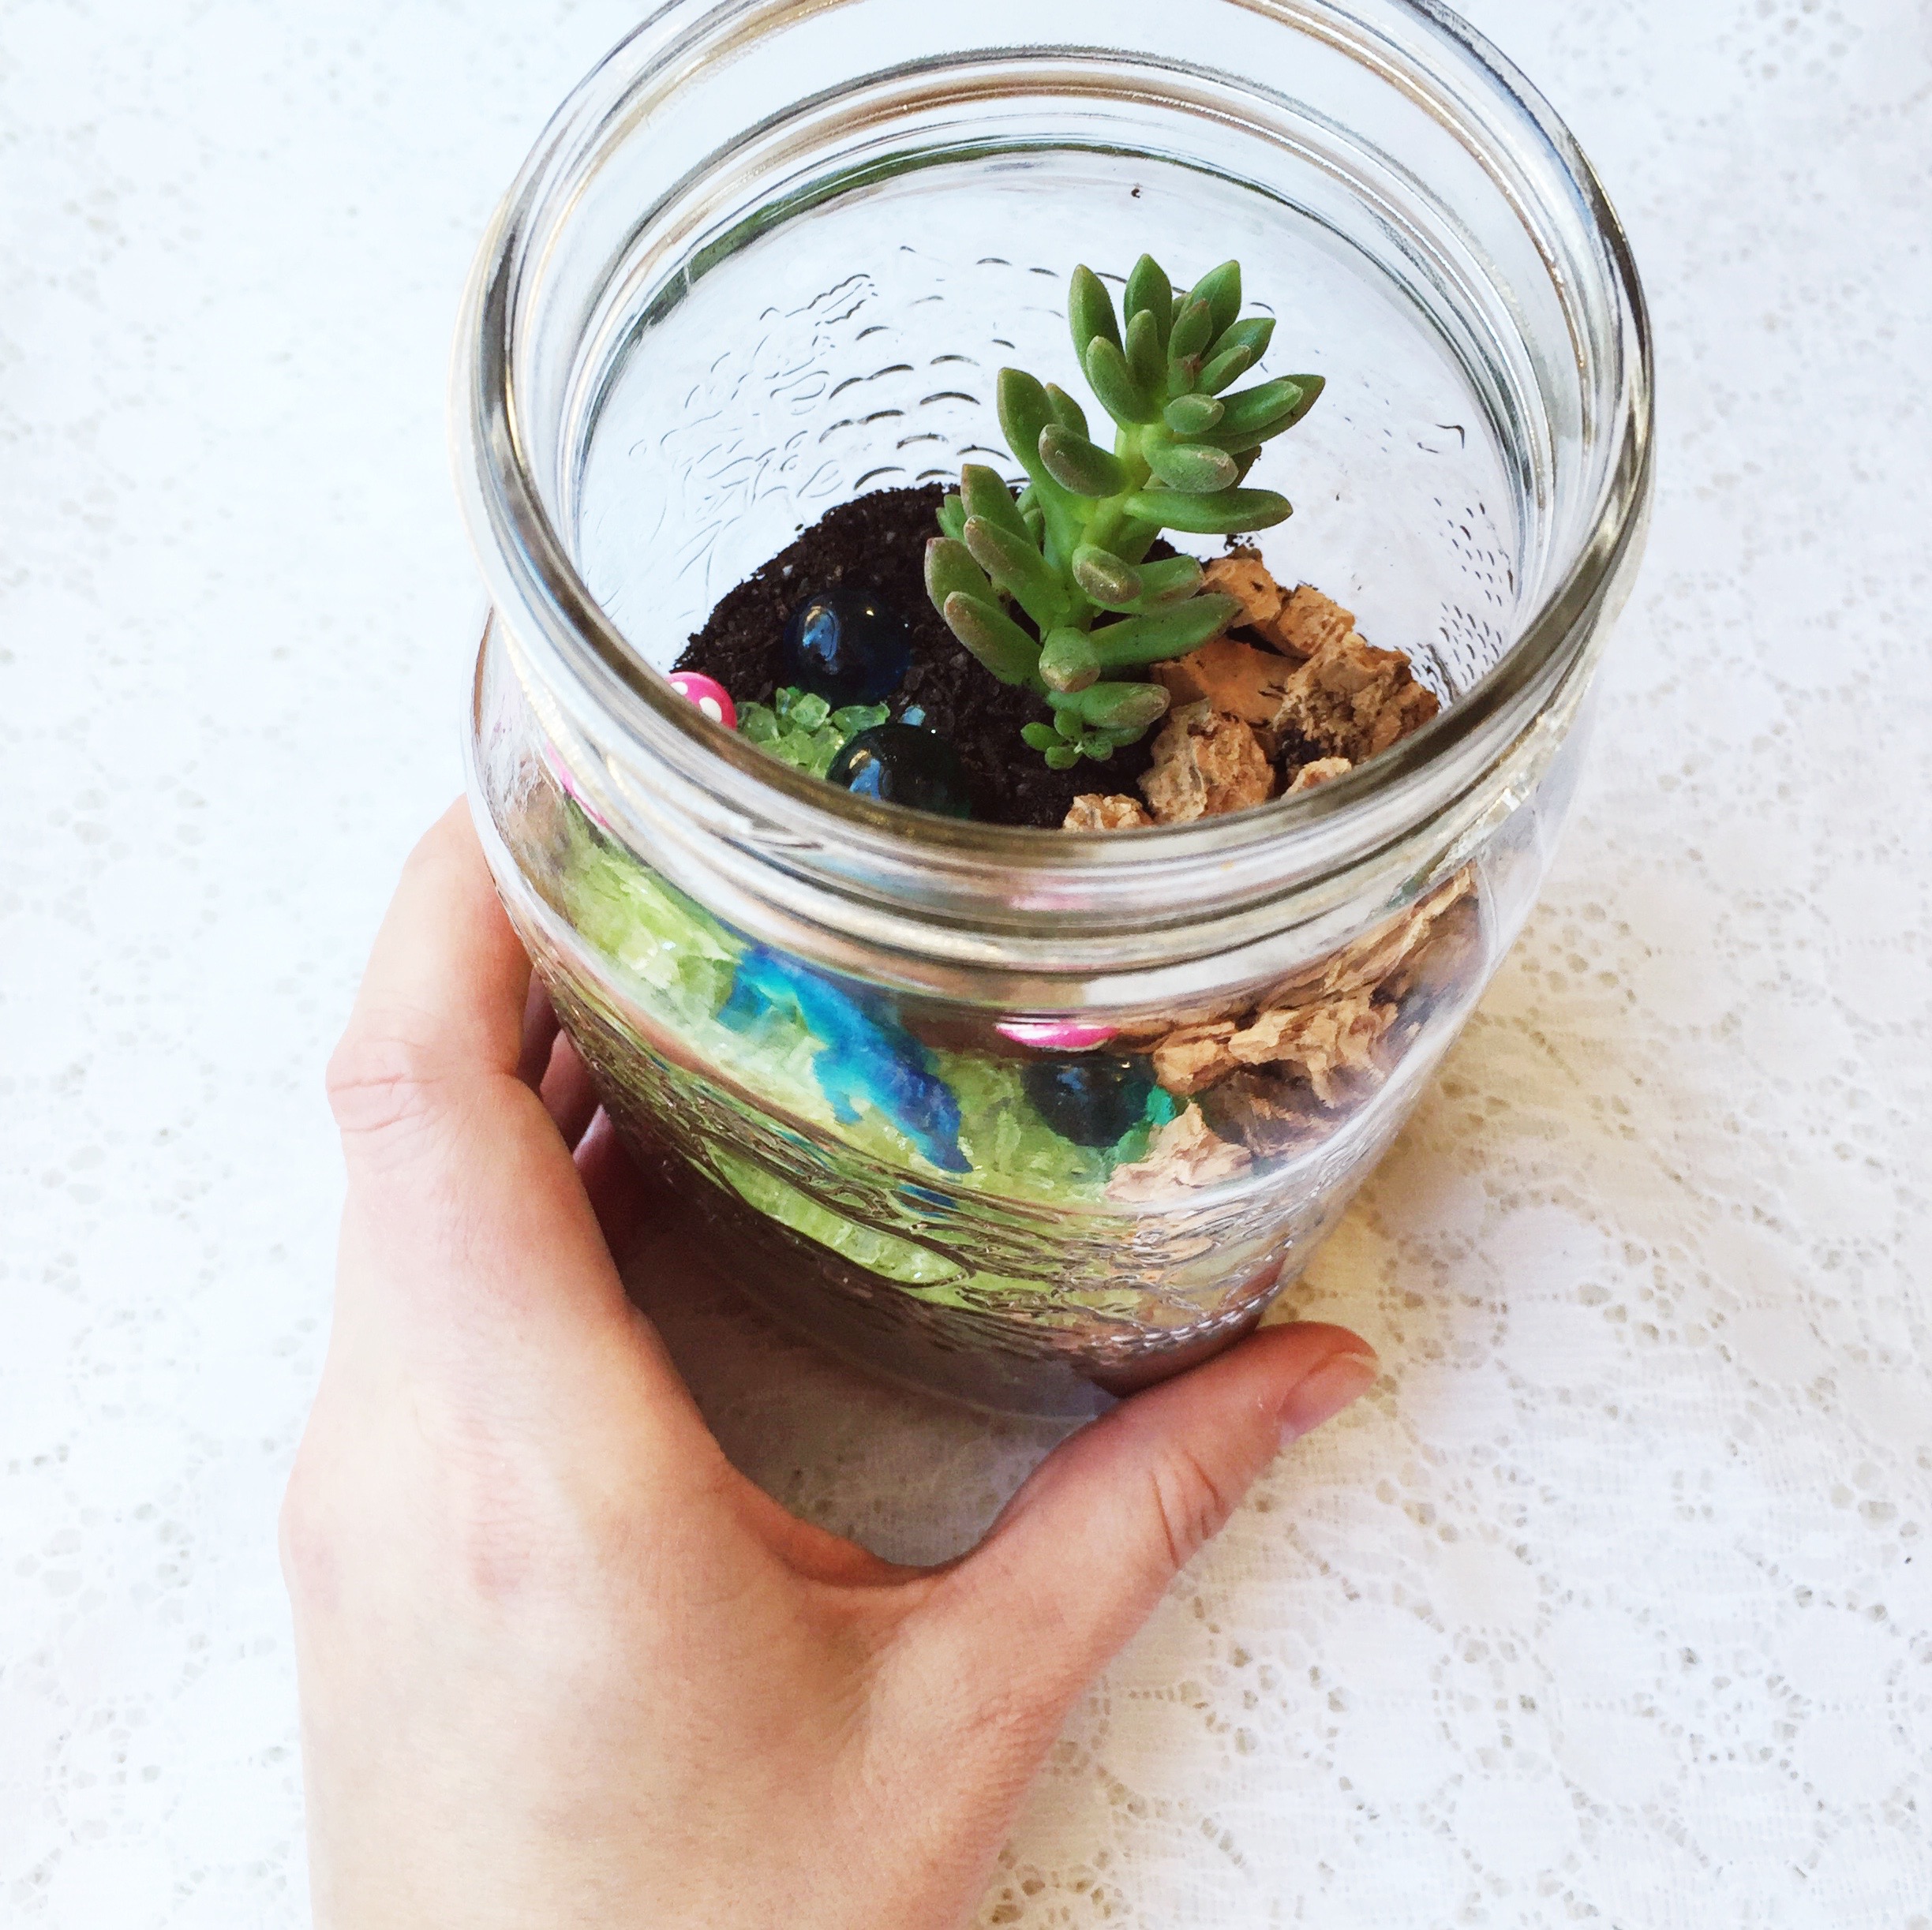
The above list gets layered into your glass container {1 inch of pebbles first, thin layer of charcoal, 1 inch succulent soil, 1 inch potting soil}. Determine the position of your succulent and make a small hole to place it in.
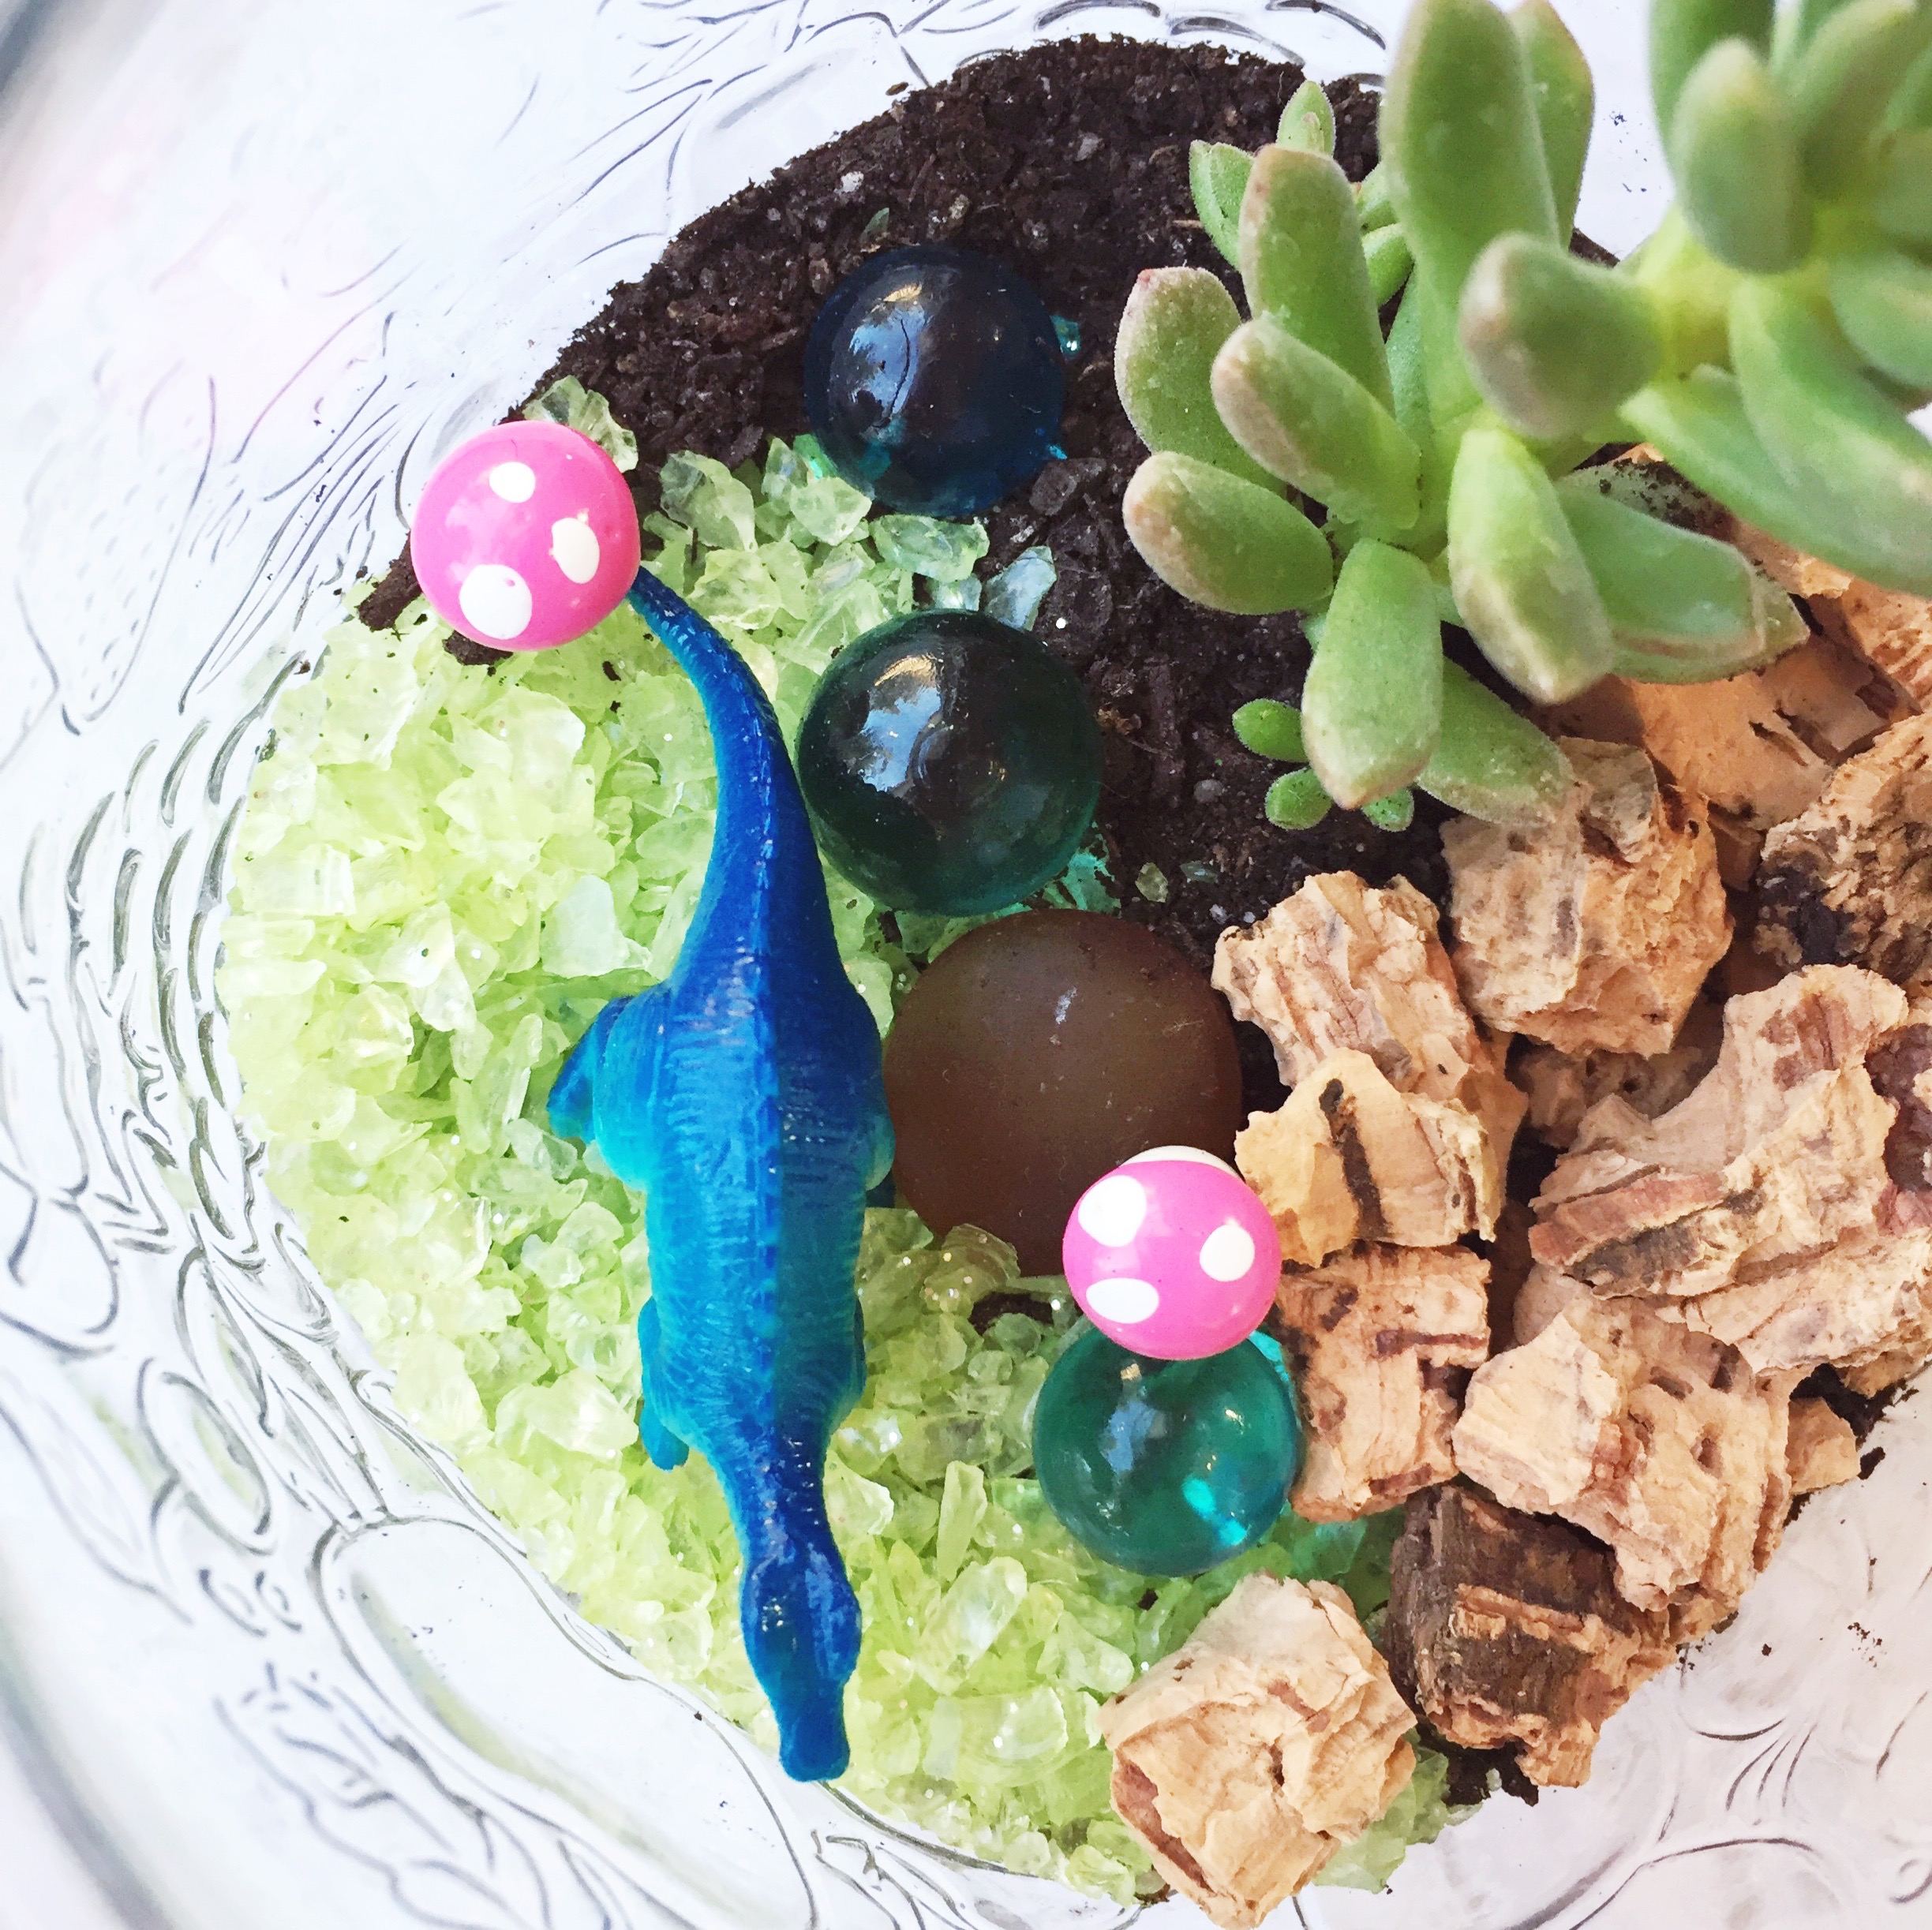
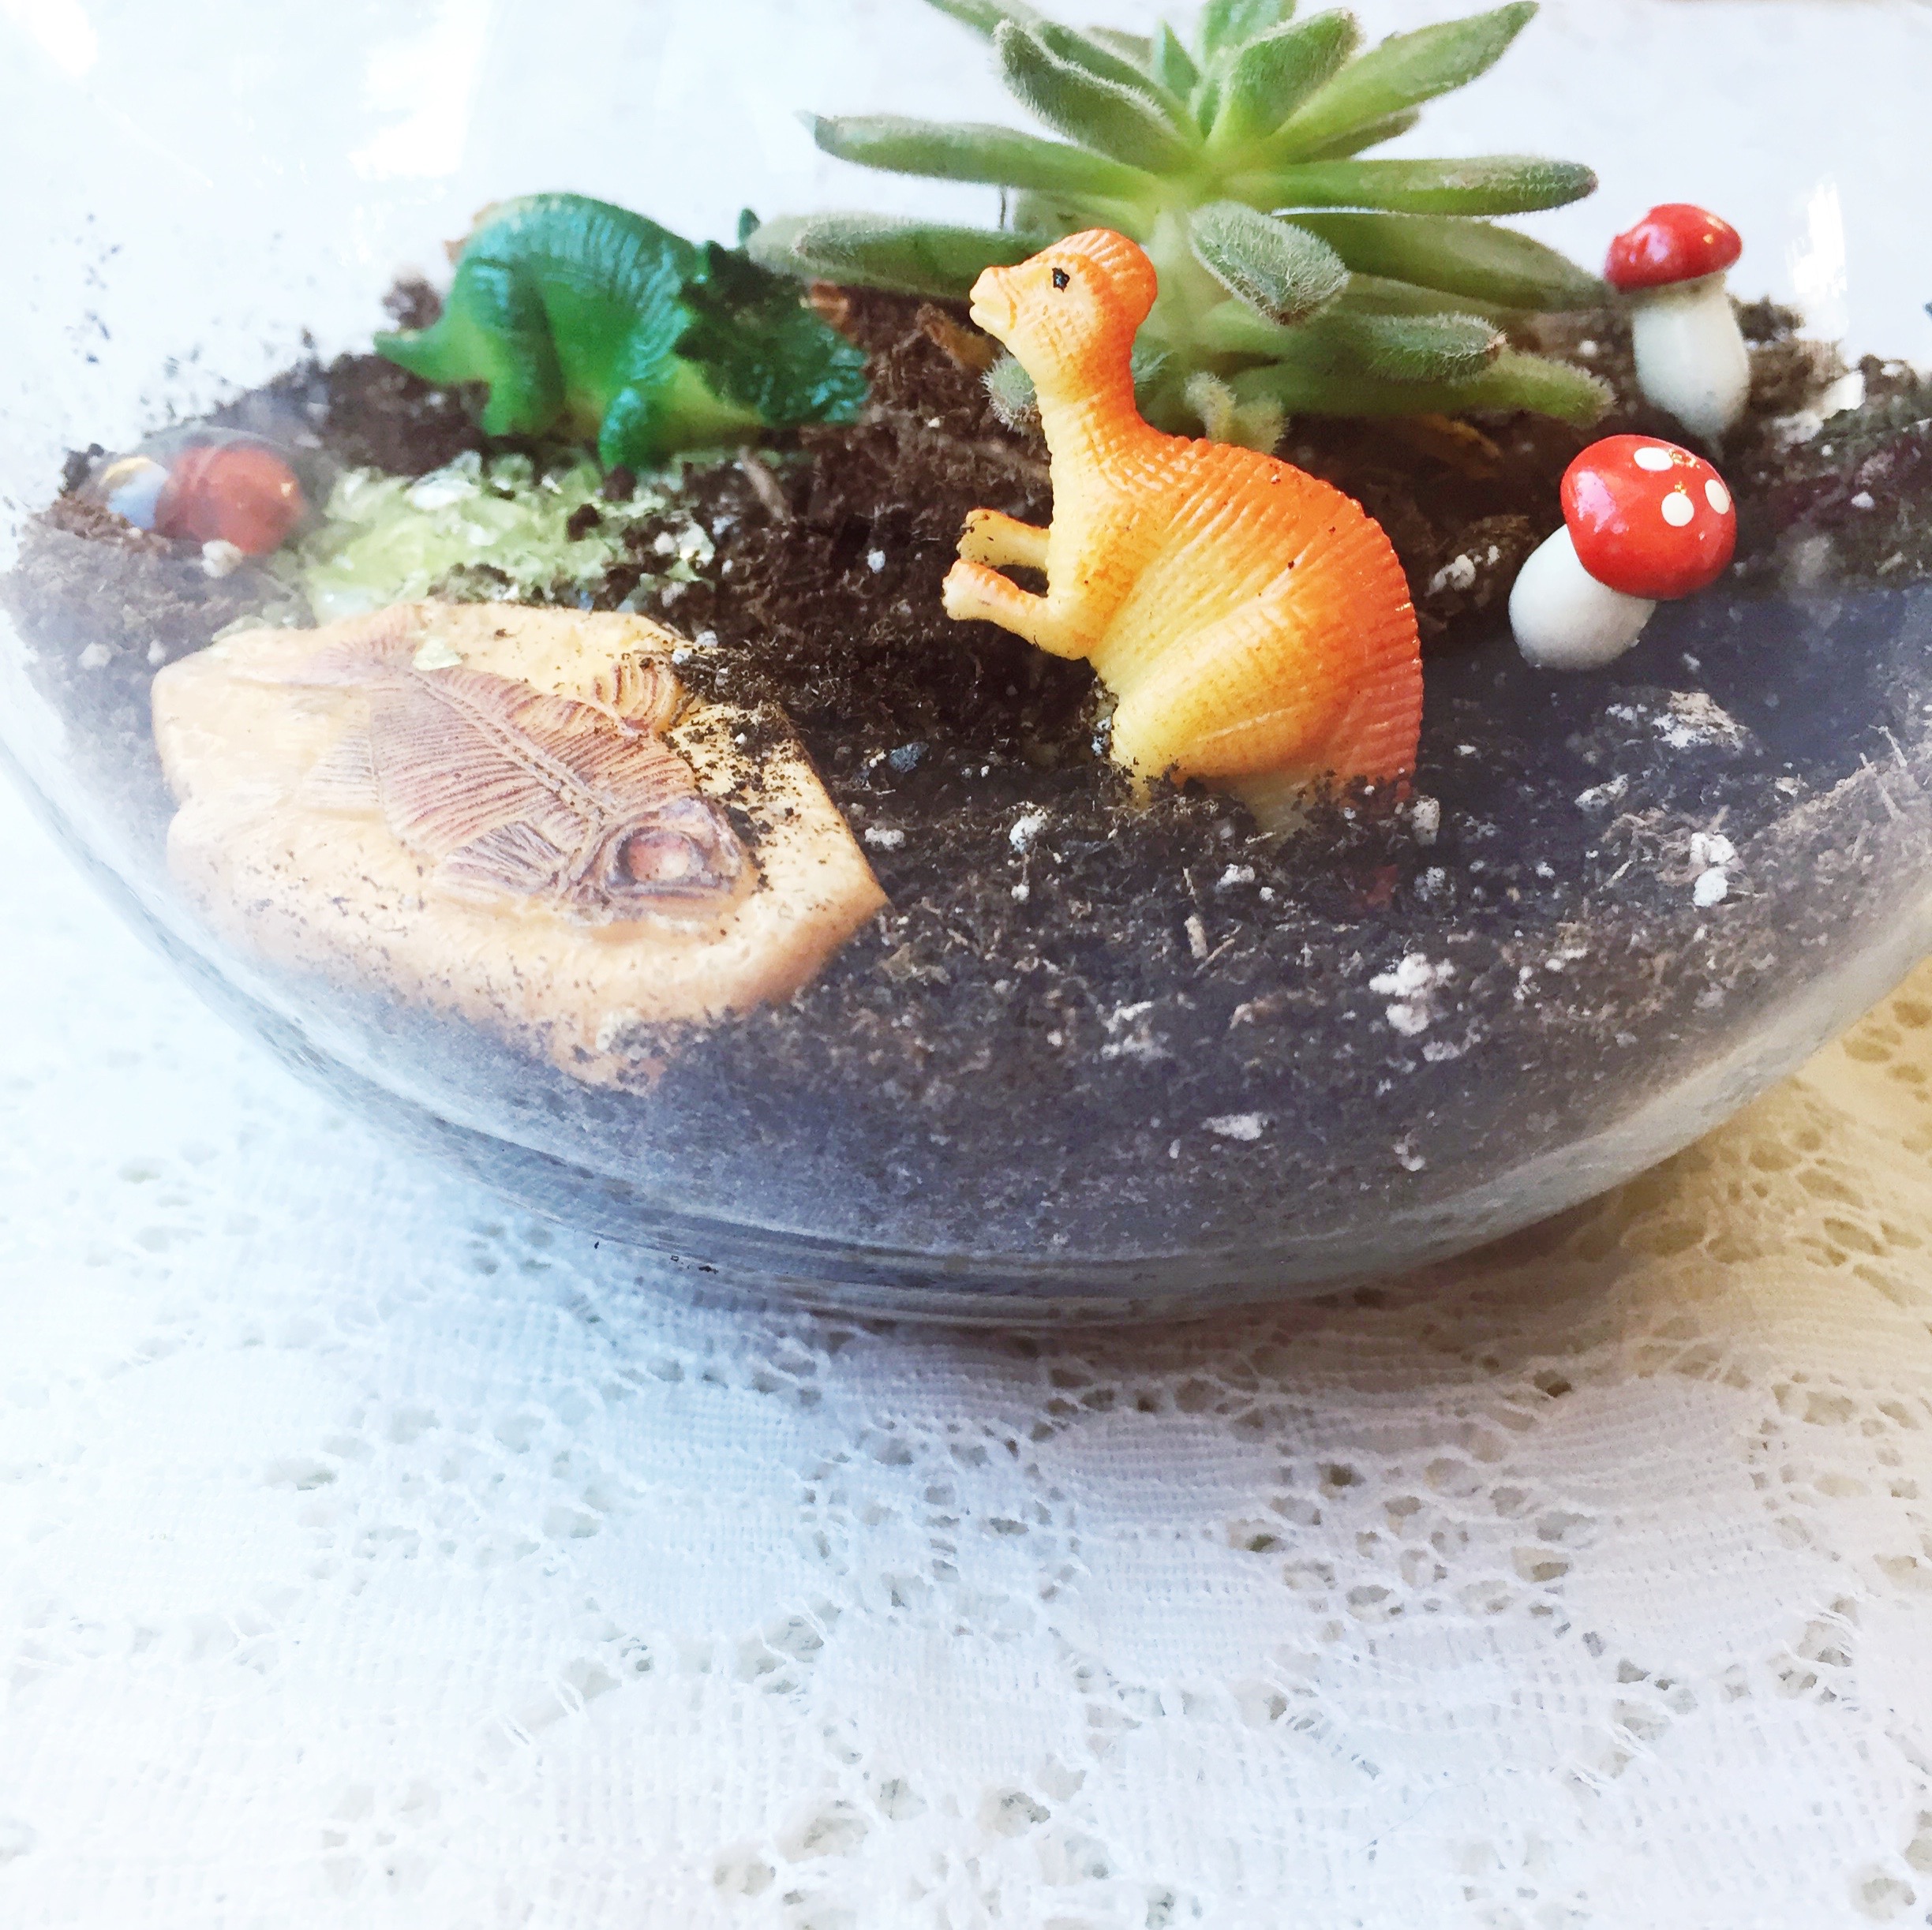
Next comes the fun part! All the landscaping & decorating. I just gave myself some time to hit up a couple of dollar stores and the craft store, shopping with an open mind. Get creative with it! Obviously, we were picturing some kind of Dino-scape, but you can easily alter it for any birthday theme {fairies, mermaids, Pokemon, cars/trucks, etc}.
I purchased a couple different sizes of dino sets, package of plastic fossils, bag of marbles, bag of glass plant pebbles, container of glitter rocks, canister of cork bits, package of tiny mushrooms, etc. Again, get creative with it!
If you’re doing this as a birthday party craft, here’s my suggestions:
- Have this setup at a table before the kiddos arrive
- Use a big plastic tablecloth for easy, quick tidying {we served cake at the same table}
- A second set of adult hands is extremely helpful
- Have one terrarium all complete so the kids can see what they’re making
- Put the various planting supplies in separate containers {large mason jars & buckets}
- Put the landscaping materials in separate containers
- Lay all the dinos & decorations on a baking sheet in the middle of the table, so the kiddos can easily pick their faves
- Show each step, then pass the supplies around the table {we did it with a group of 7 kids, who were extremely patient}
- Write out care instructions on small tags before the party
- As each kiddo finishes their terrarium, write their name on the flip side of the tag and simply set it in the container {then there’s no confusion during pick-up time at the end of the party}
And those care instructions… “Succulent Terrarium: sunlight, water every 2-3 weeks” Easy-peasy and no pressure on parents to care for them.
PS – The first Dino terrarium I tried, I used a large, wide-mouth mason jar {cause we have cupboards full of jars}, but it didn’t turn out so well. It was hard to see inside the terrarium, so I went on a hunt for glass containers. There’s plenty of affordable options, and honestly, the container is half the fun {at least for this mama}.
Happy making!
]]>

In my quest to use more natural products, I switched to a face serum a couple years ago. It felt great on, provided the moisturizing I needed in our dry climate, and smelled amazing. Until the oils went rancid, that is. I generally got through about 3/4 or 2/3 of a bottle before the oils went bad, even using it daily. Although I thoroughly enjoy supporting local, I decided to try my hand at making my own face serum, so I could make very small batches & hopefully waste less in the long run.
To figure out a good face serum for myself, I did some reading. We each have different skin types and needs for our skin health, so it’s worth deciding for yourself, which oil base & essential oils to use. I’ll be sharing my recipe, but you can easily adjust it for different skin types.
Here’s a list of the supplies you will need:
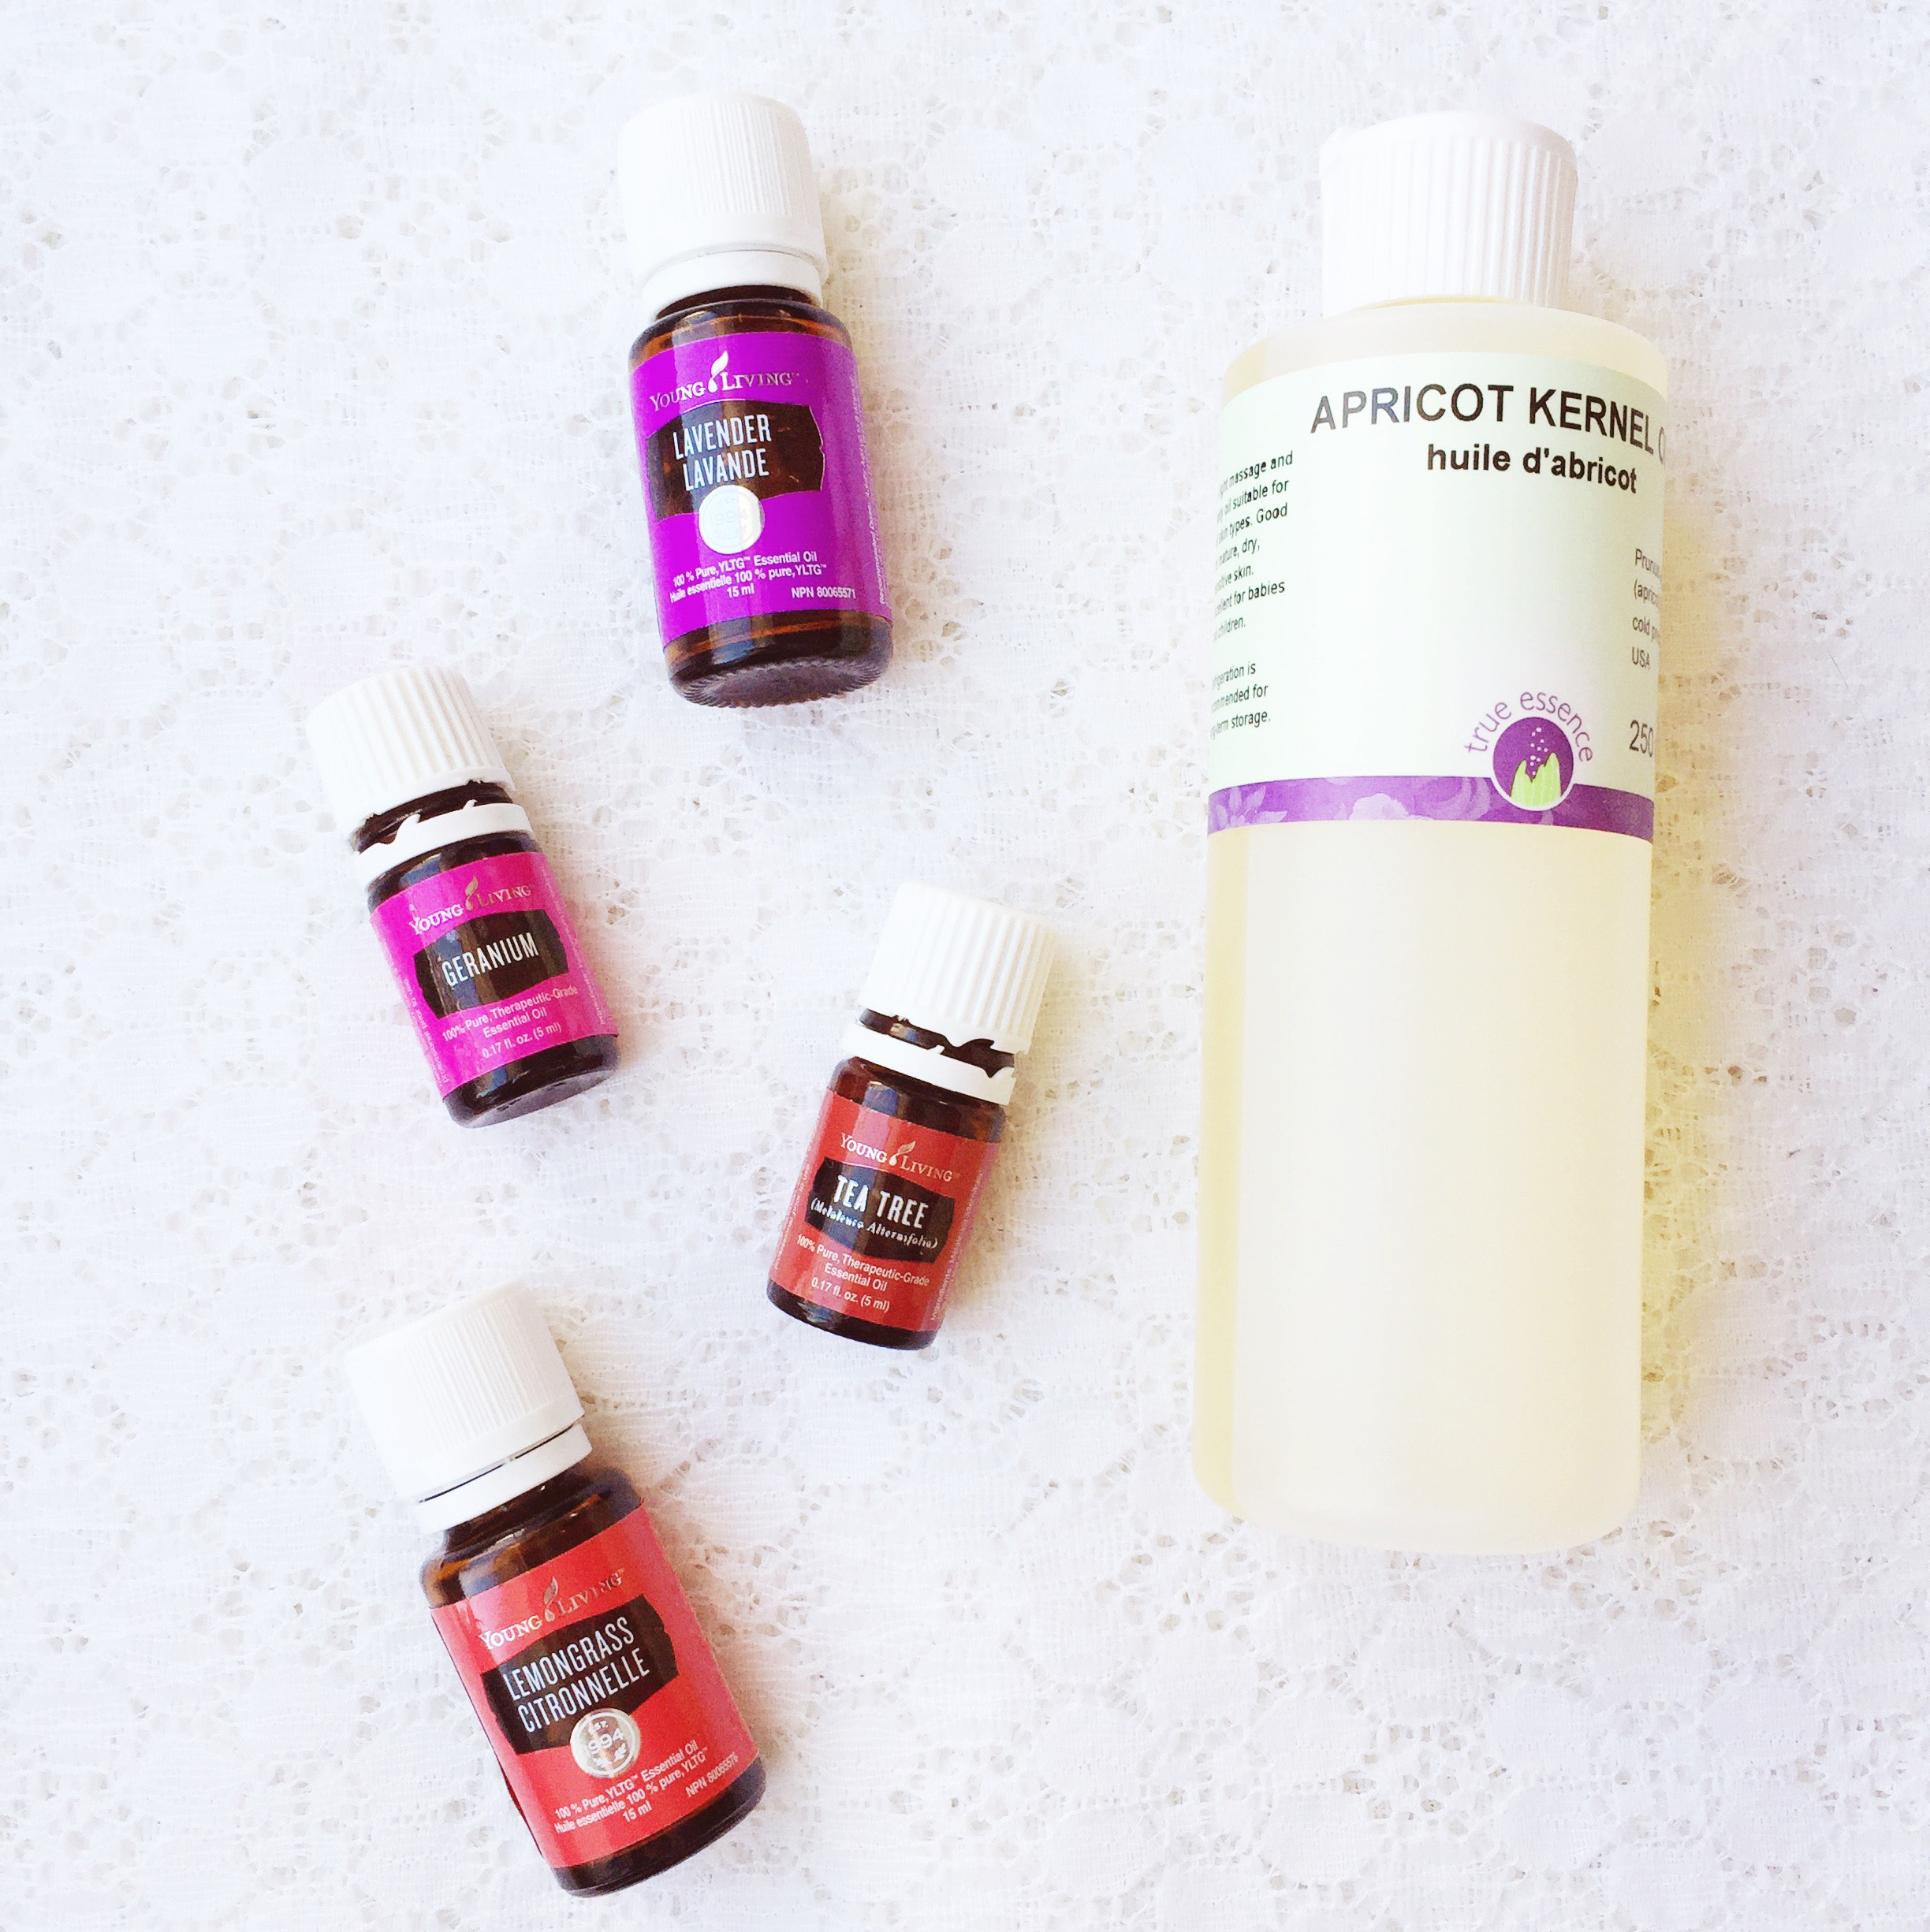
- Small glass bottle with eyedropper lid (10 ml or 25 ml)
- Apricot Kernel Oil (purchased mine from Community Natural Foods) or other carrier oil appropriate for your skin type
- Essential Oils (20-30 drops)
- Dried rose petals (optional)
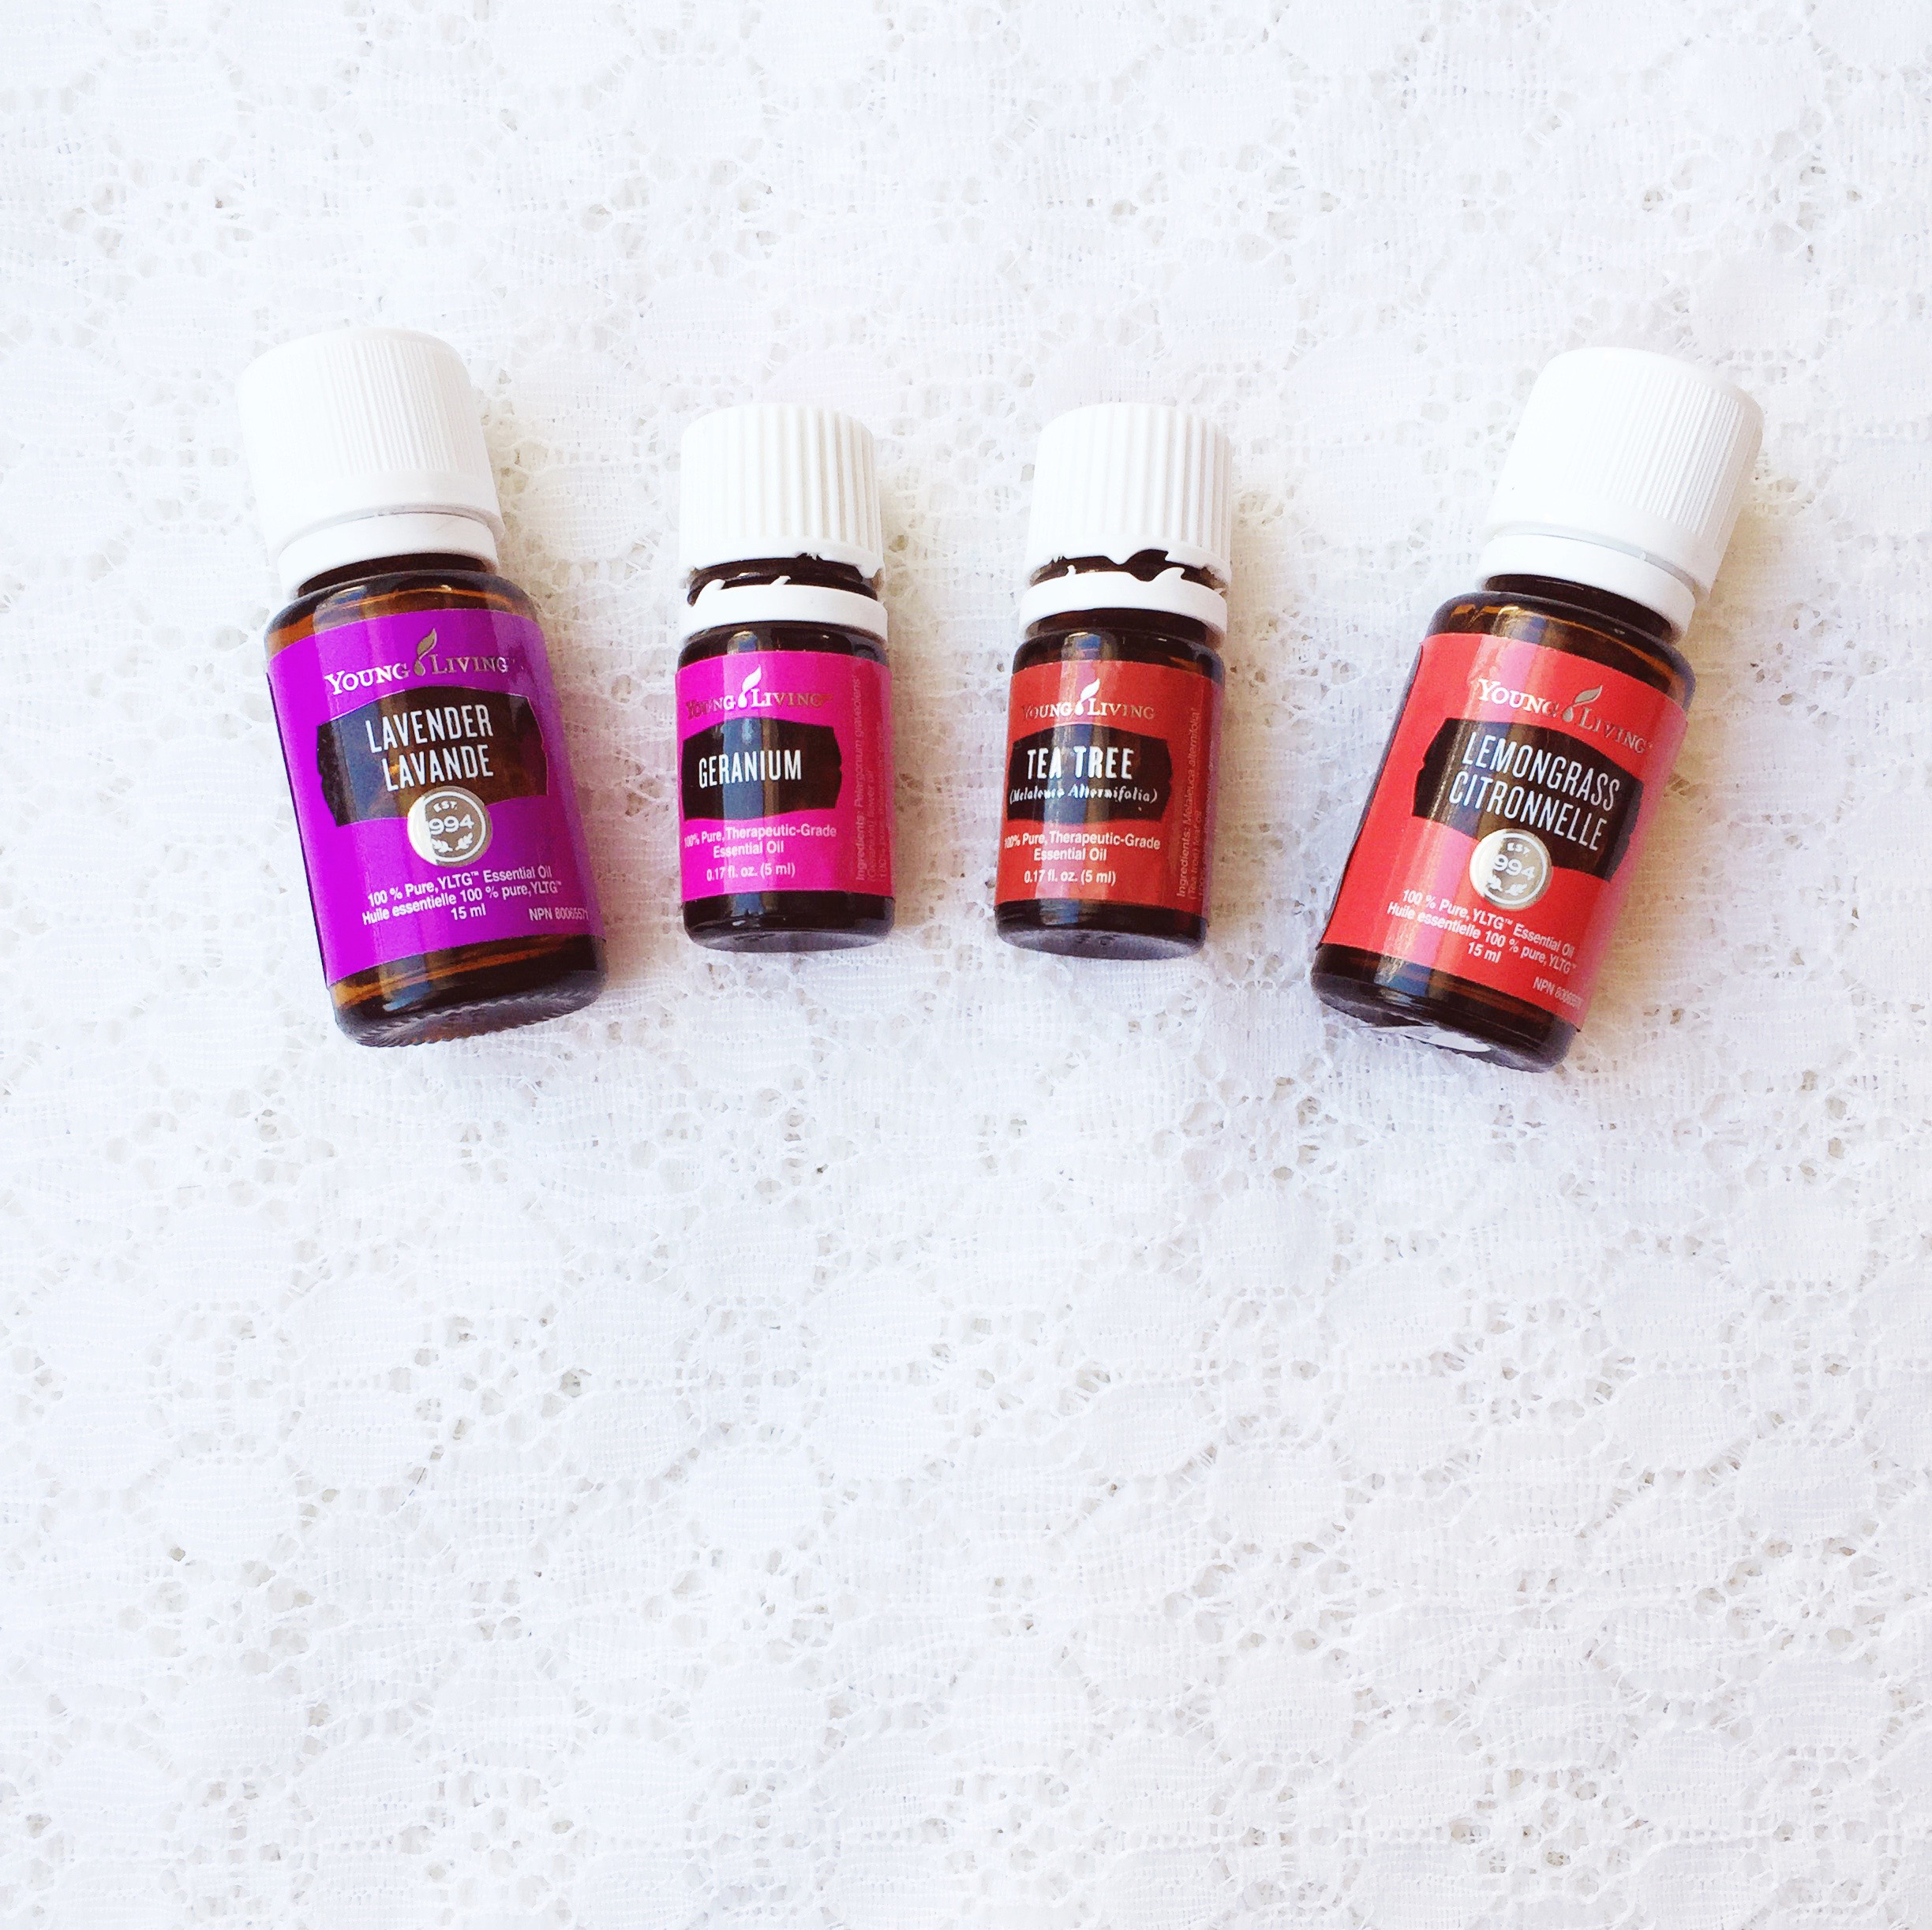
For my particular blend, I chose essential oils based on skin type, but I also kept in mind scent preferences too. I used Lavender (good for acne & dry skin), Geranium (good for dry, acne, & sensitive skins & preferred scent), Tea Tree (good for acne), and Lemongrass (acne & preferred scent).
- 8 drops Lavender
- 8 drops Geranium
- 5 drops Tea Tree
- 5 drops Lemongrass
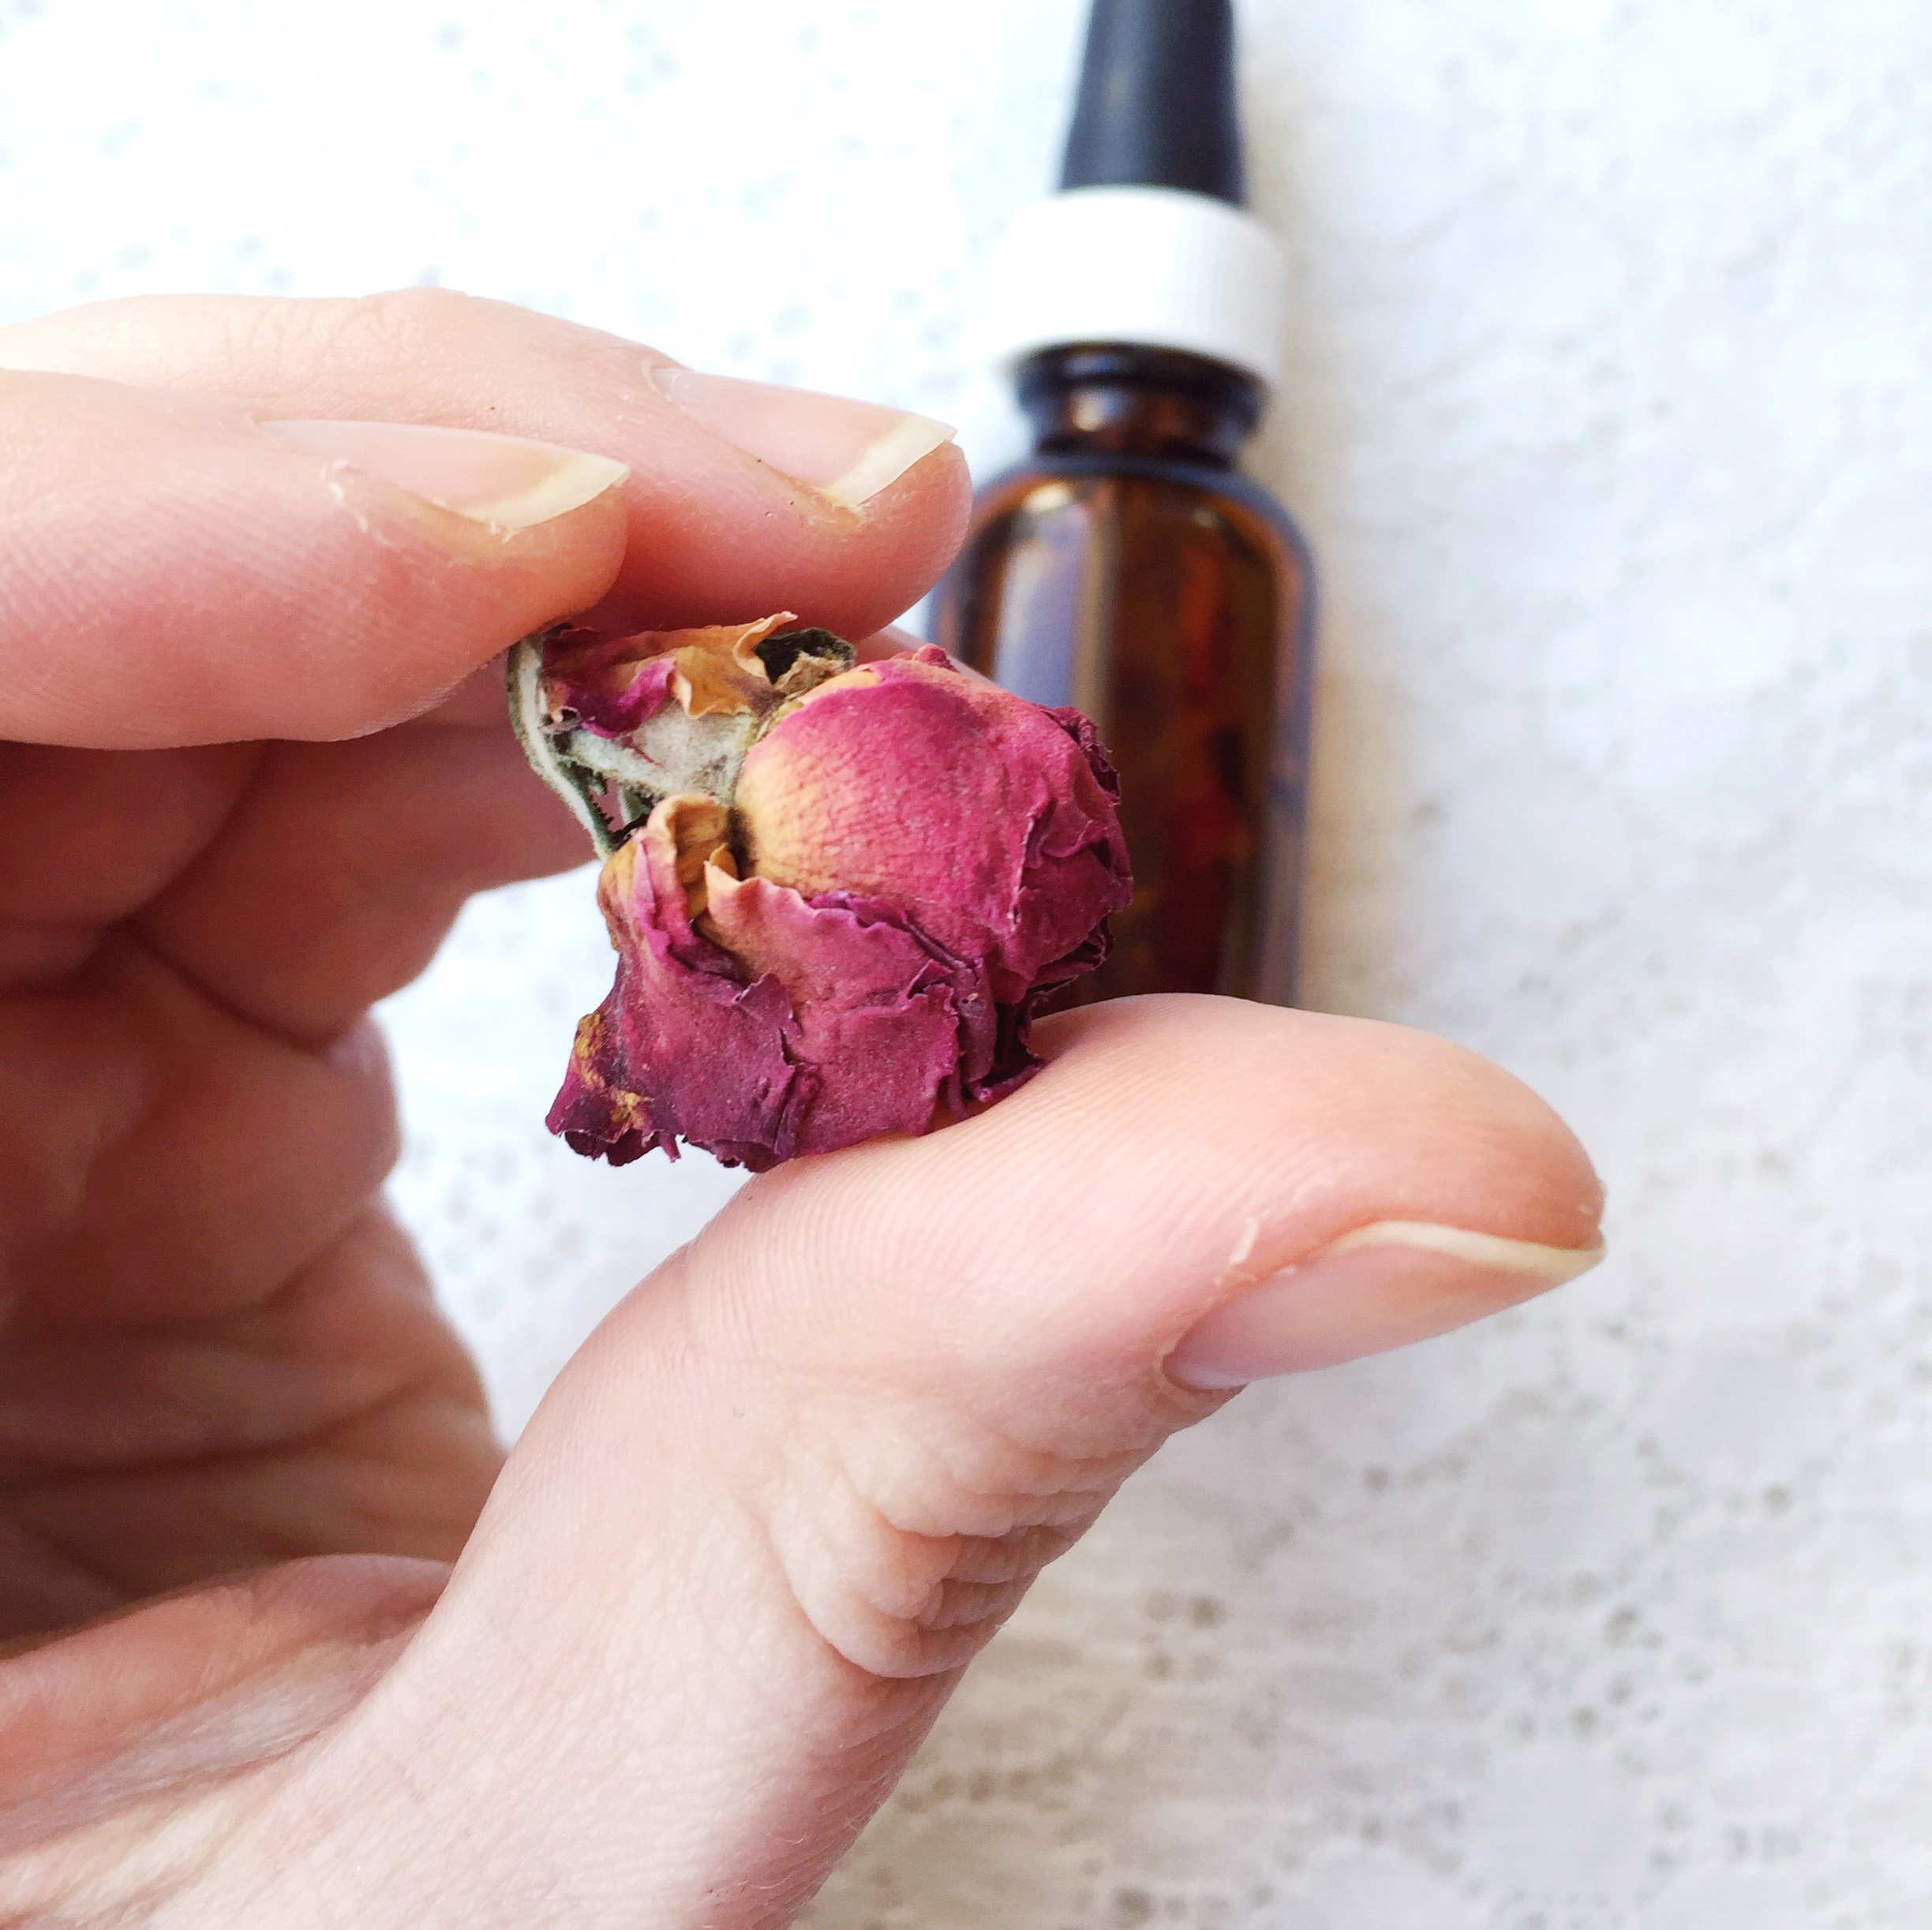
I had a bunch of dried flowers still around from all my bath & body making at Christmas time, so I decided to put some dried rose petals right into the jar with the oils. Not sure what that will do to the face serum oils over time, but we’ll see. It definitely gave the serum a lovely scent after a few days.

Once all the ingredients are added to the bottle, put the lid on and gently shake to mix. You’ll want to give it a gentle shake each time before use to mix the oils nicely. Then you’re ready to use. Simply put a small drop onto one finger tip, rub across remaining finger tips and gently press into face. I usually start with my nose, cheeks and between my eyebrows, then my chin & forehead. Go from most dry area of the face to least dry.
Happy oiling, friends!
]]>
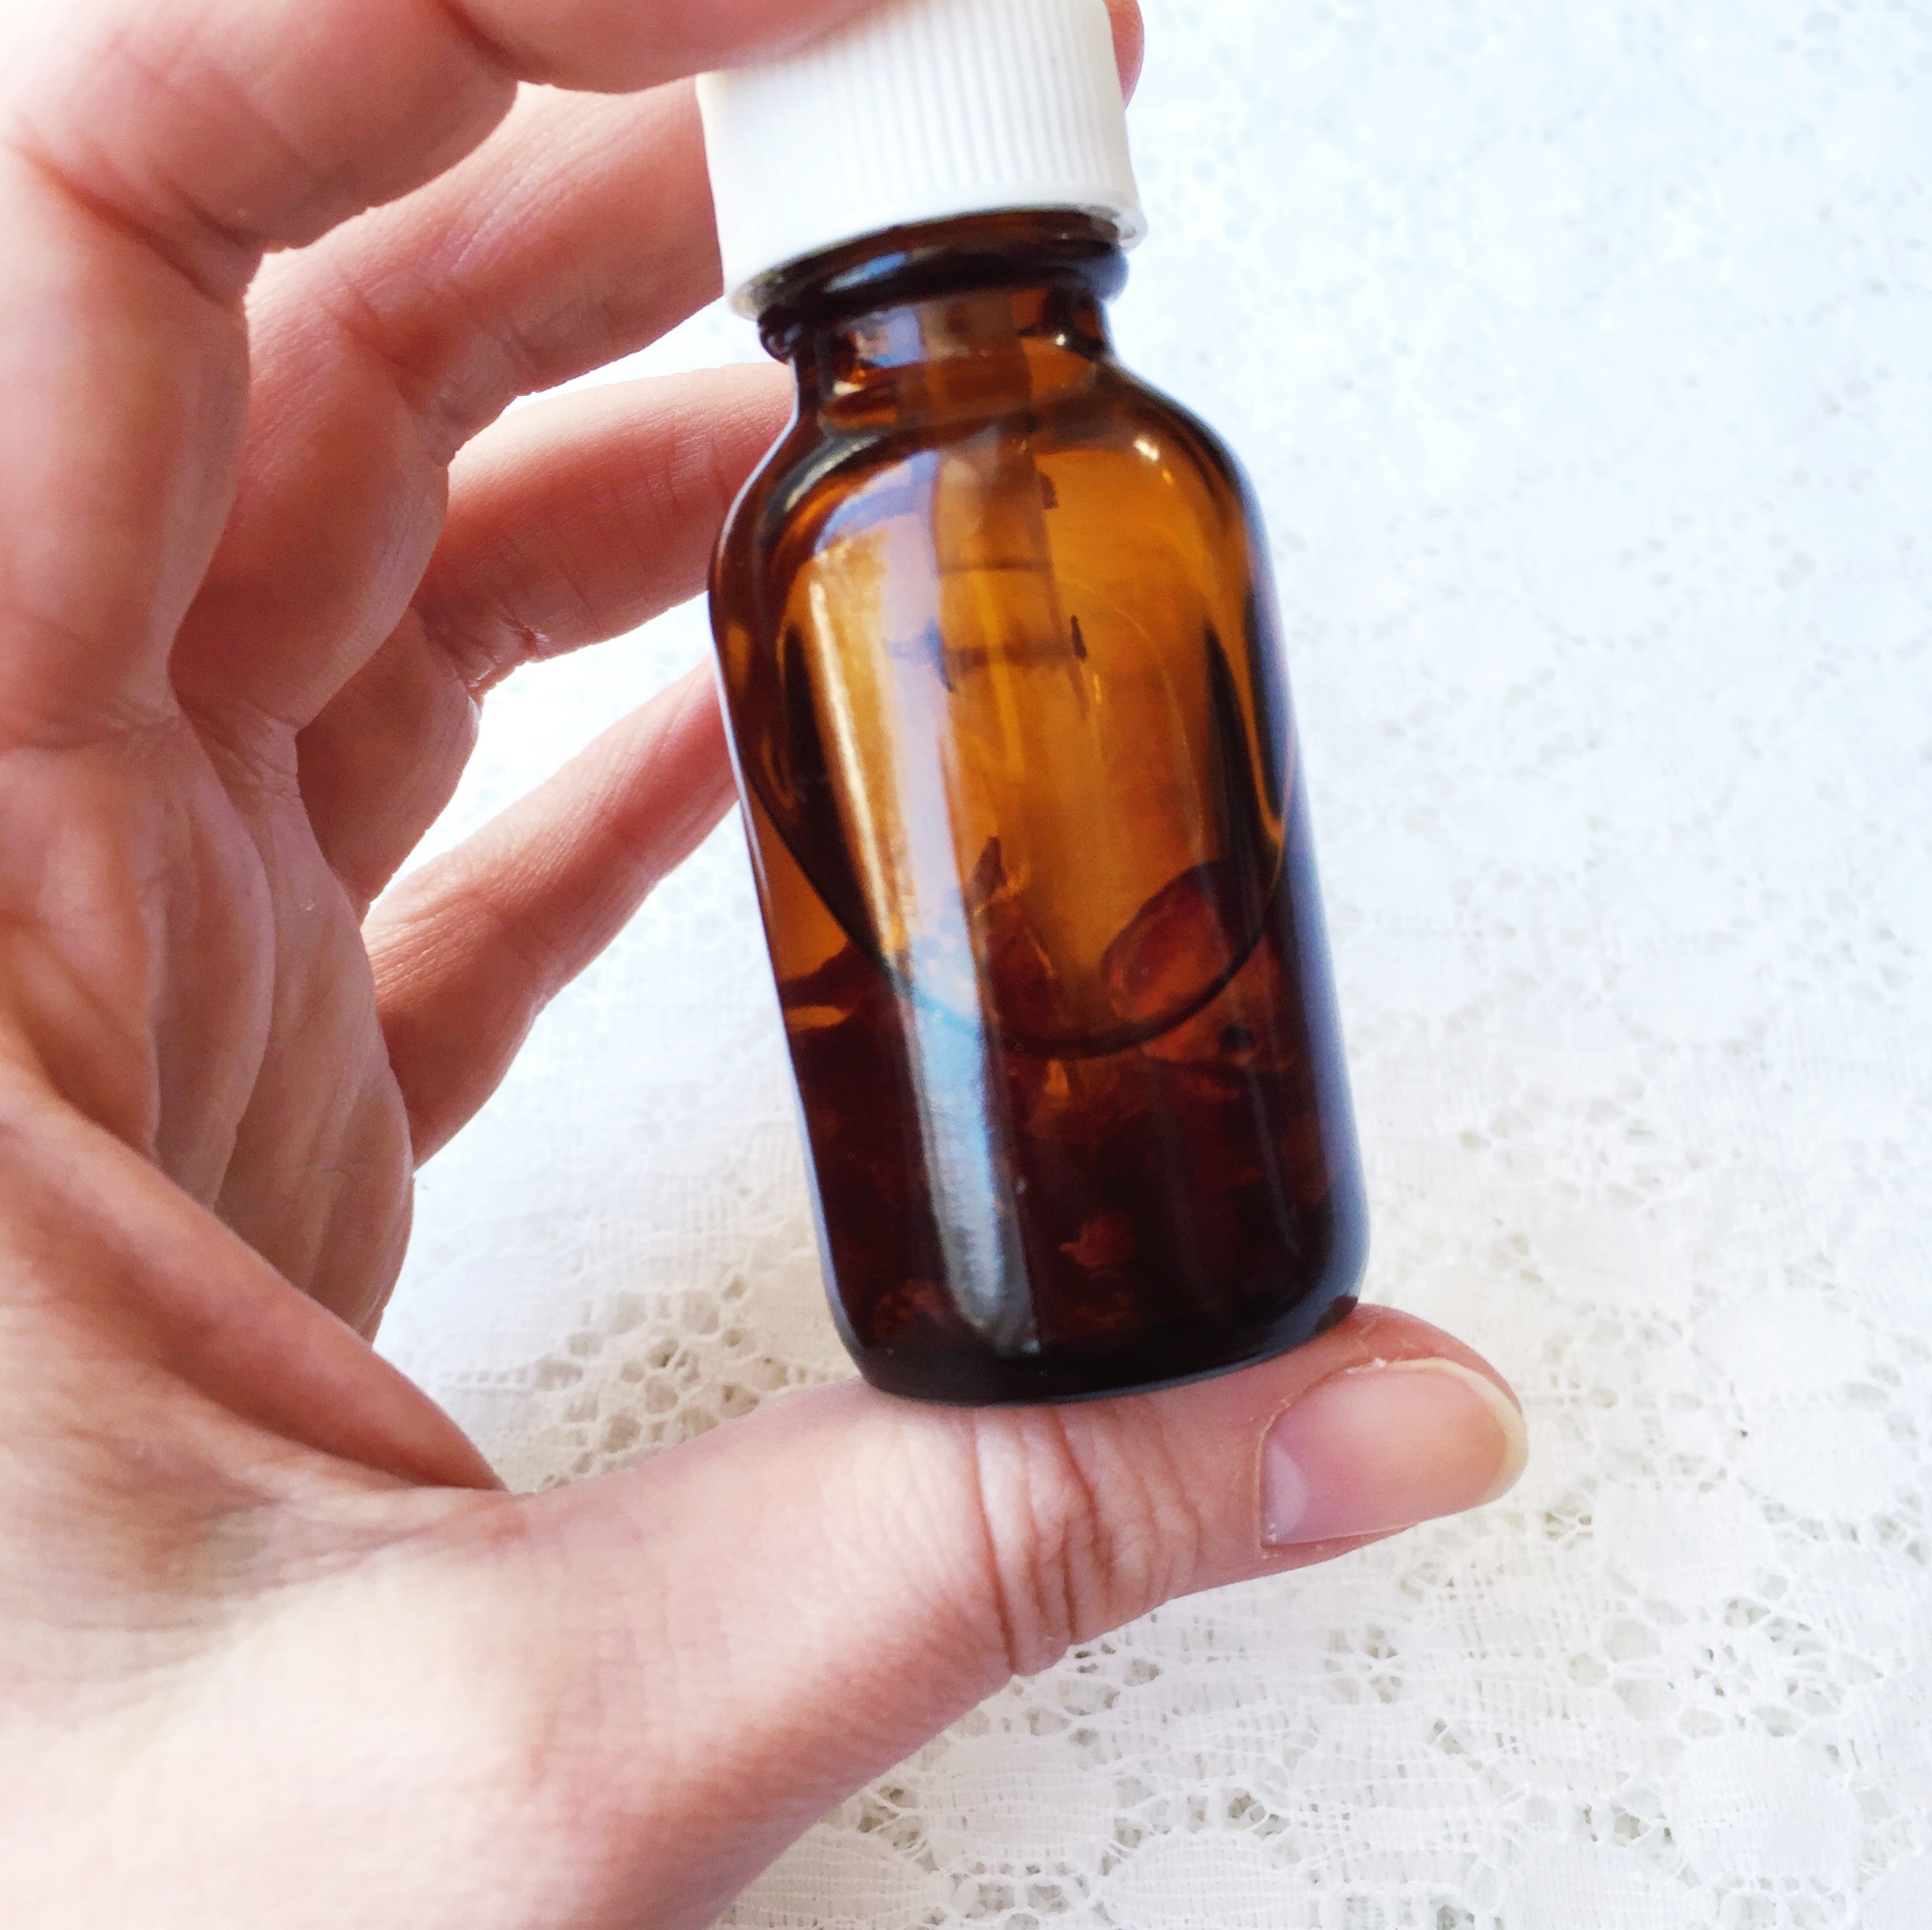
If you start down the path of enjoying essential oils {which I highly recommend}, you will find yourself with little empty oils bottles around the house. At first it’s just one or two because you’re new to oils and don’t go through any of them too quickly. A year later, you realize that you might need to do something with that bottle stash. That was my experience, anyway. Turns out cleaning your bottles is pretty straightforward. It’s also pretty helpful when you get into making all sorts of roll-on remedies for yourself & friends, and saves you from having to buy new bottles.
There’s not a whole lot you need to clean your bottles. I do mine in small batches and include everything {lids, bottles, inserts).
- First, peel off the labels. The Young Living ones come off pretty easily. I rub a tiny bit of lemon oil on the outside of the bottle to remove any remaining sticky bits.
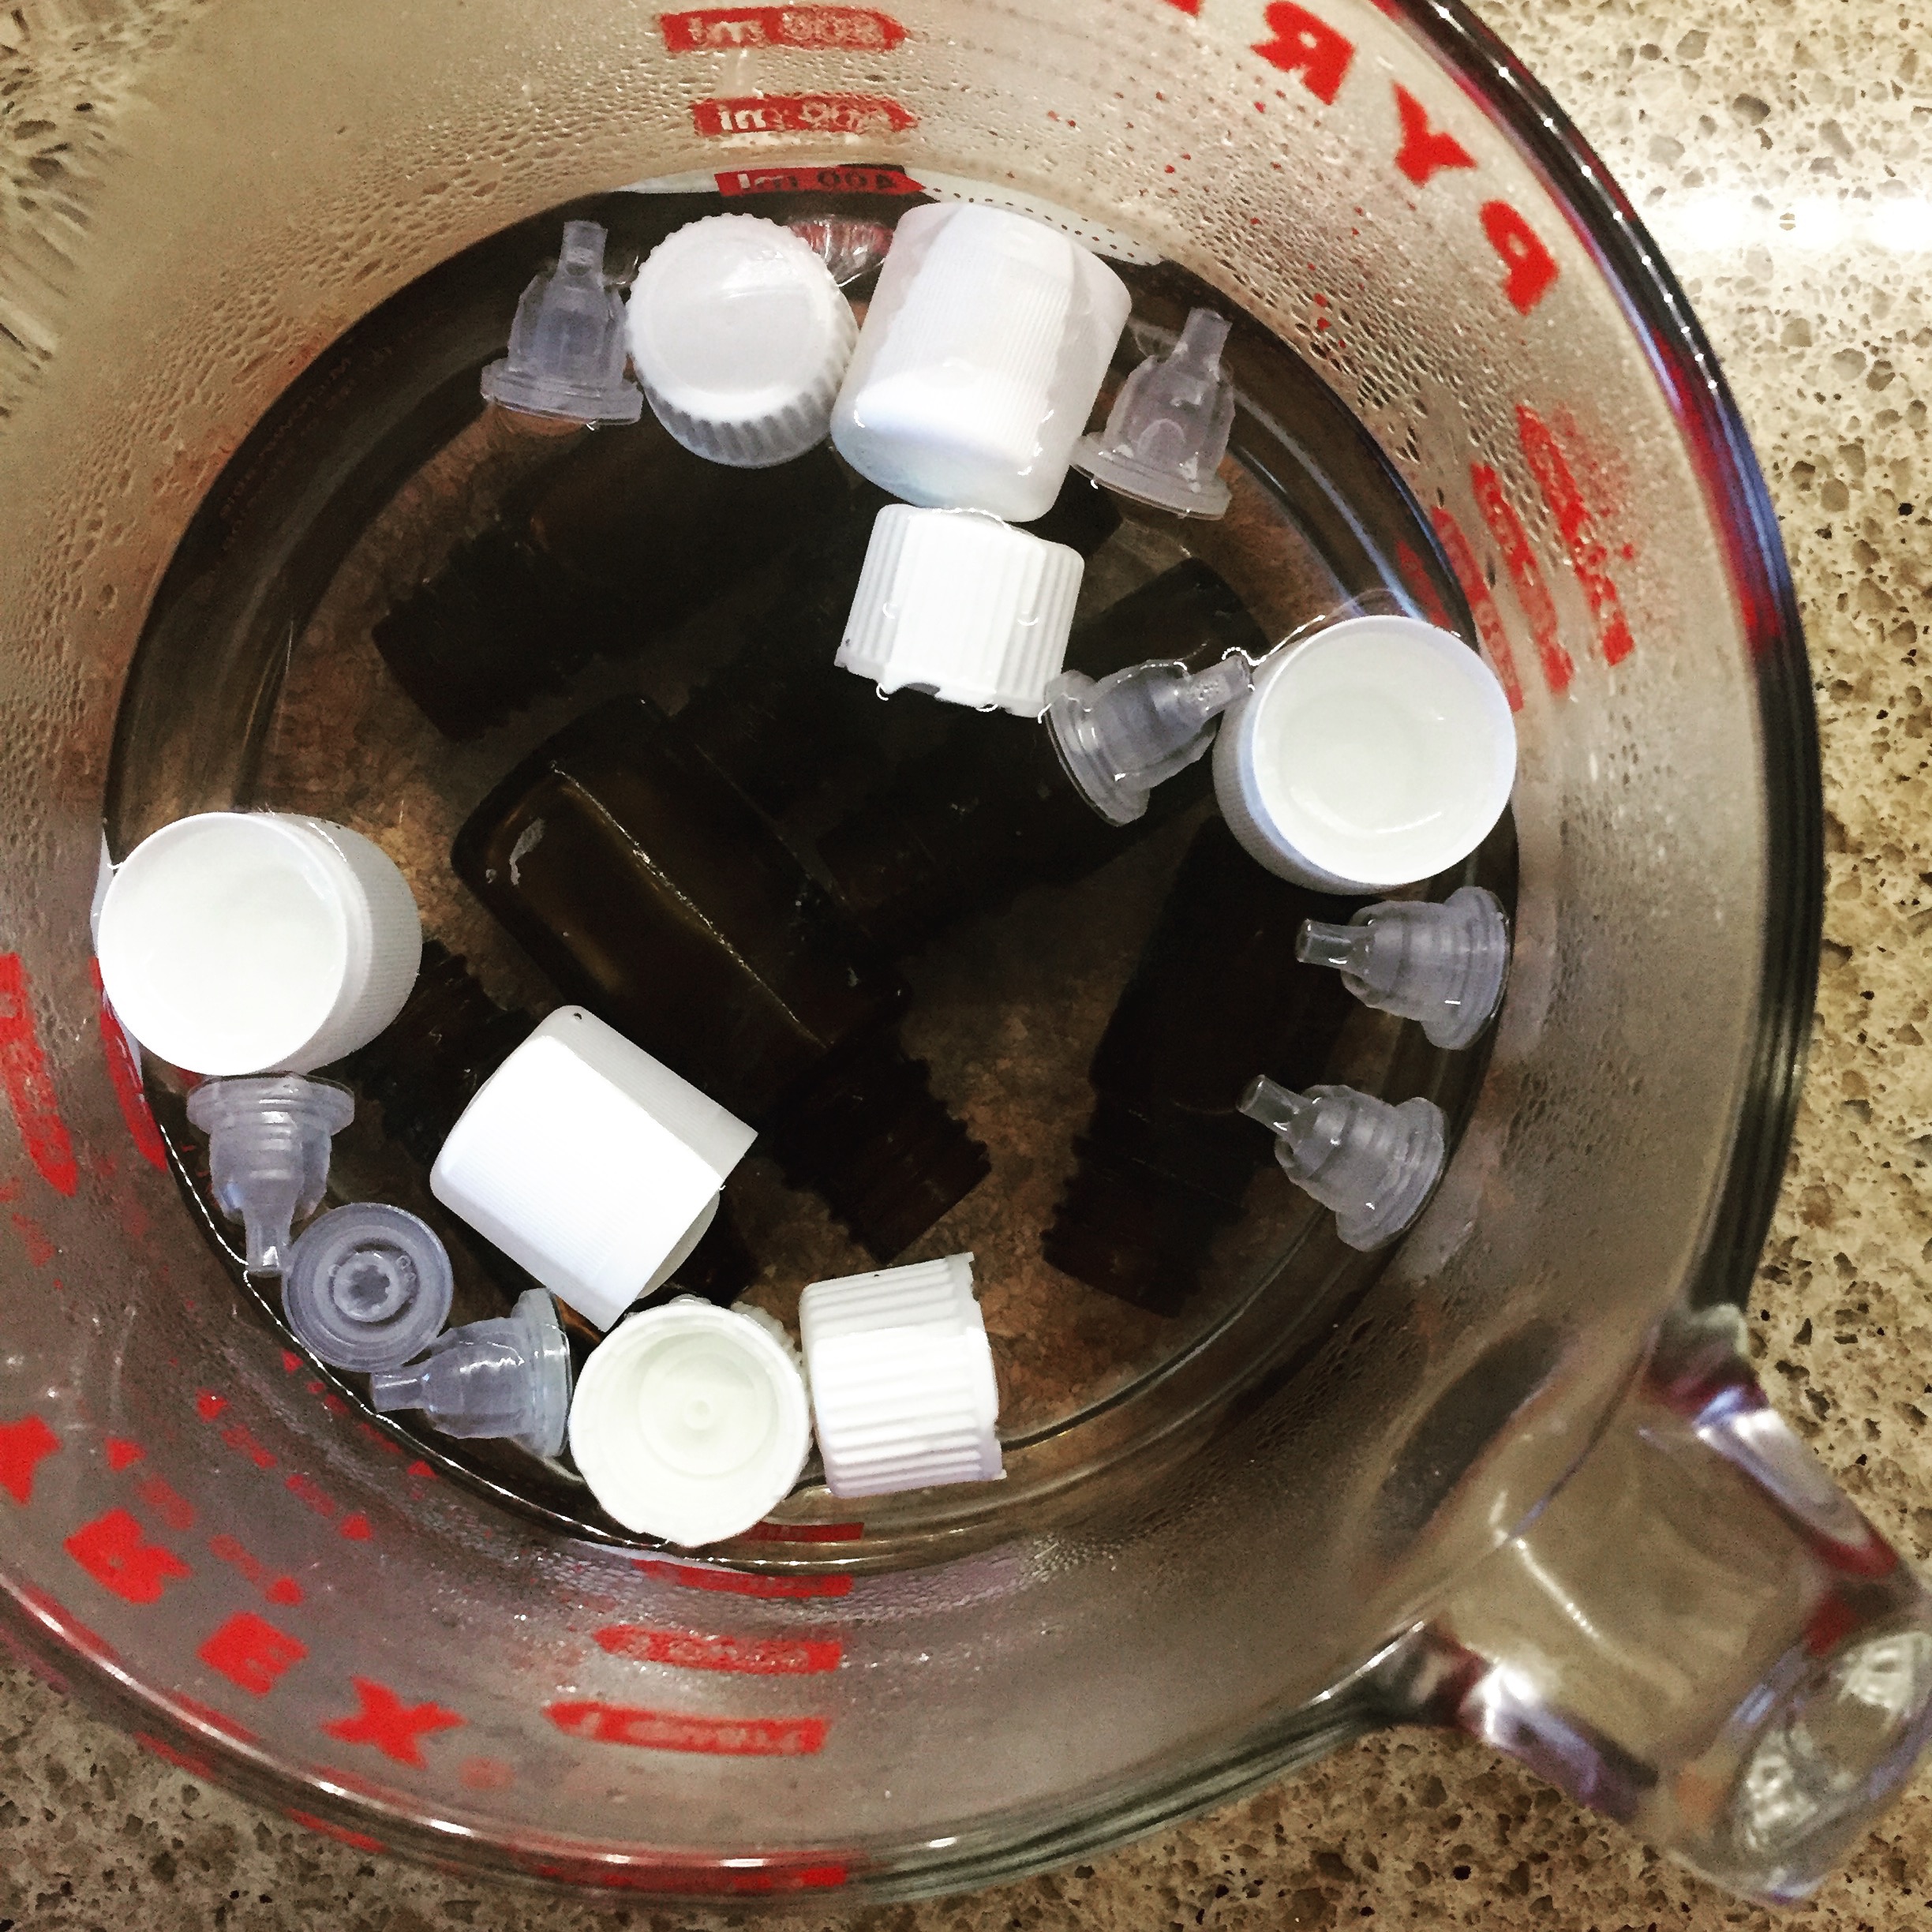
- Place the bottles, lids & inserts loose into a large bowl, or pot {I use an extra large glass measuring cup}. Pour boiling water over everything and let sit for 15-20 mins.
- Remove bottles, lids & inserts and let air dry on a towel.
- Don’t dump that water out!! Pour into a large mason jar and enjoy it in your diffuser as a “mystery blend”. Different every time!
Now, there’s two additional steps you can take, if you’re finding some bottles or lids still have quite a bit of residual smell {I find the peppermint bottles the hardest to get clean}.
- Place bottles, lids & inserts back into a bowl. Pour fresh hot/boiling water over them. Add a little bit of Thieves Household Cleaner and let sit for 15-20 mins. Air dry.
- For the most stubborn scents – Place bottles, lids & inserts back into a bowl. Pour fresh hot/boiling water over them. Add some vinegar and let sit for 15-20 mins. Rinse. Air dry.
Now you have clean, fresh bottles to use in your essential oils adventures. I use some of mine to make roll-on remedies {purchased the roll-on inserts from Young Living}. You can create your own perfume to wear. You can also divide up your oils collection, so that you can have some in your car and purse, to use where ever and whenever you need.
Happy Oiling!
]]>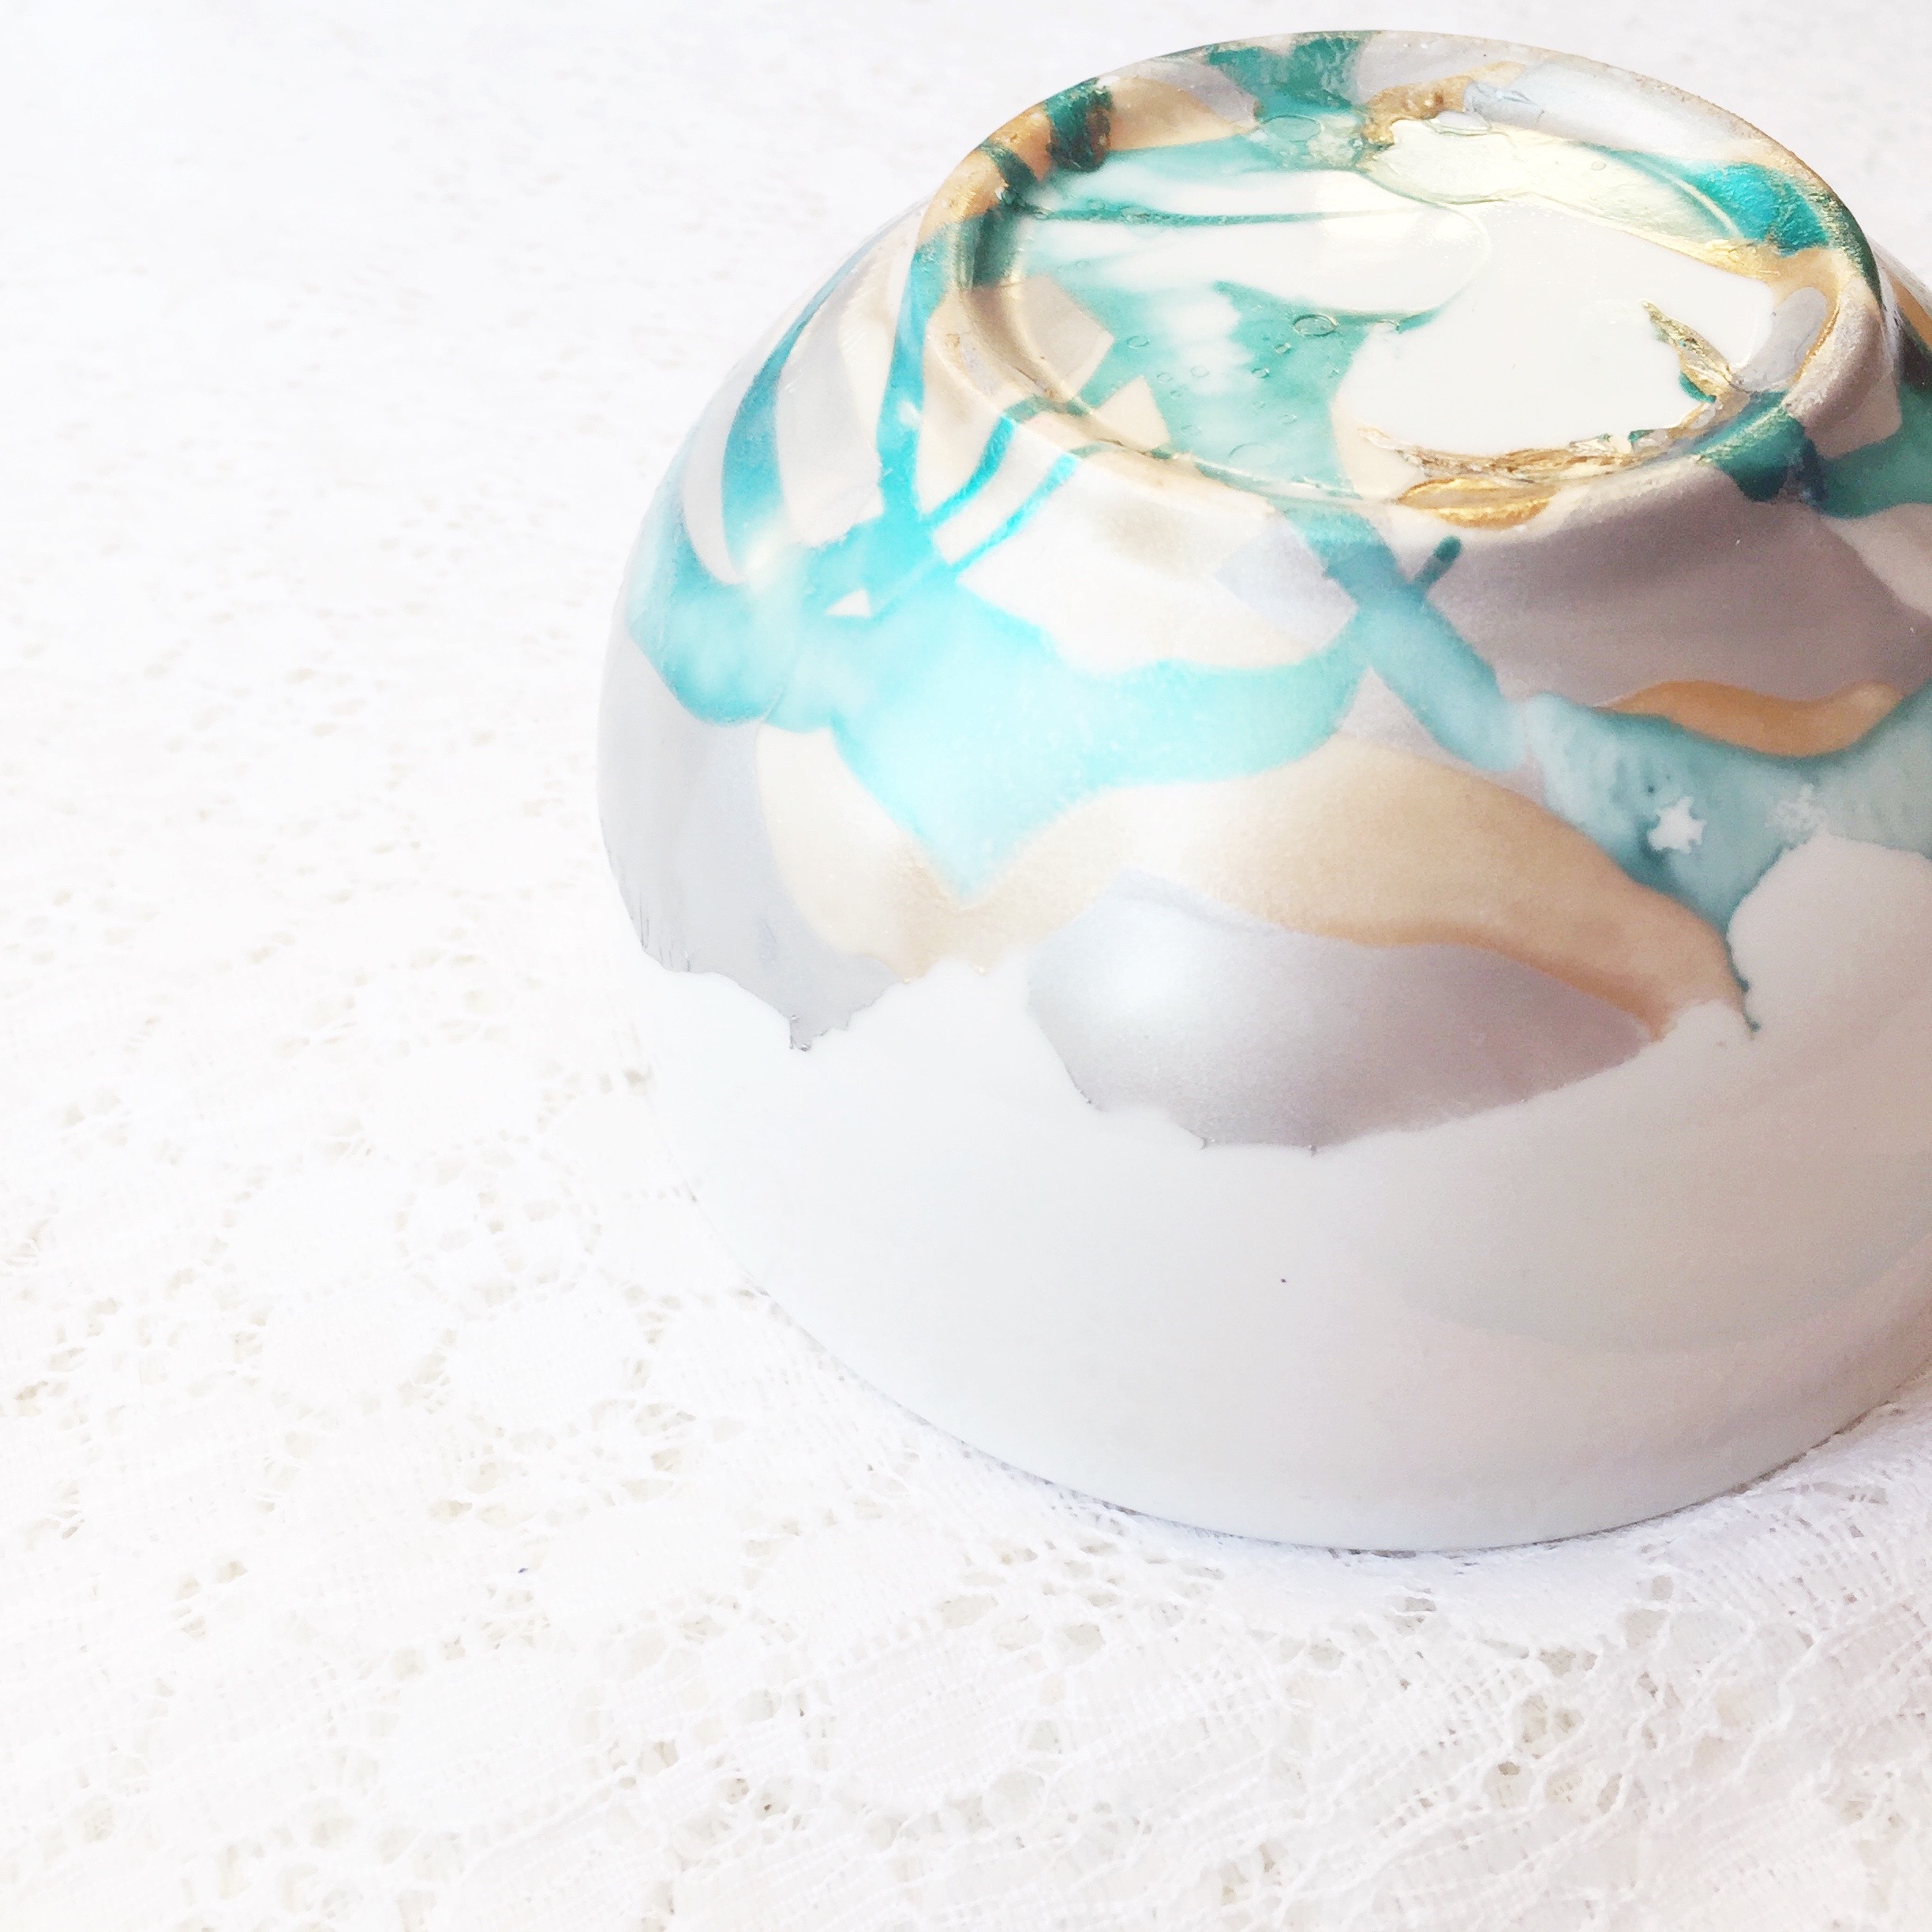
At this year’s annual Pinterest Christmas Party with the ladies, our lovely host, Shauna, had us try out a quick little project: marbling with nail polish. She picked up white bowls & mugs at the dollar store. Then all you need is a disposable foil container, nail polish, hot water, and some creative bravery.
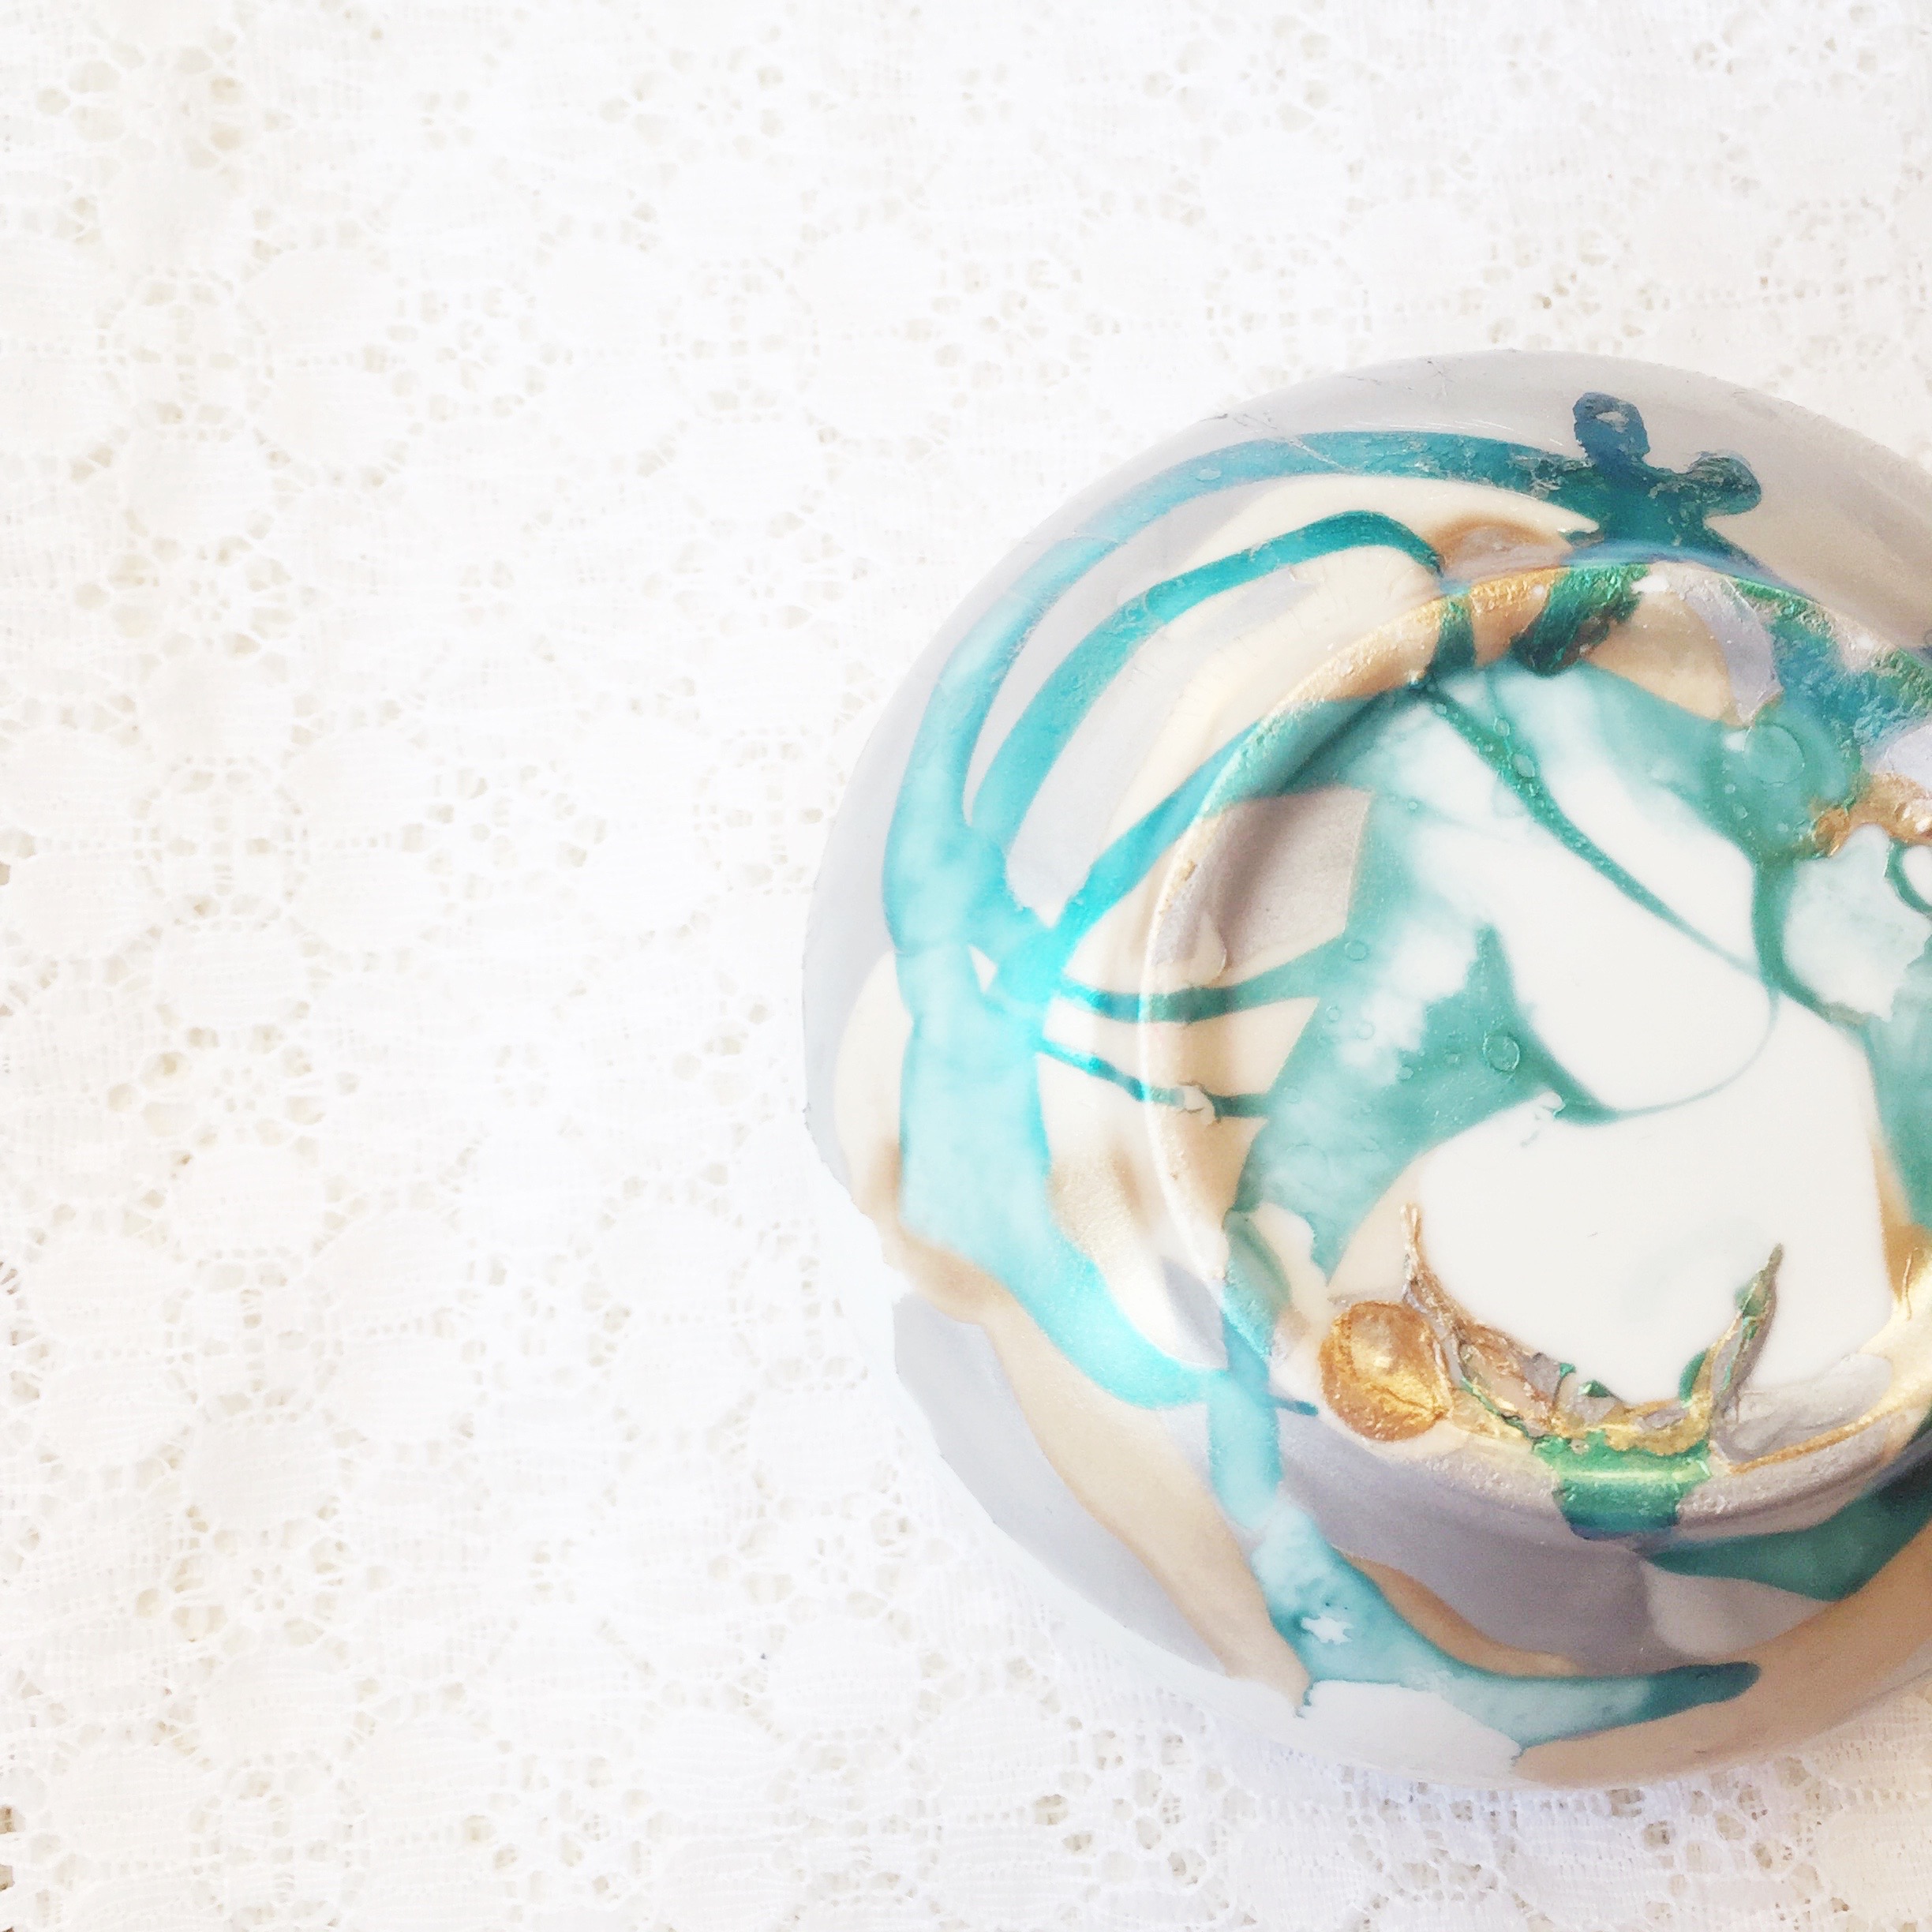
There’s lots of great full tutorials already out there {like here and here}, so I’m not going to do step by step. Just going to offer some tips we discovered as we each took a turn at this project.
Tip #1: Get your work area set up, all the nail polish colours you’re going to use picked out & open each bottle, so everything is ready to go quickly.
Tip #2: Open a friggin’ window {or two}! It was a damn cold winter night, and I’m pretty sure we got a little high on fumes.
Tip #3: In case you thought doing this with young kids was a good idea {ummm, nail polish & kids don’t usually mix}, please reconsider. It’s a simple “adult” craft. Again, hello, fumes.
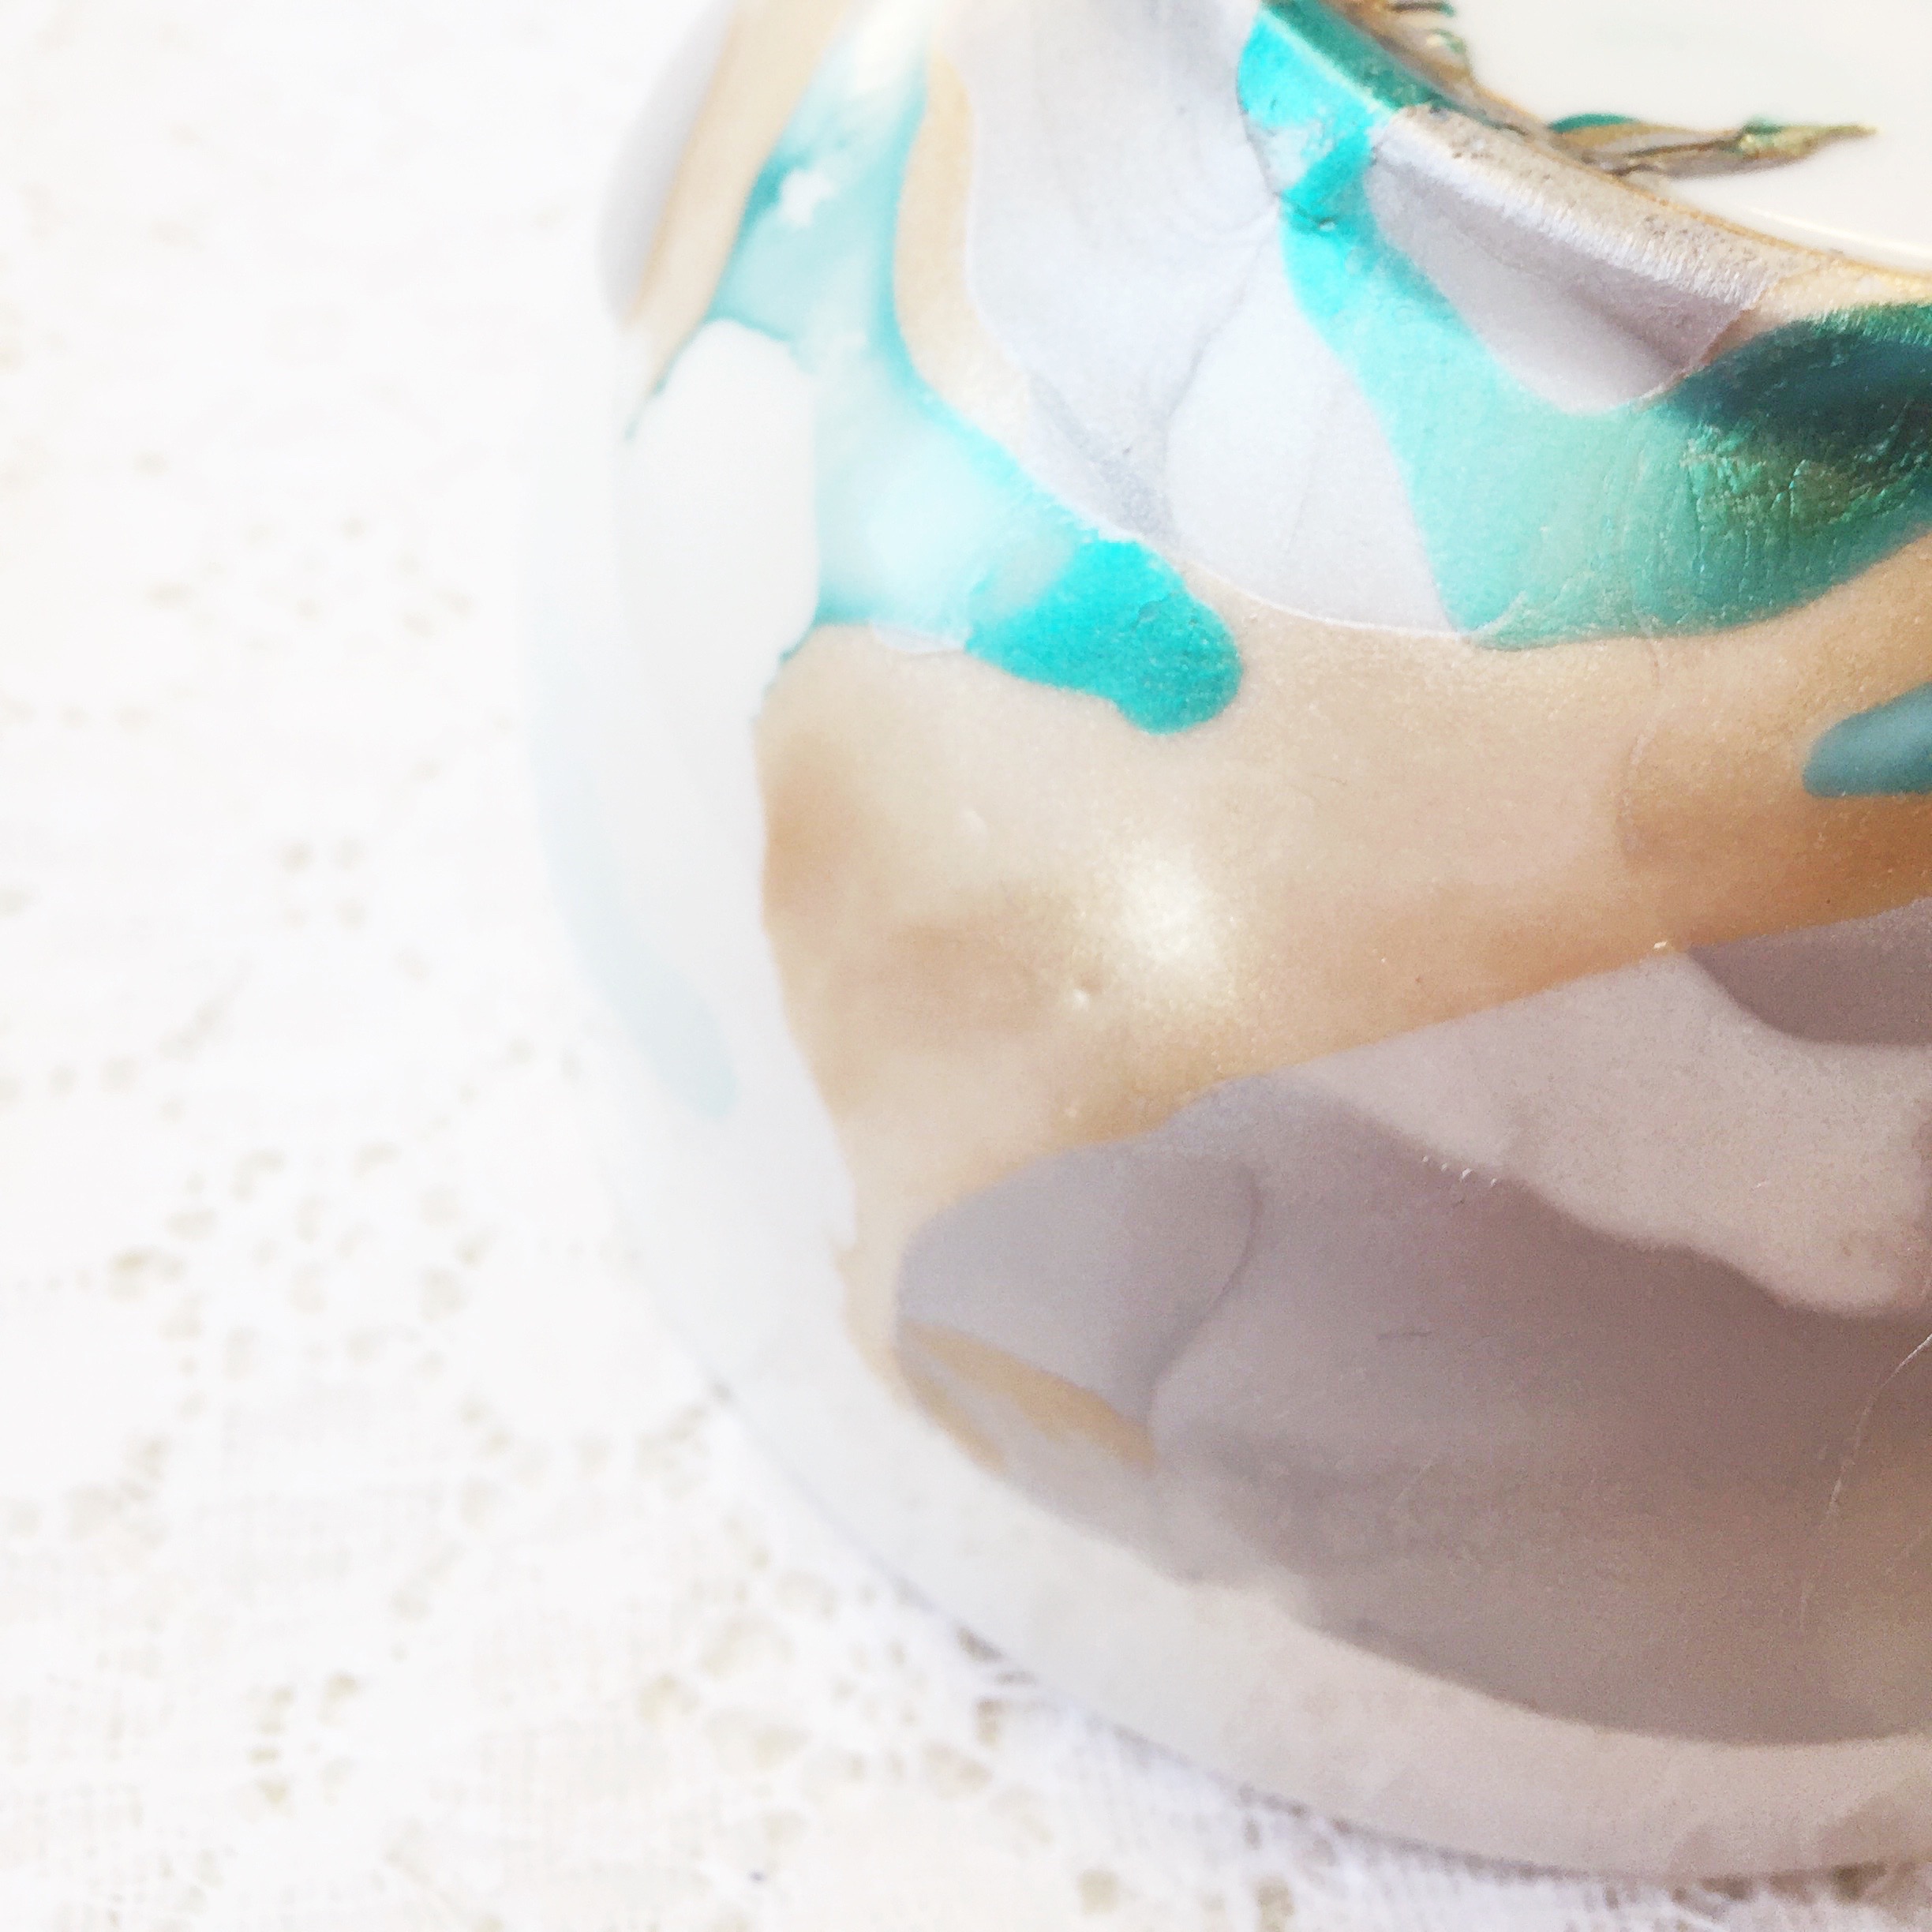
Tip #4: Work quickly. Drizzle the nail polish close to the surface of the water, slowly, but do work quickly. The polish will start to get gummy as it hardens & can lead to lumpy {somewhat ugly} results. But hey, if you don’t like how it turns out, just use nail polish remover & start again.
Tip #5: You don’t necessarily have to take the time to swirl the nail polish in the water with a toothpick before dipping your item in. Simply the way you drizzled the nail polish colours into the water can give beautiful results.
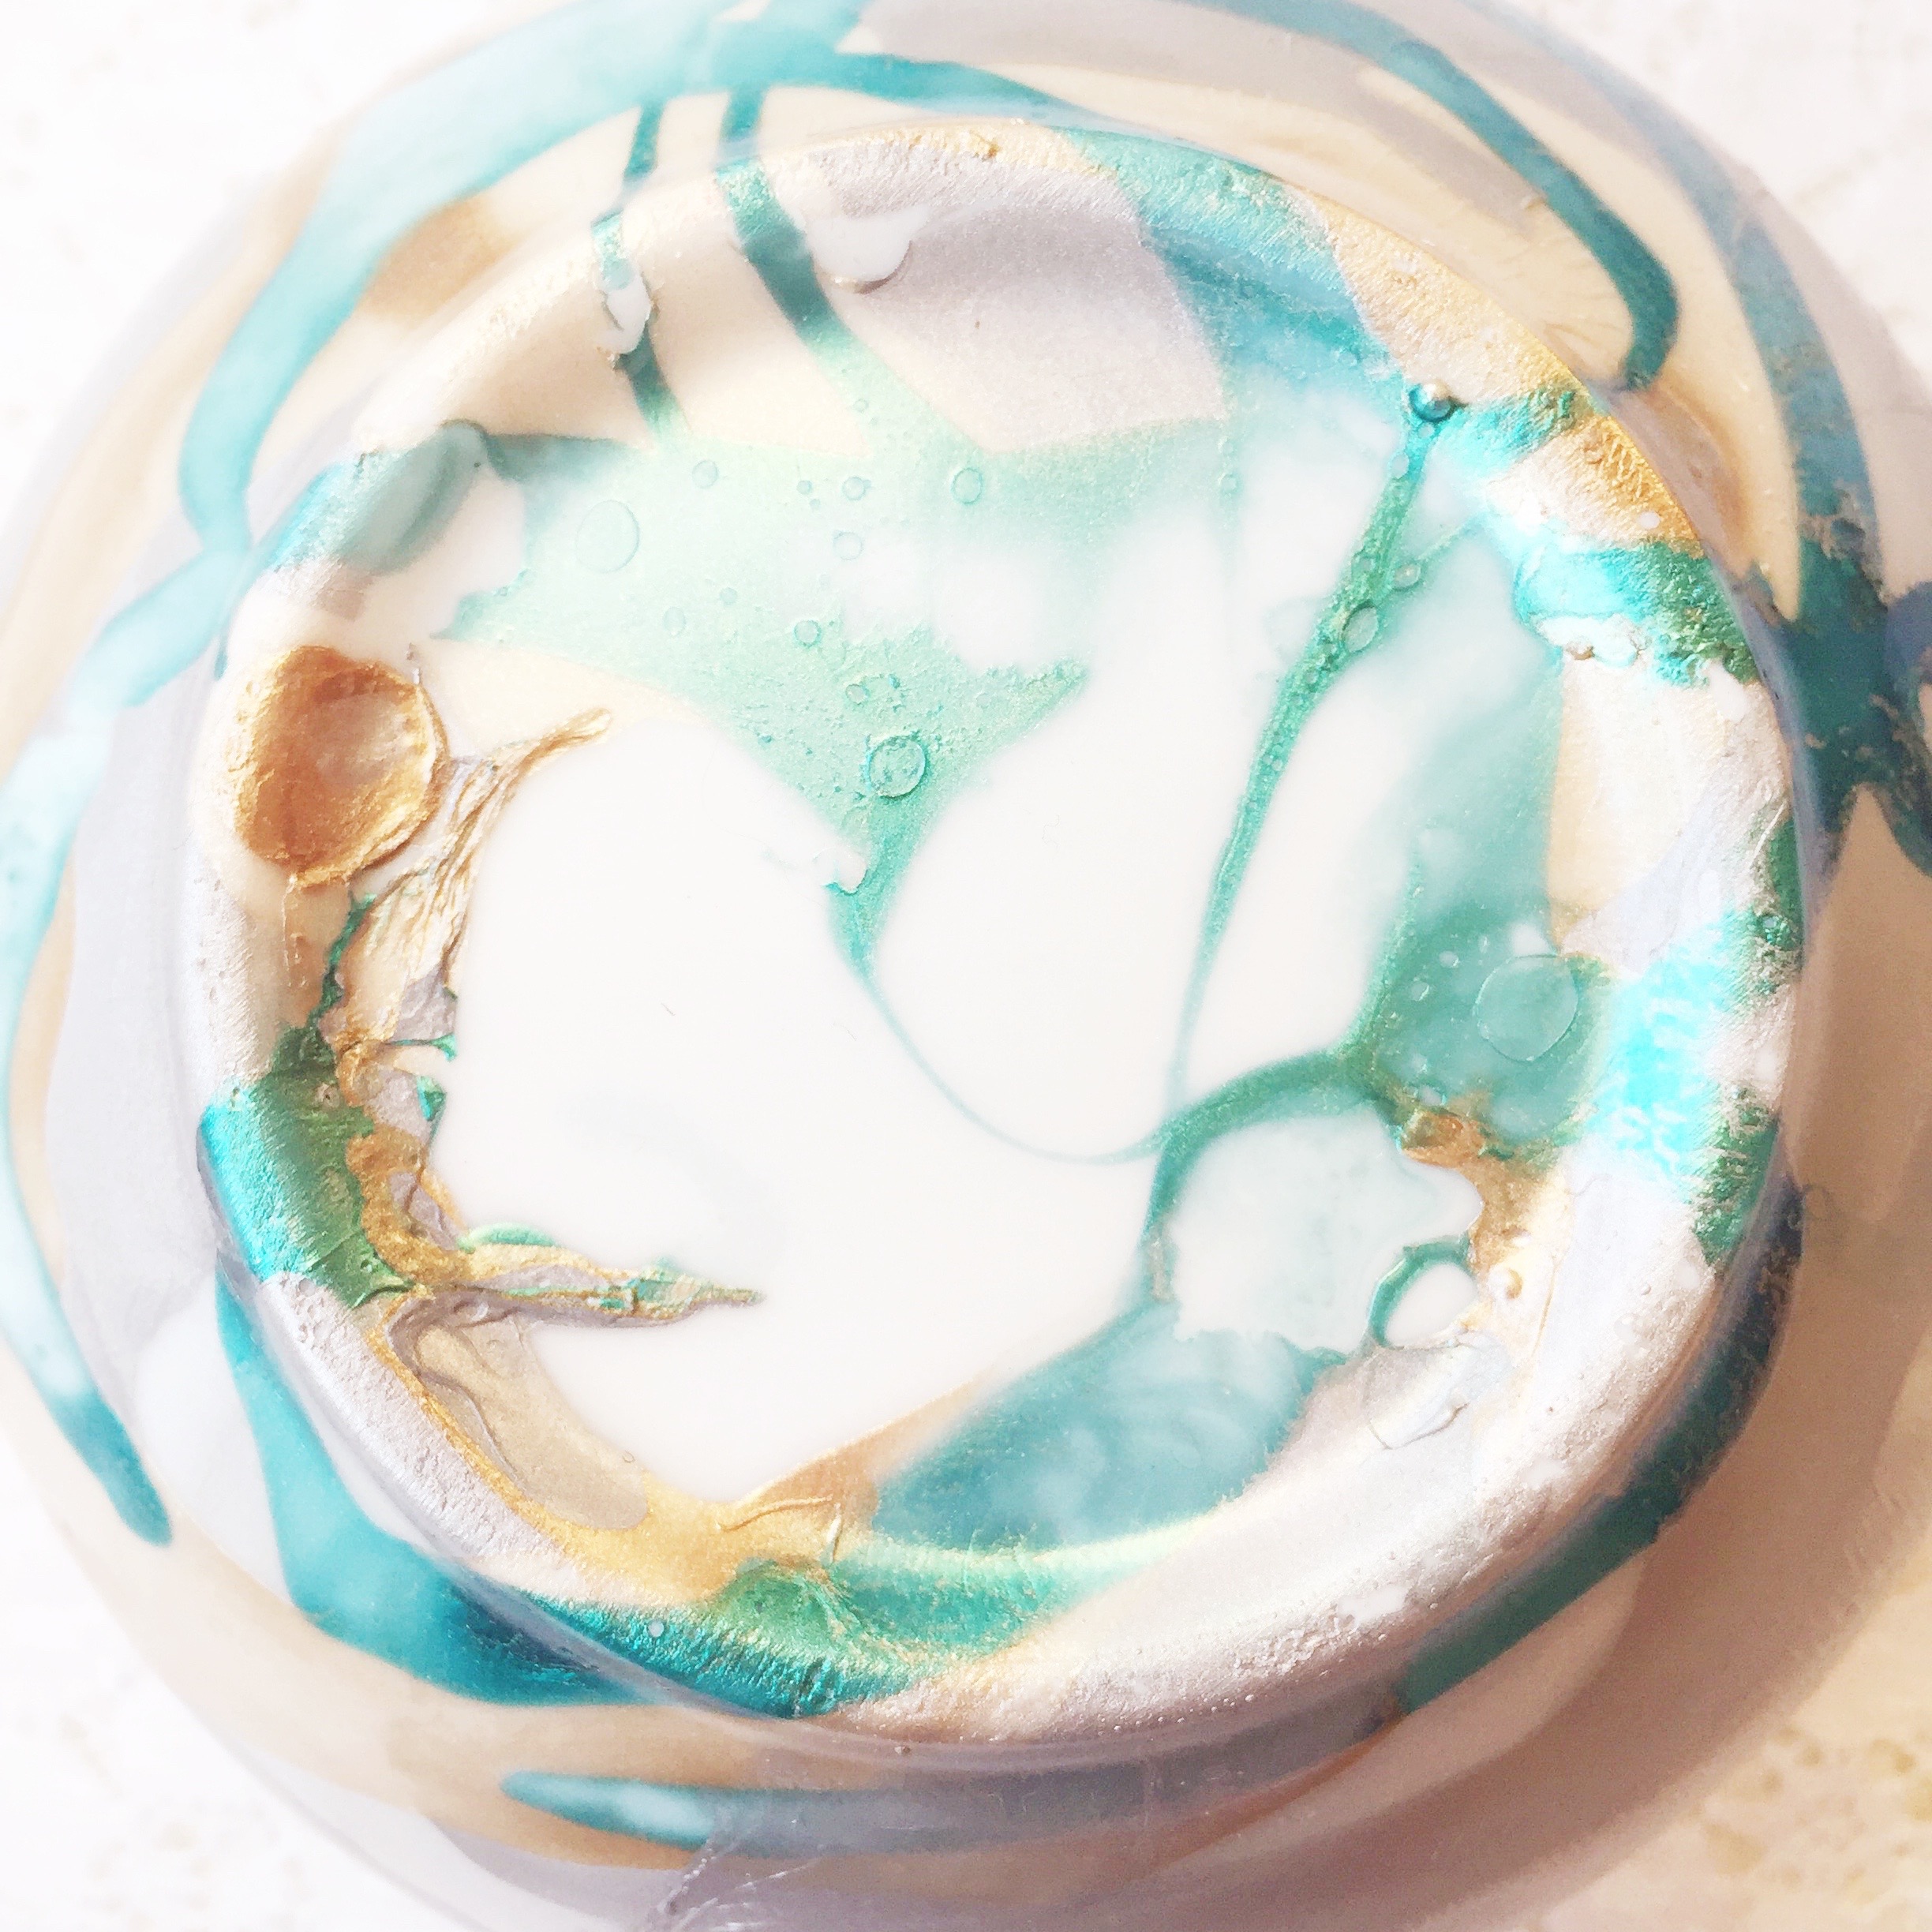
Tip #6: Prepare to be surprised! Or brace yourself! Or heck, just dive in & DO NOT overthink it. This is one of those crafty projects that you can’t predict what the end product will look like. Yes, you’re choosing the colour scheme, but that’s about all you have control over. I found it exciting, others found it a little frightening. Experiment!
You can generally rate the success of a Pinterest project by whether you’d repeat it. And yes, I would definitely gives this one another go. Several of us at the party were interested in attempting to dip our bowls upside down, so that the inside gets marbled {not food safe, but to keep jewelry in}. I think tile coasters would be awesome too {and a great hostess gift idea}. But high on the list to try, is a marbled hanging planter! They’re gorgeous!
Happy crafting!
]]>
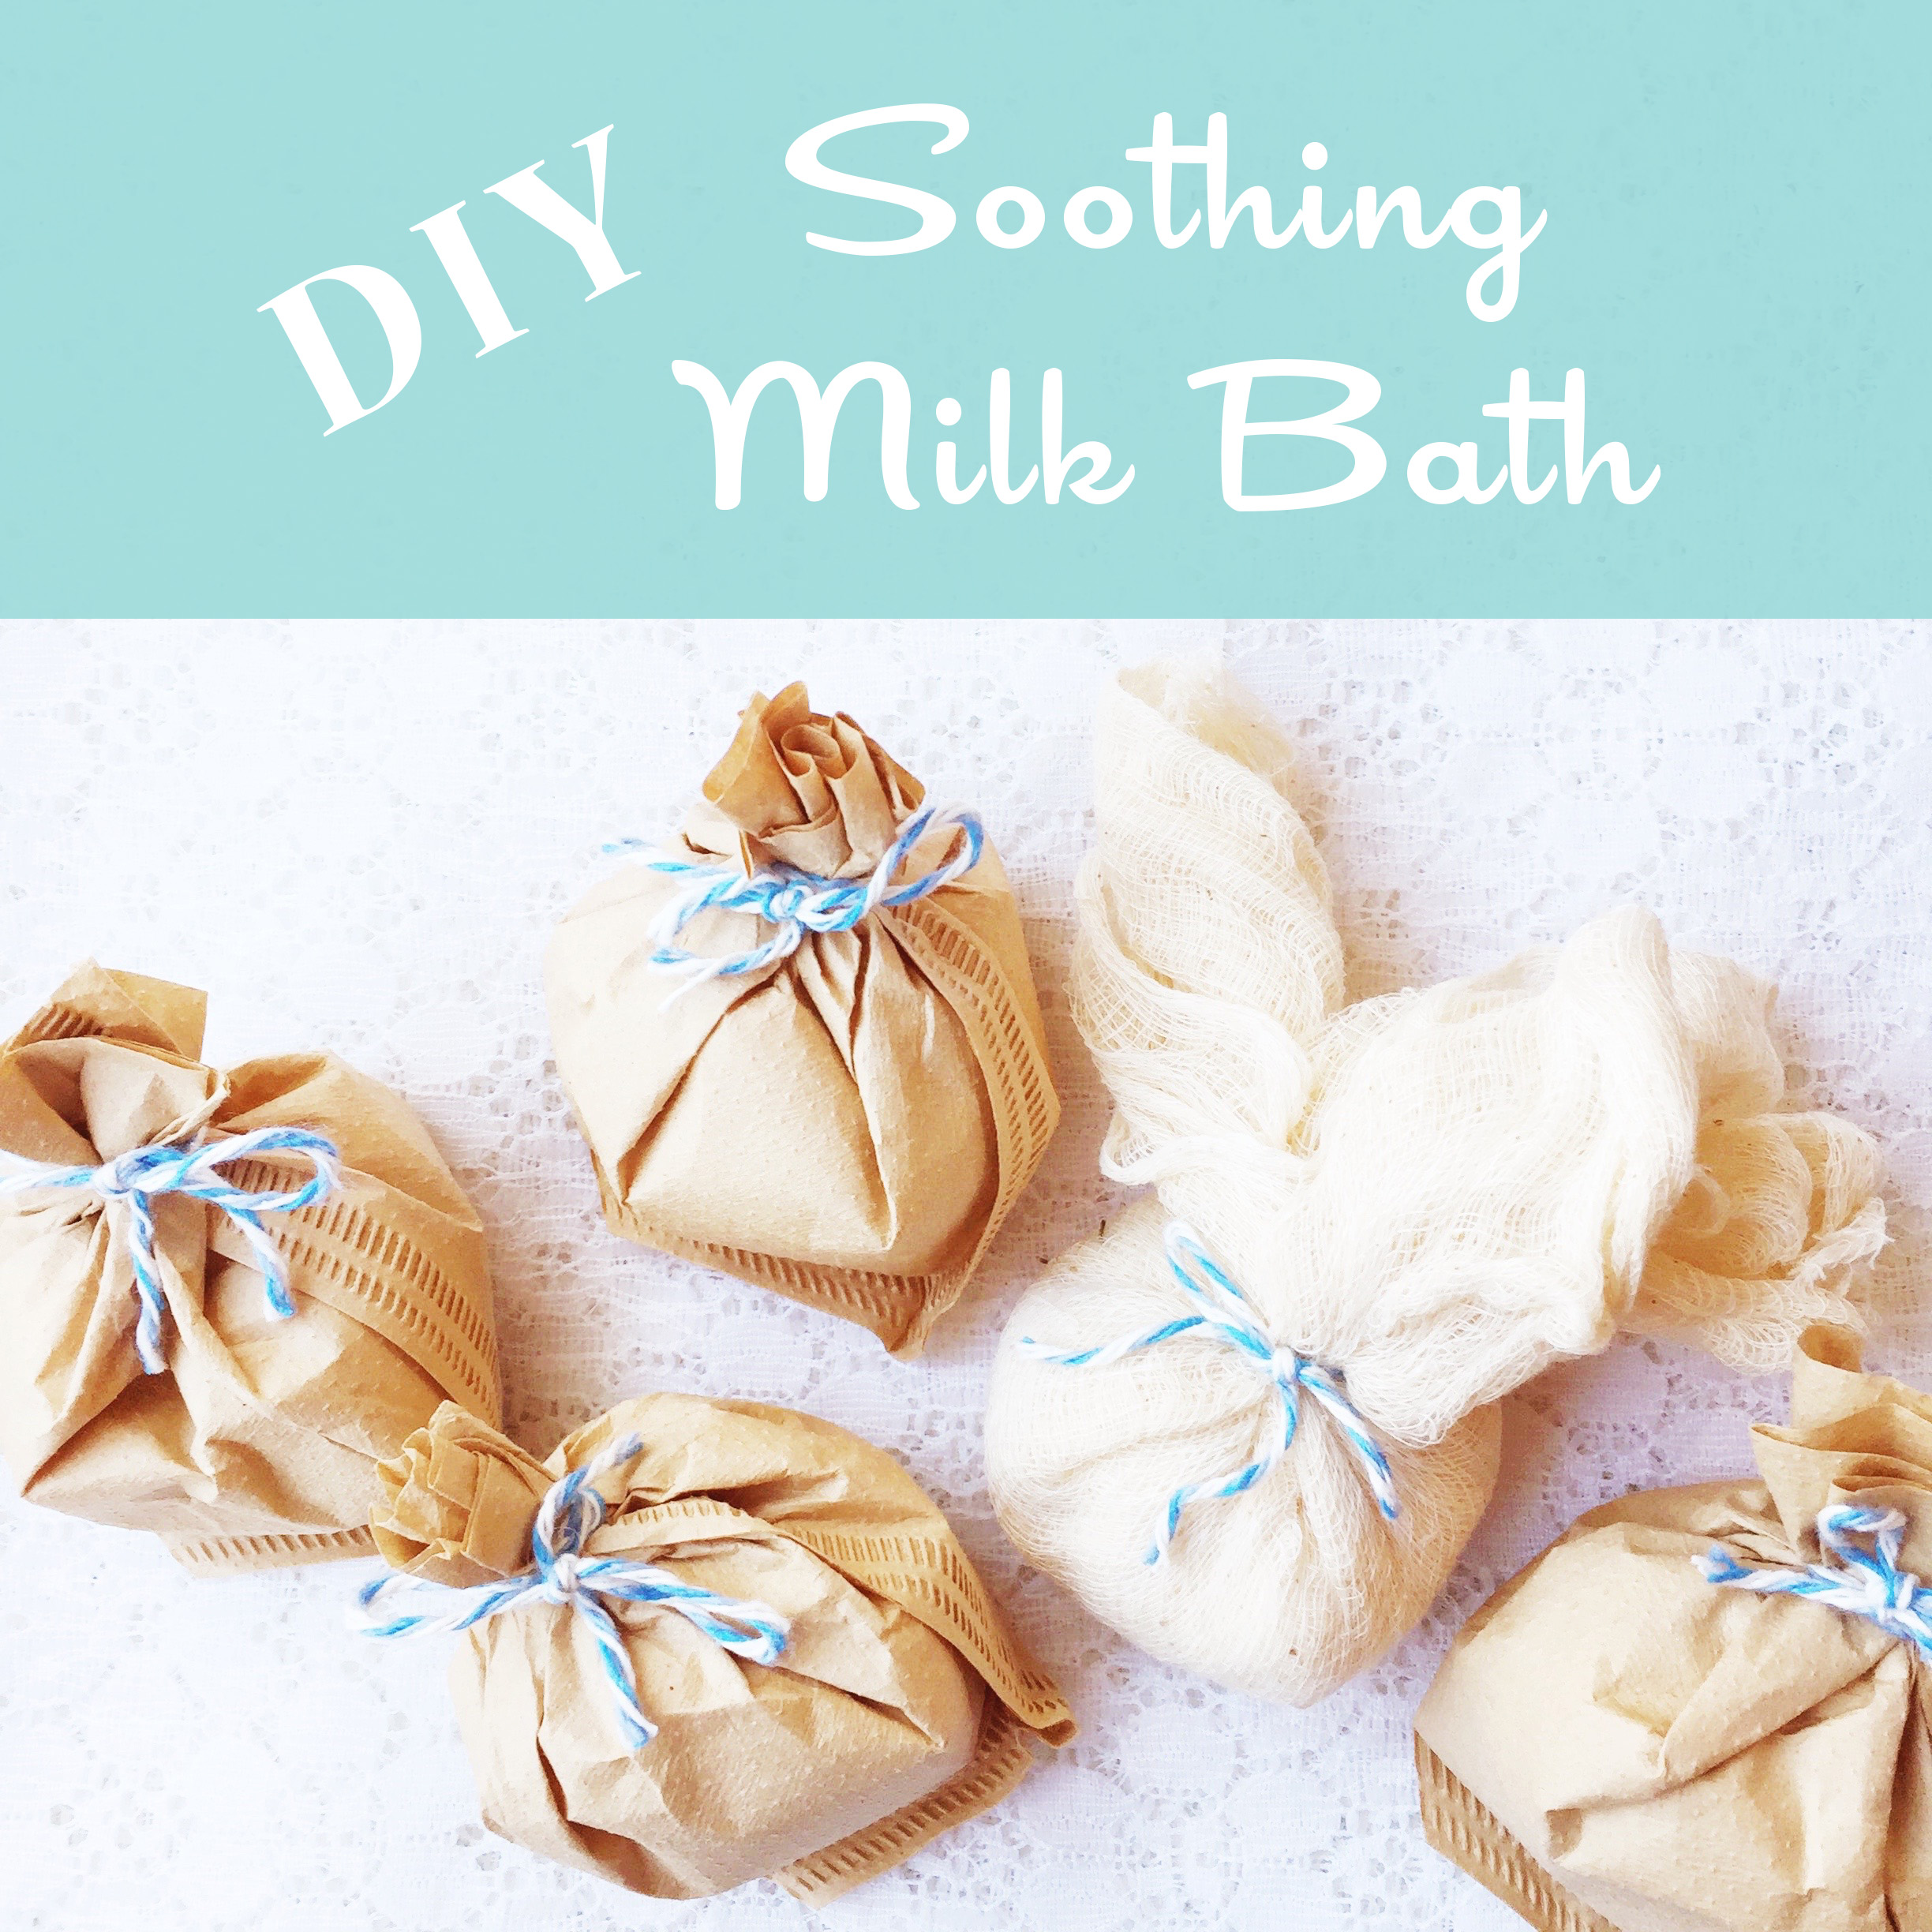
Oh man, I used to buy such a lovely milk bath mixture, but then the shop changed their recipe & it was much less lovely. Anyway, I’d sort of forgotten about how enjoyable milk baths were, until I started diving more into this whole DIY bath & beauty using essential oils. There’s lots of great recipes online, as it turns out, but I thought I would post my version to share with you. Tweak it as you like, to get the results & scent you adore.
The focus of my milk bath is soothing dry skin. I always struggle with eczema {even more so after having Sam… not sure if it’s a hormonal thing} and winter time in Alberta is CRAZY dry. Like the other day, we were dryer than the Saharan desert!! Wha?! I kid you not. It was an actual statistic. So, anything to help with dry skin is welcome in our house.
That said, I have to admit, I used some skim powdered milk in my mixture because it was all I could find at the time. I will probably replace this with powered goat milk, which is waaay more moisturizing {and more expensive}. Here is the recipe as it currently is:
Soothing Milk Bath
- 1/2 cup powdered skim milk
- 1/2 cup powdered coconut milk
- 1/4 cup baking soda
- 1/4 cup of ground oats {do not use instant oats, get large flake oats and simply crush with mortar & pestle or food processor, if you have one}
- 4-8 drops of Lavender Essential Oil {to your preference}
- 5 drops of Oatmeal, Milk & Honey Fragrance oil
- 1/3 cup dried Chamomile flowers
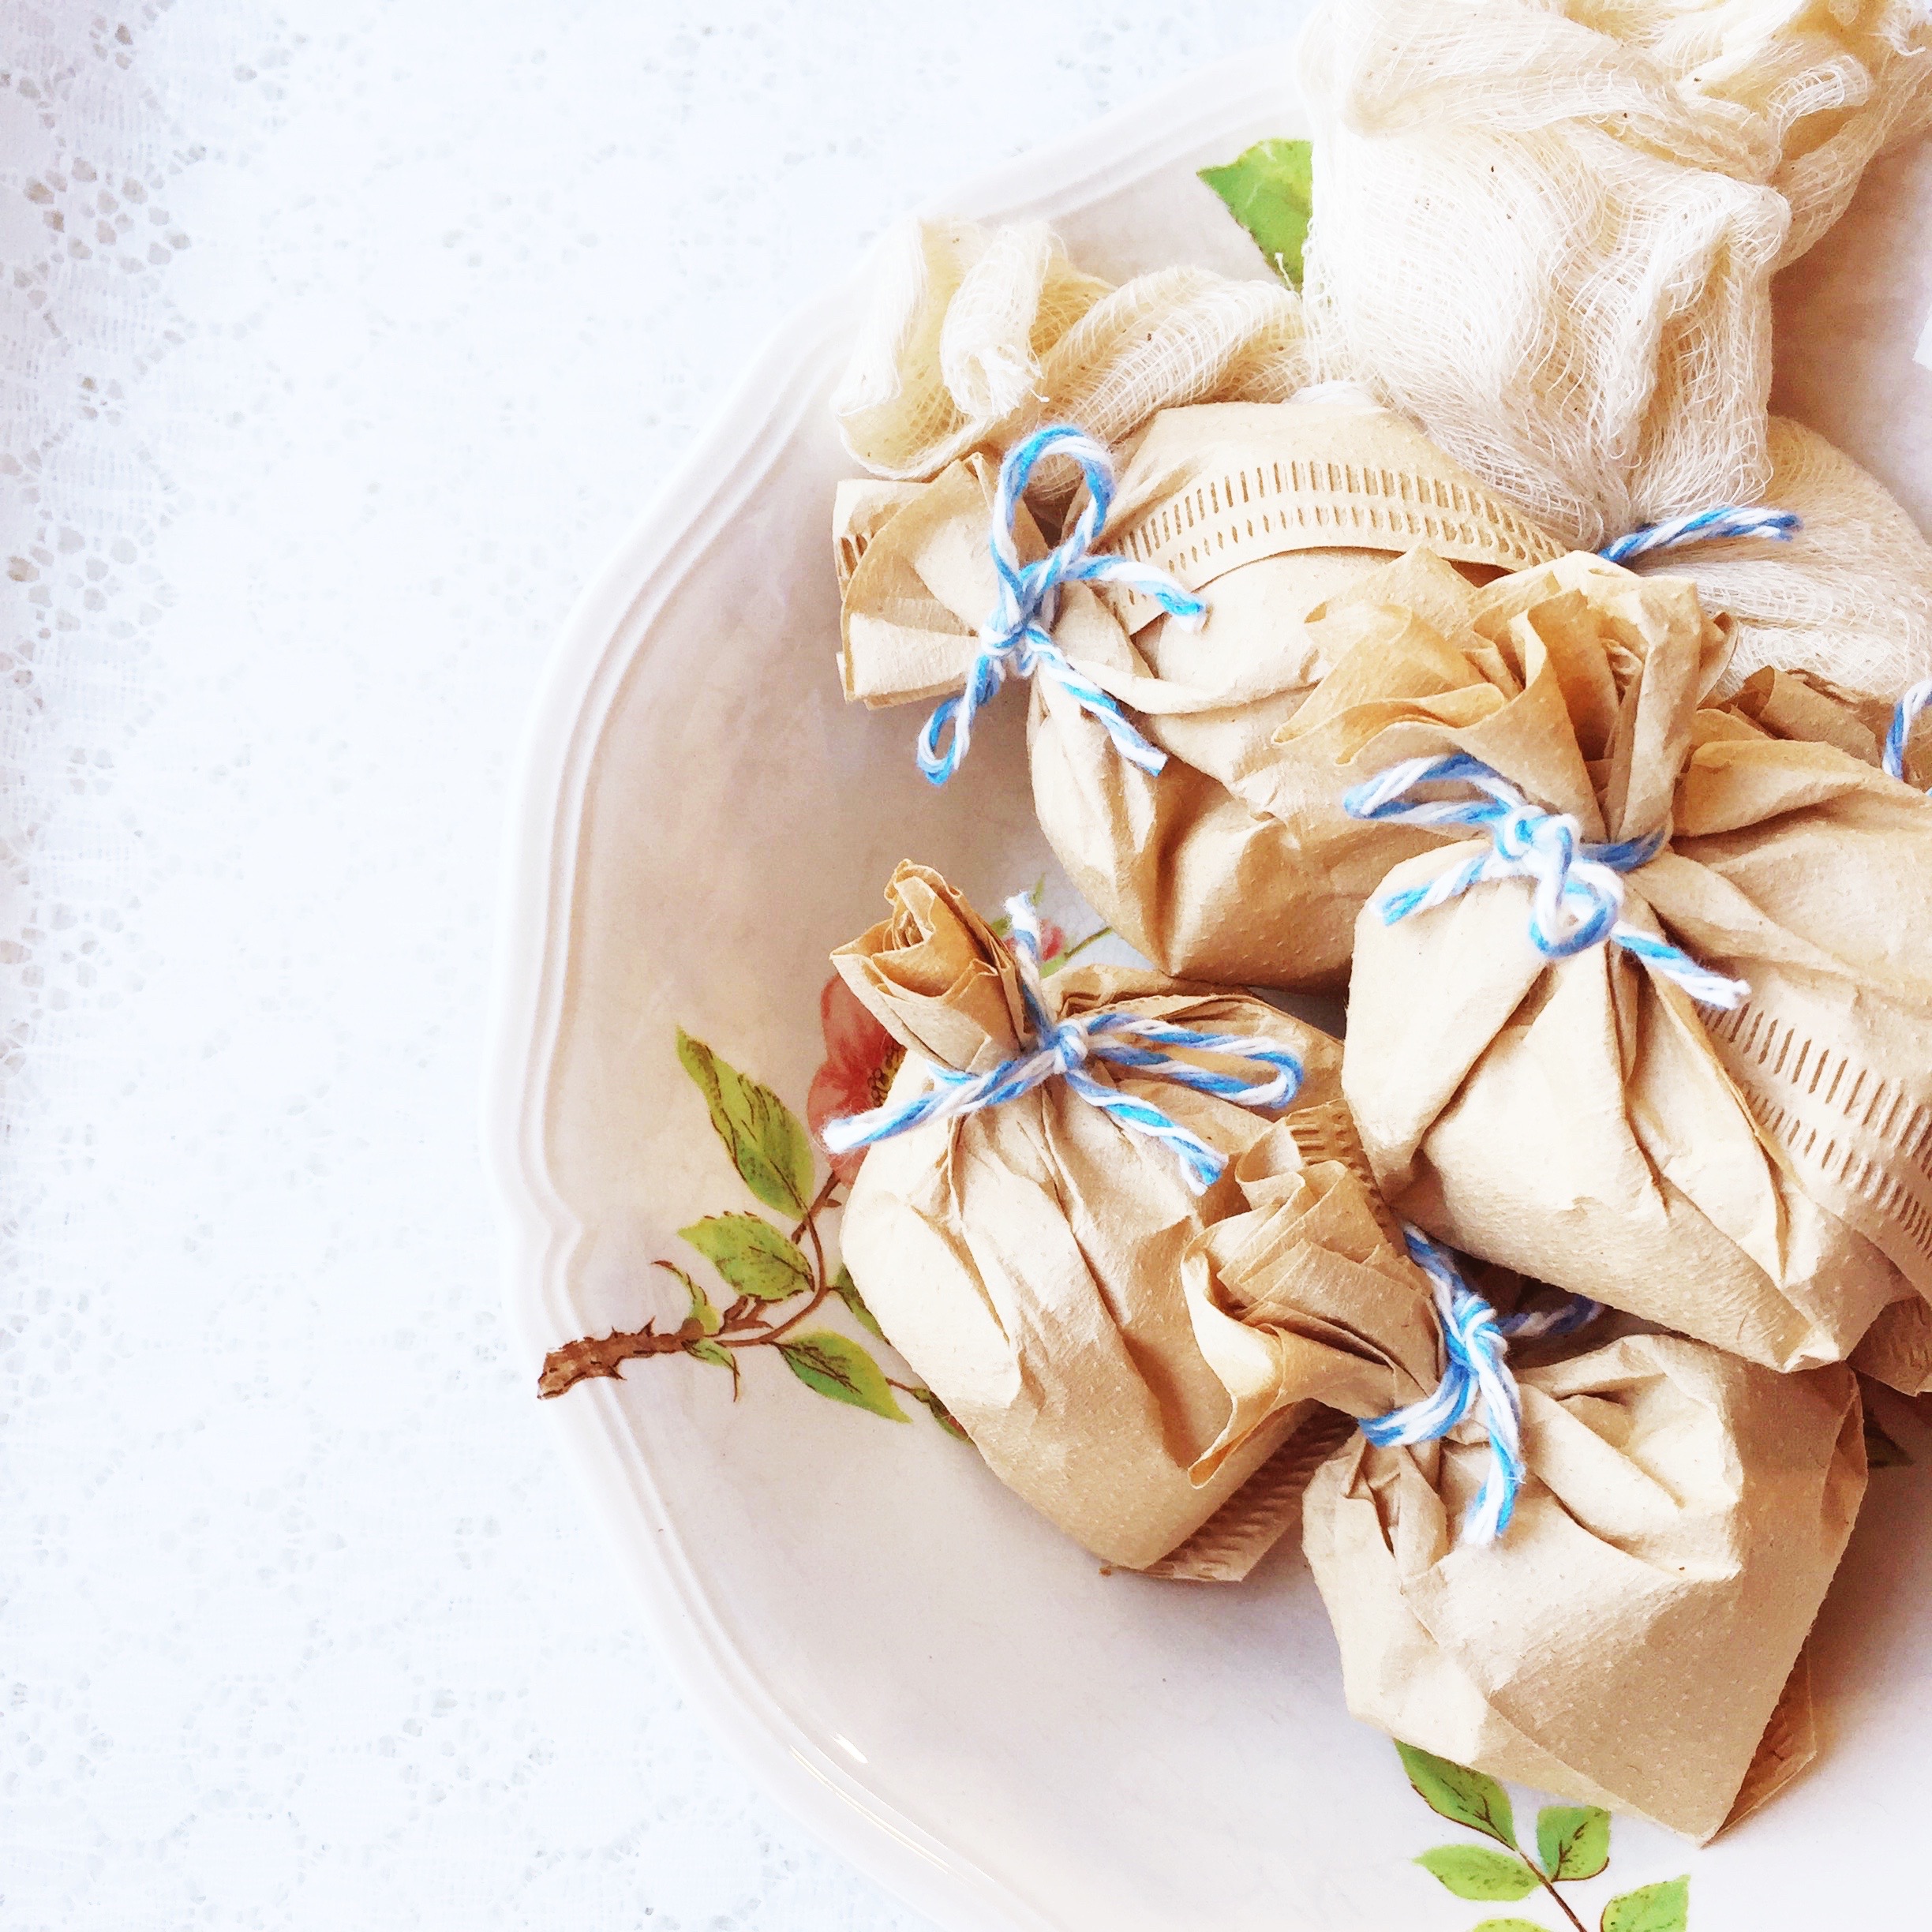
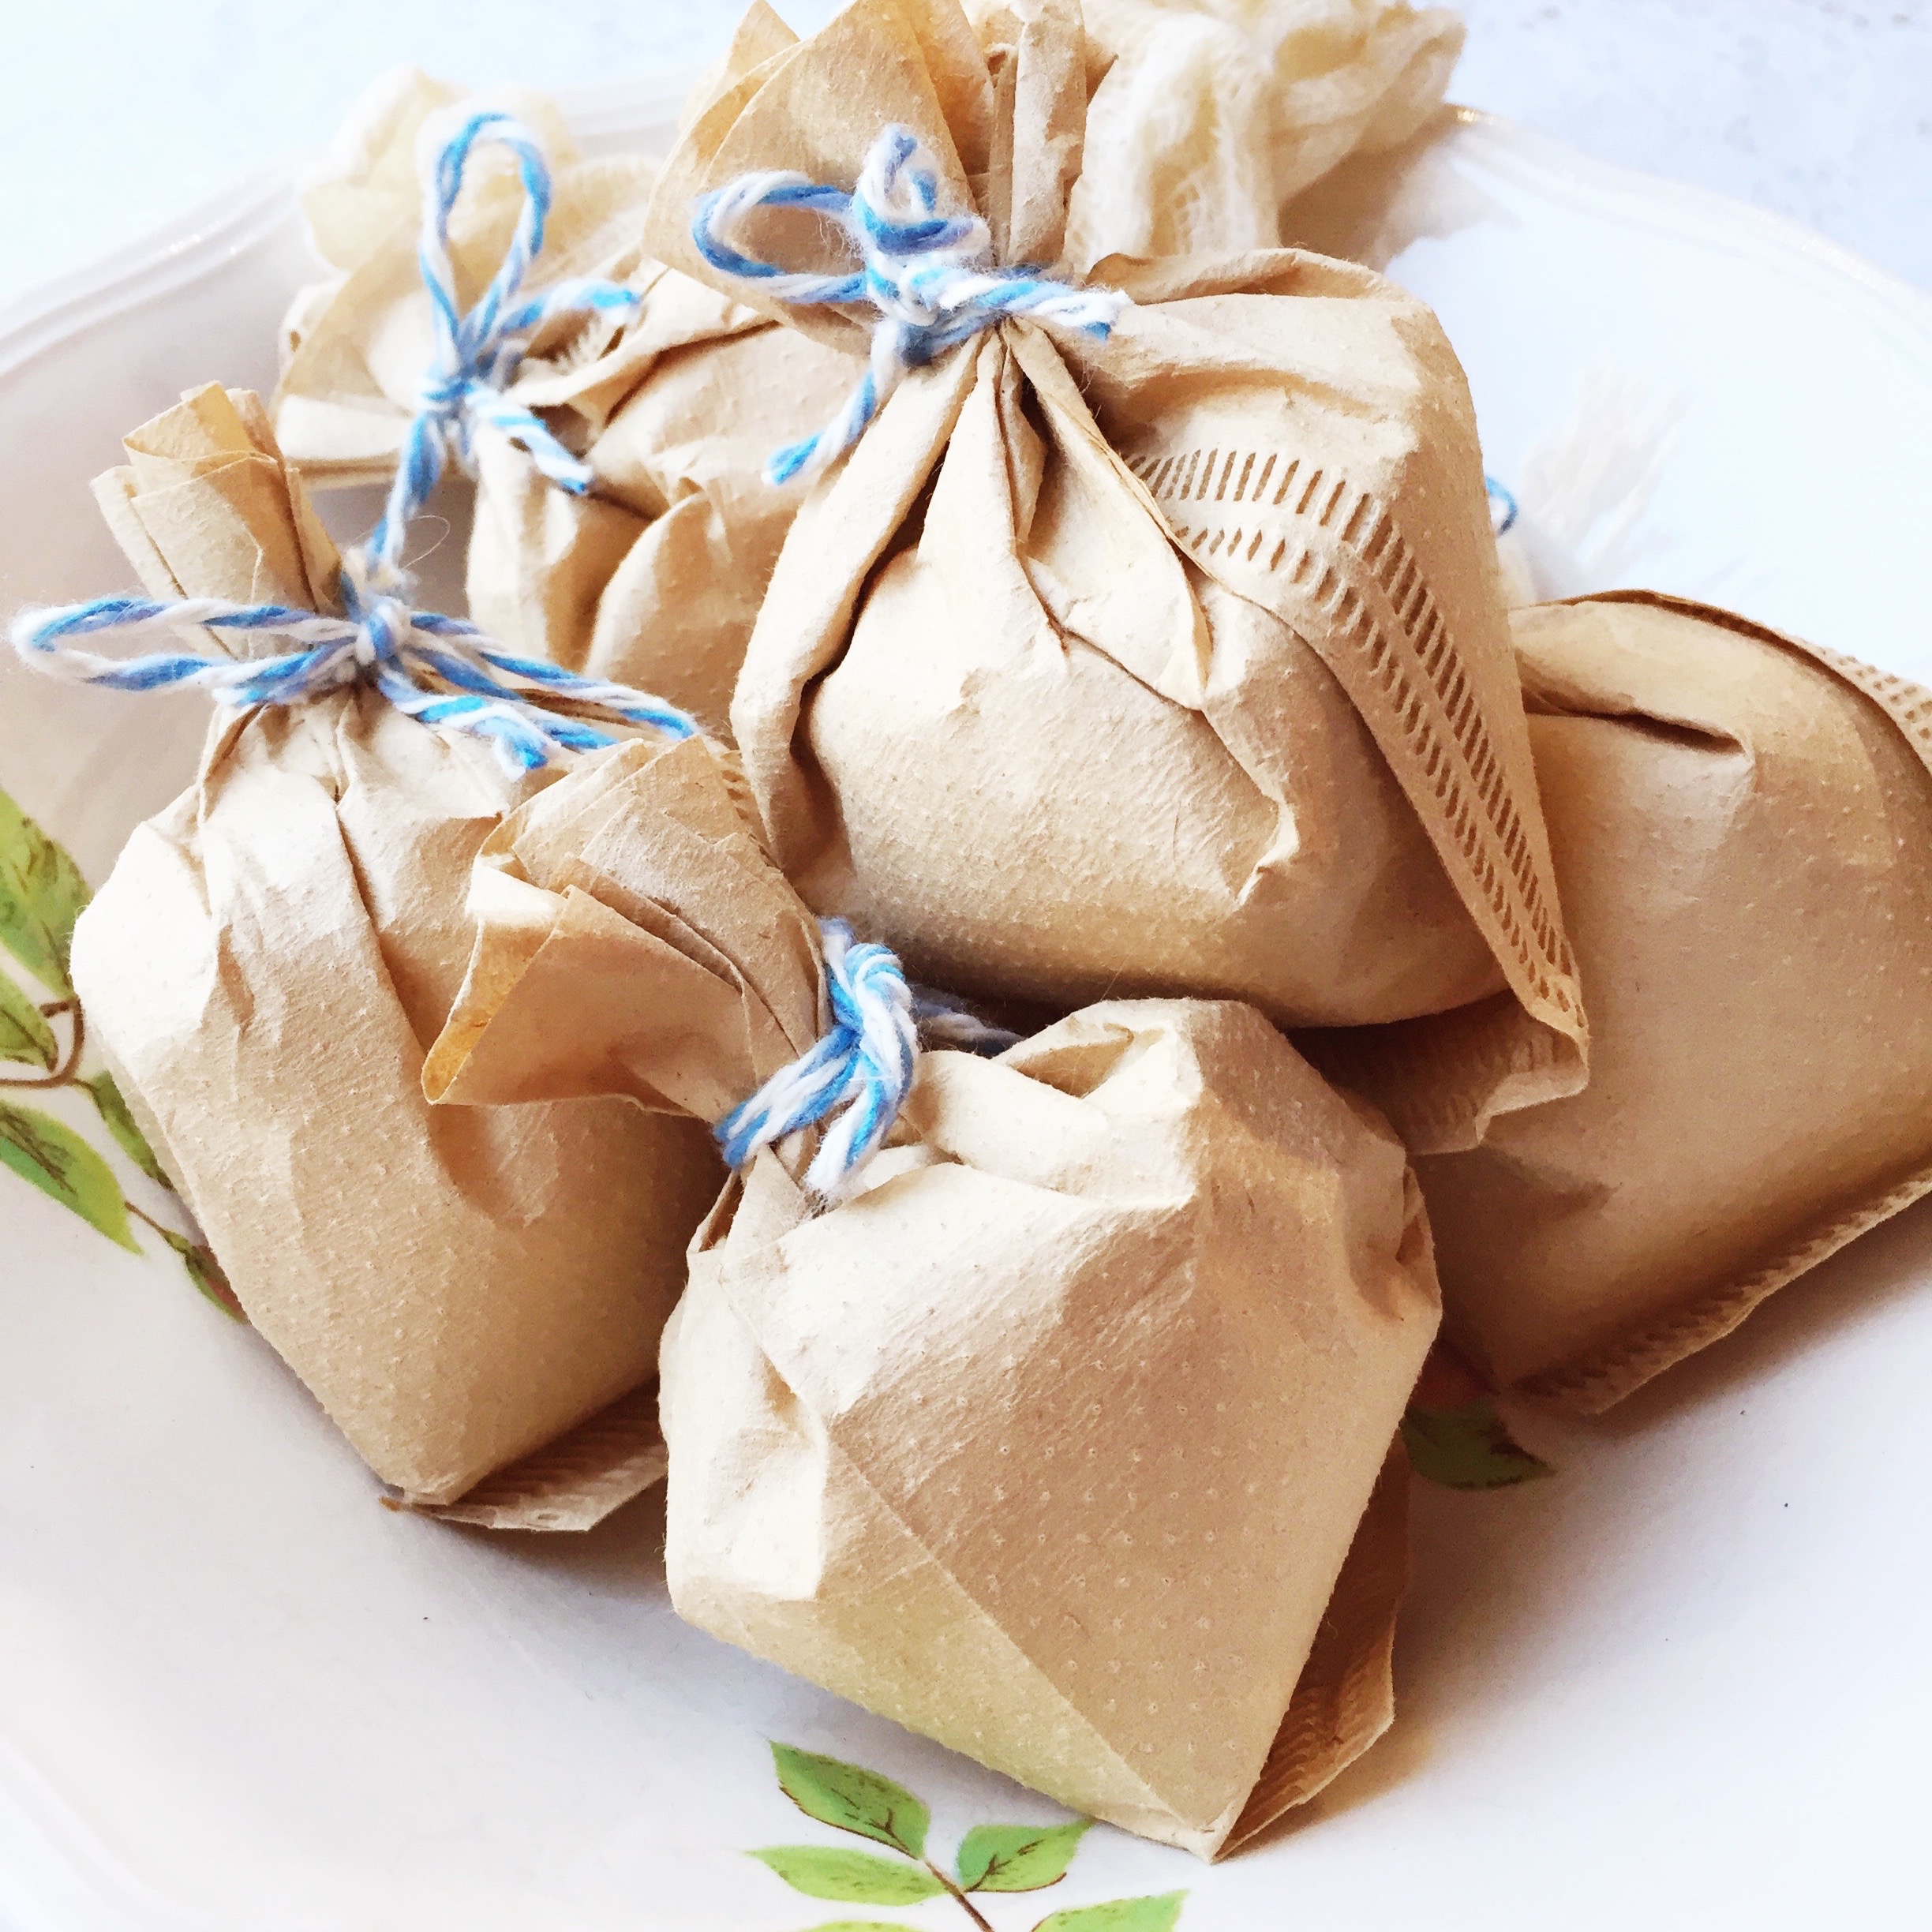
- Heat & seal tea bags or small muslin bag or cheesecloth or coffee filters *see notes*
To make your milk bath, stir together skim milk, coconut milk & baking soda. Crush up your oats and stir into mixture. Drop in Lavender and Oatmeal, Milk & Honey oils. Stir mixture, removing clumps. Add dried Chamomile flower and stir until mixed.
Now, I have tried both the cheesecloth and coffee filters to package the milk bath mixture. The cheesecloth is lovely. The coffee filters are ok {had one burst open}. I bought the tea bags for tub teas, but haven’t used them as they were too small a size. I’ll order larger next time. For the coffee filters, I used a #4 cone {because that is what we use in our coffee maker}. No matter what you choose, about a 1/2 cup of milk bath mixture is right for a single bath.
By the way, there’s nothing that says you can’t just scoop the milk bath mixture directly into your bath water. Many online recipes recommend just that. My preference for putting it into something comes simply from want to avoid the cleanup afterward. The chamomile flowers need to be strained out before you drain the water & you’ll need a bit of rinsing off too {Sam & I experienced this when a coffee filter burst during one of our baths}. Skin still came out feeling so soft & moisturized though. I’m daydreaming about how much more moisturizing goats milk powder might be… ultimate indulgence {especially if you add a glass of wine & no children into the mix}.
Combine a couple packages of Soothing Milk Bath with a Bath Salt and the Gingerbread Sugar Scrub and you’ve got a the makings of a lovely spa gift this Christmas!
Happy Making!
]]>
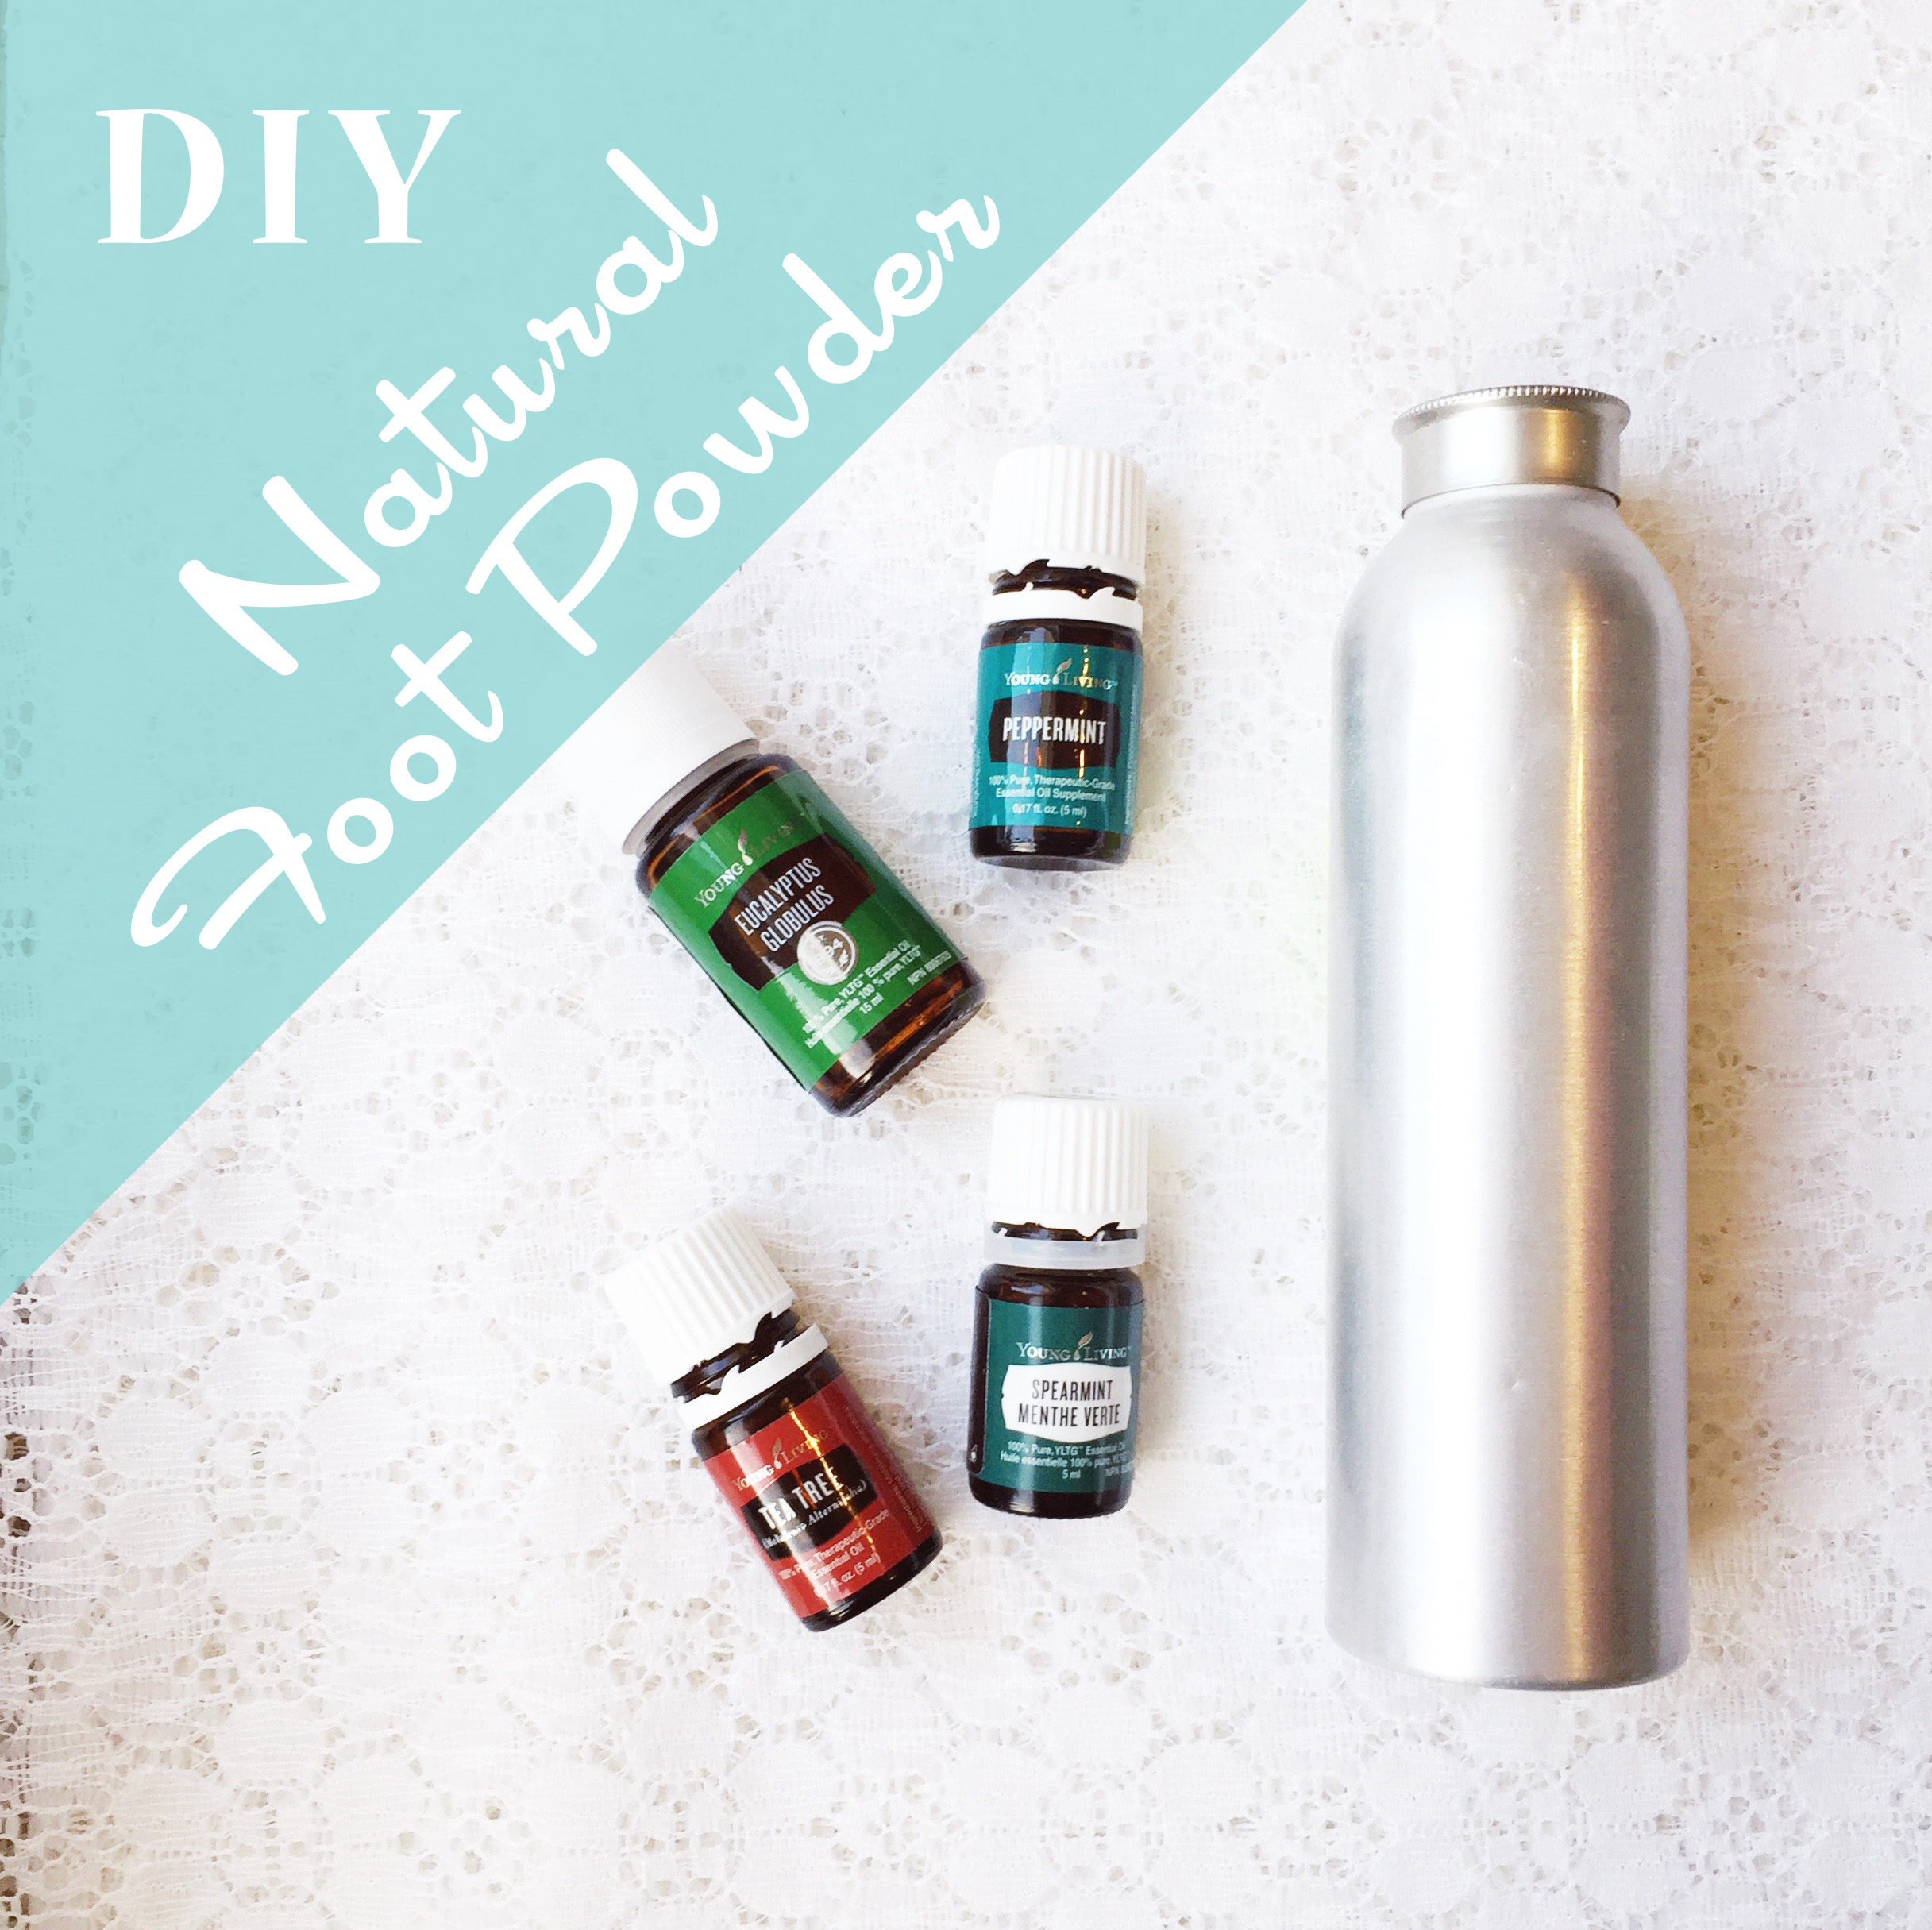
{Excuse the pun} This is a great stocking stuffer gift: DIY Natural Foot Powder! In previous years, I’ve purchased my husband some natural foot powders. It was always nice to have a container of it by the front door to sprinkle into shoes after arriving home. Keeps the entry way stinky-shoe free and helps with general foot odor. It’s been a while since I purchased any, and decided it was time to try my hand {not foot} at making our own. After all, with so many wonderful essential oils in the house, I figured we’d be set.
I found various recipes online and many had similar bases, so I decided just to start with that. From there, I added the oils & amounts that were satisfying to my own senses. Hopefully my hubby agrees because Santa is slipping this into his Christmas stocking. Here’s what you need to make my version of a Natural Food Powder:
DIY Natural Foot Powder
- 6 tbsp Arrowroot Powder {I purchased mine here}
- 3 tbsp Baking Soda
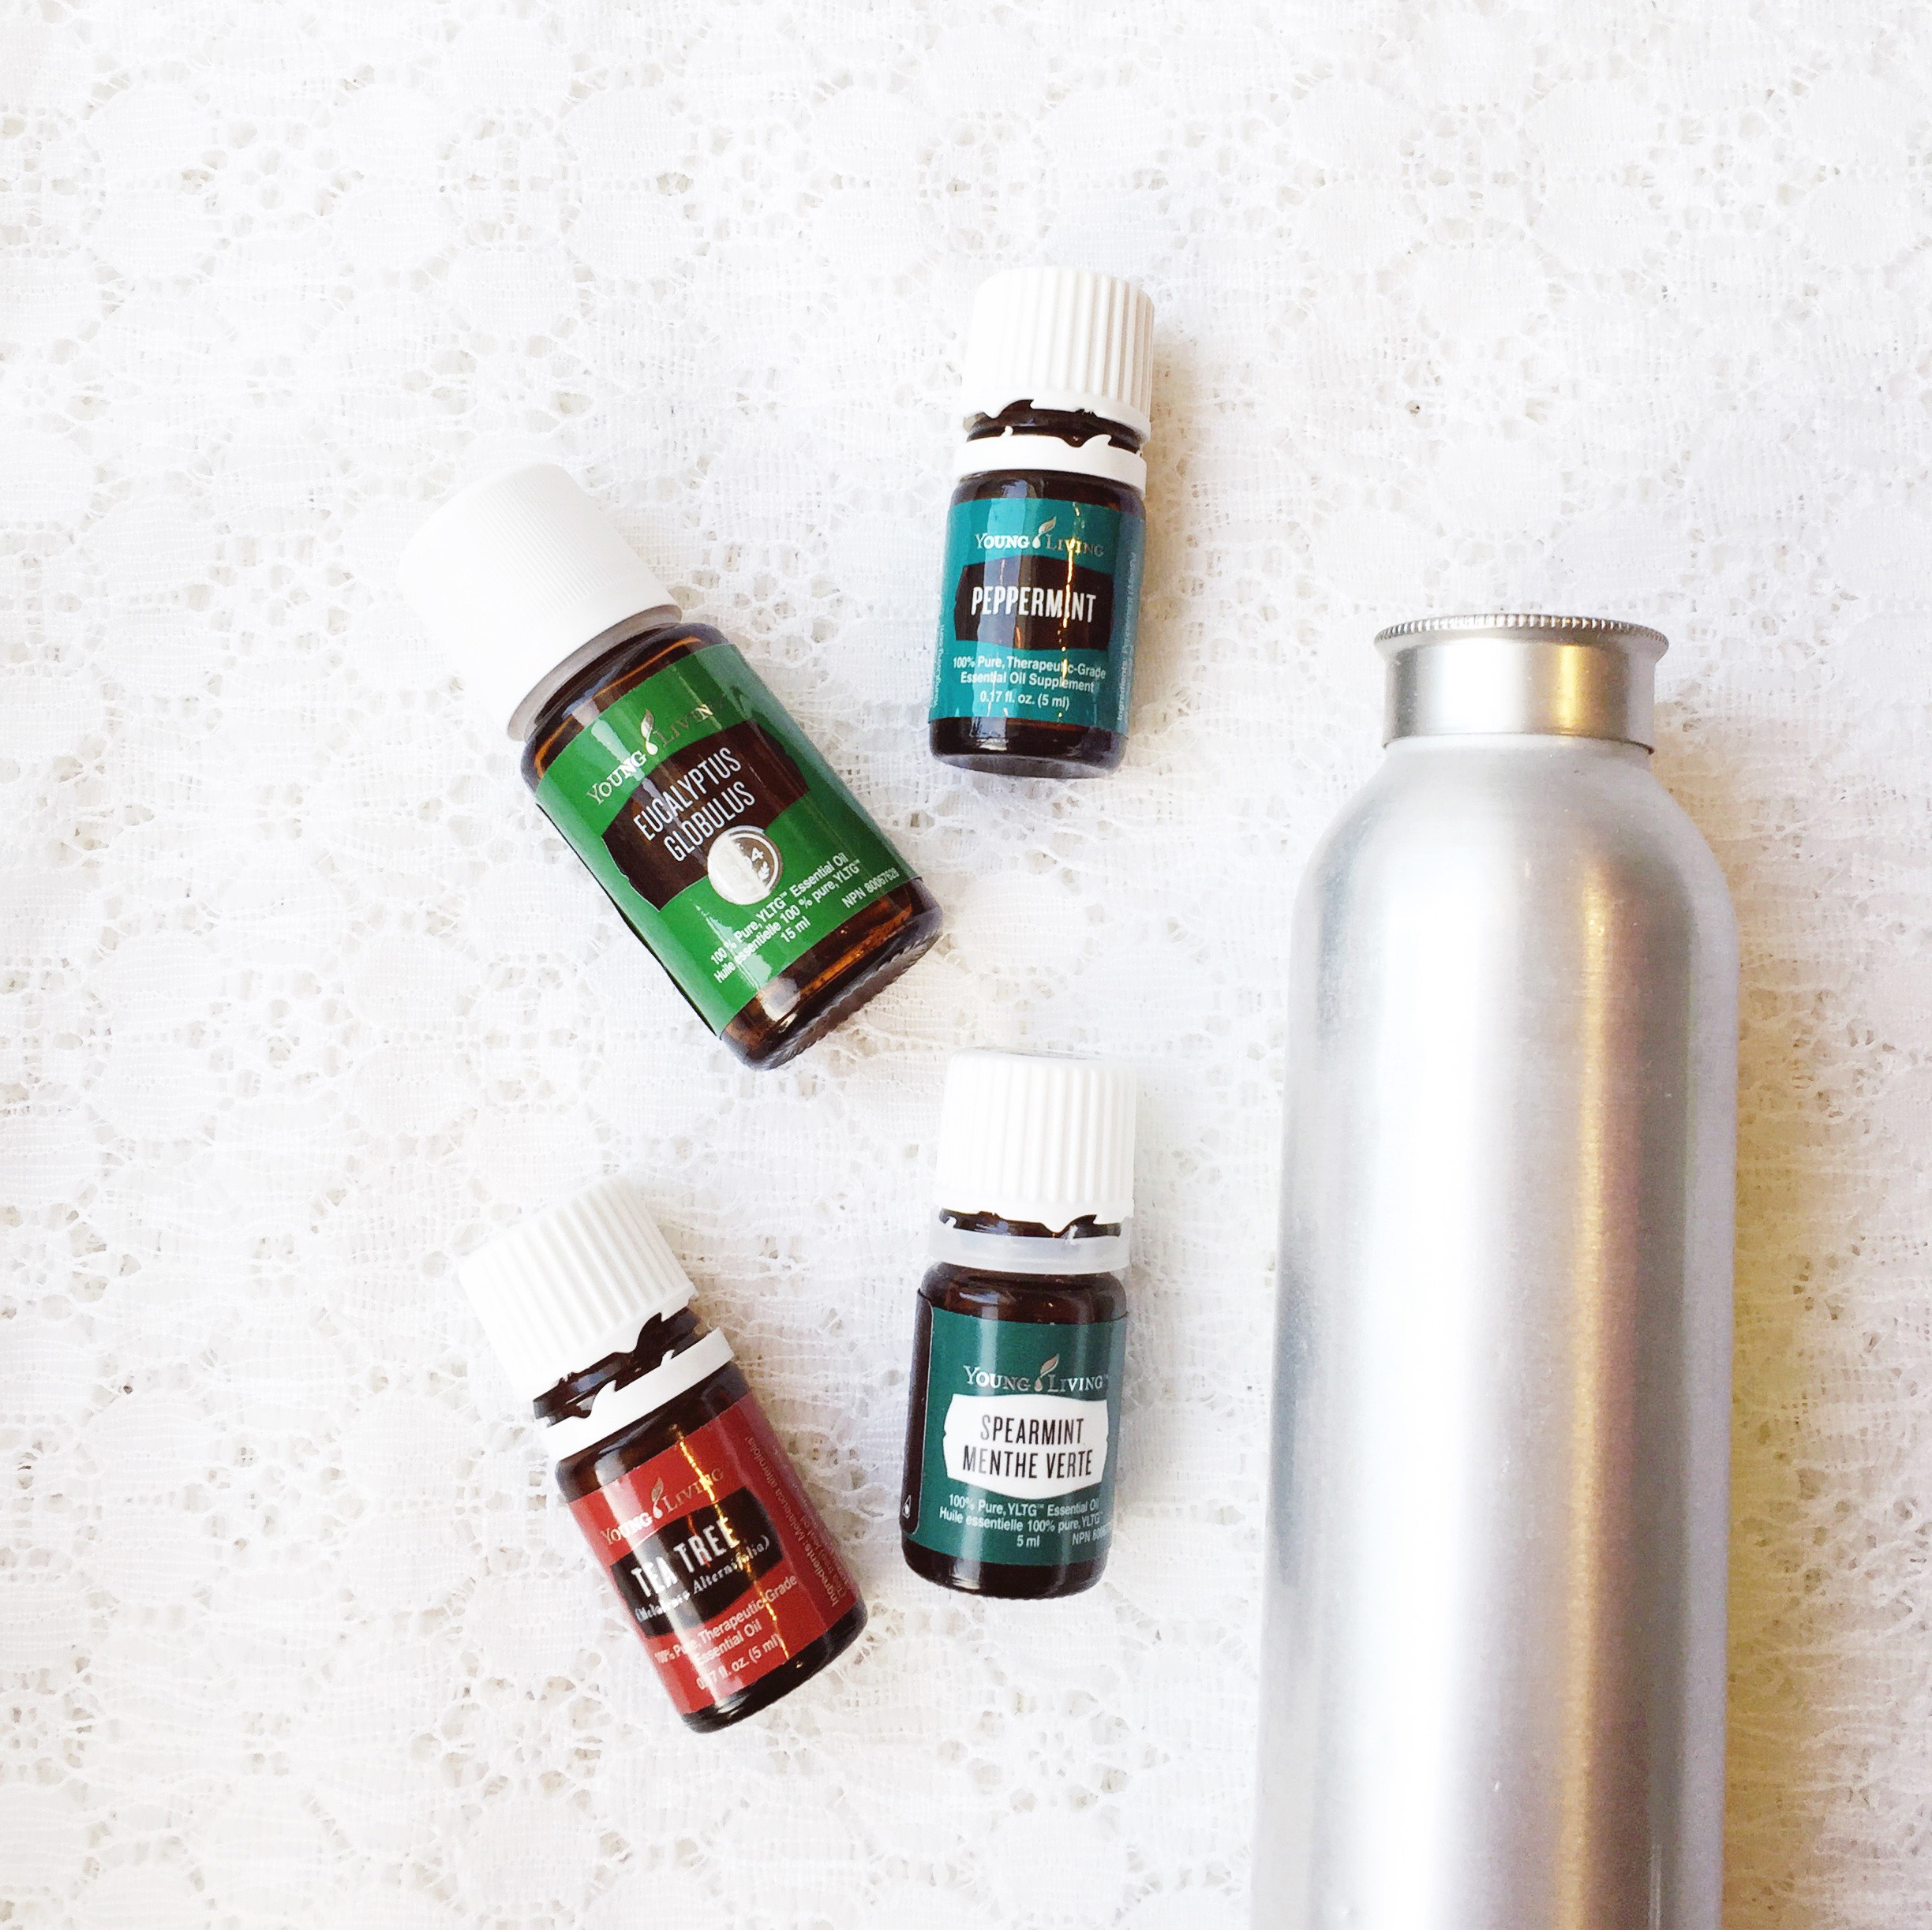
- 8 drops Tea Tree essential oil
- 5 drops Eucalyptus essential oil
- 8 drops Peppermint essential oil
- 5 drops Spearmint essential oil
- a container with shaker top, also called powder bottle with sifter cap {Thankfully, we still had some of the empty containers from purchased foot powders, so I used one of those. My suggestion is an aluminum bottle with the shaker cap. You could also just use a salt/pepper shaker or one of those glass parmesan shakers}
Stir together the Arrowroot Powder and Baking Soda, until thoroughly mixed. Drop in each essential oil. Stir mixture, breaking up any clumps formed from adding oils. Pour into your container. Depending on the size of container, if you find yourself with a of bit extra powder {which I did}, just place into a ziplock bag or small glass jar. It can be your refill stash.
Happy Making {and happy toes}!
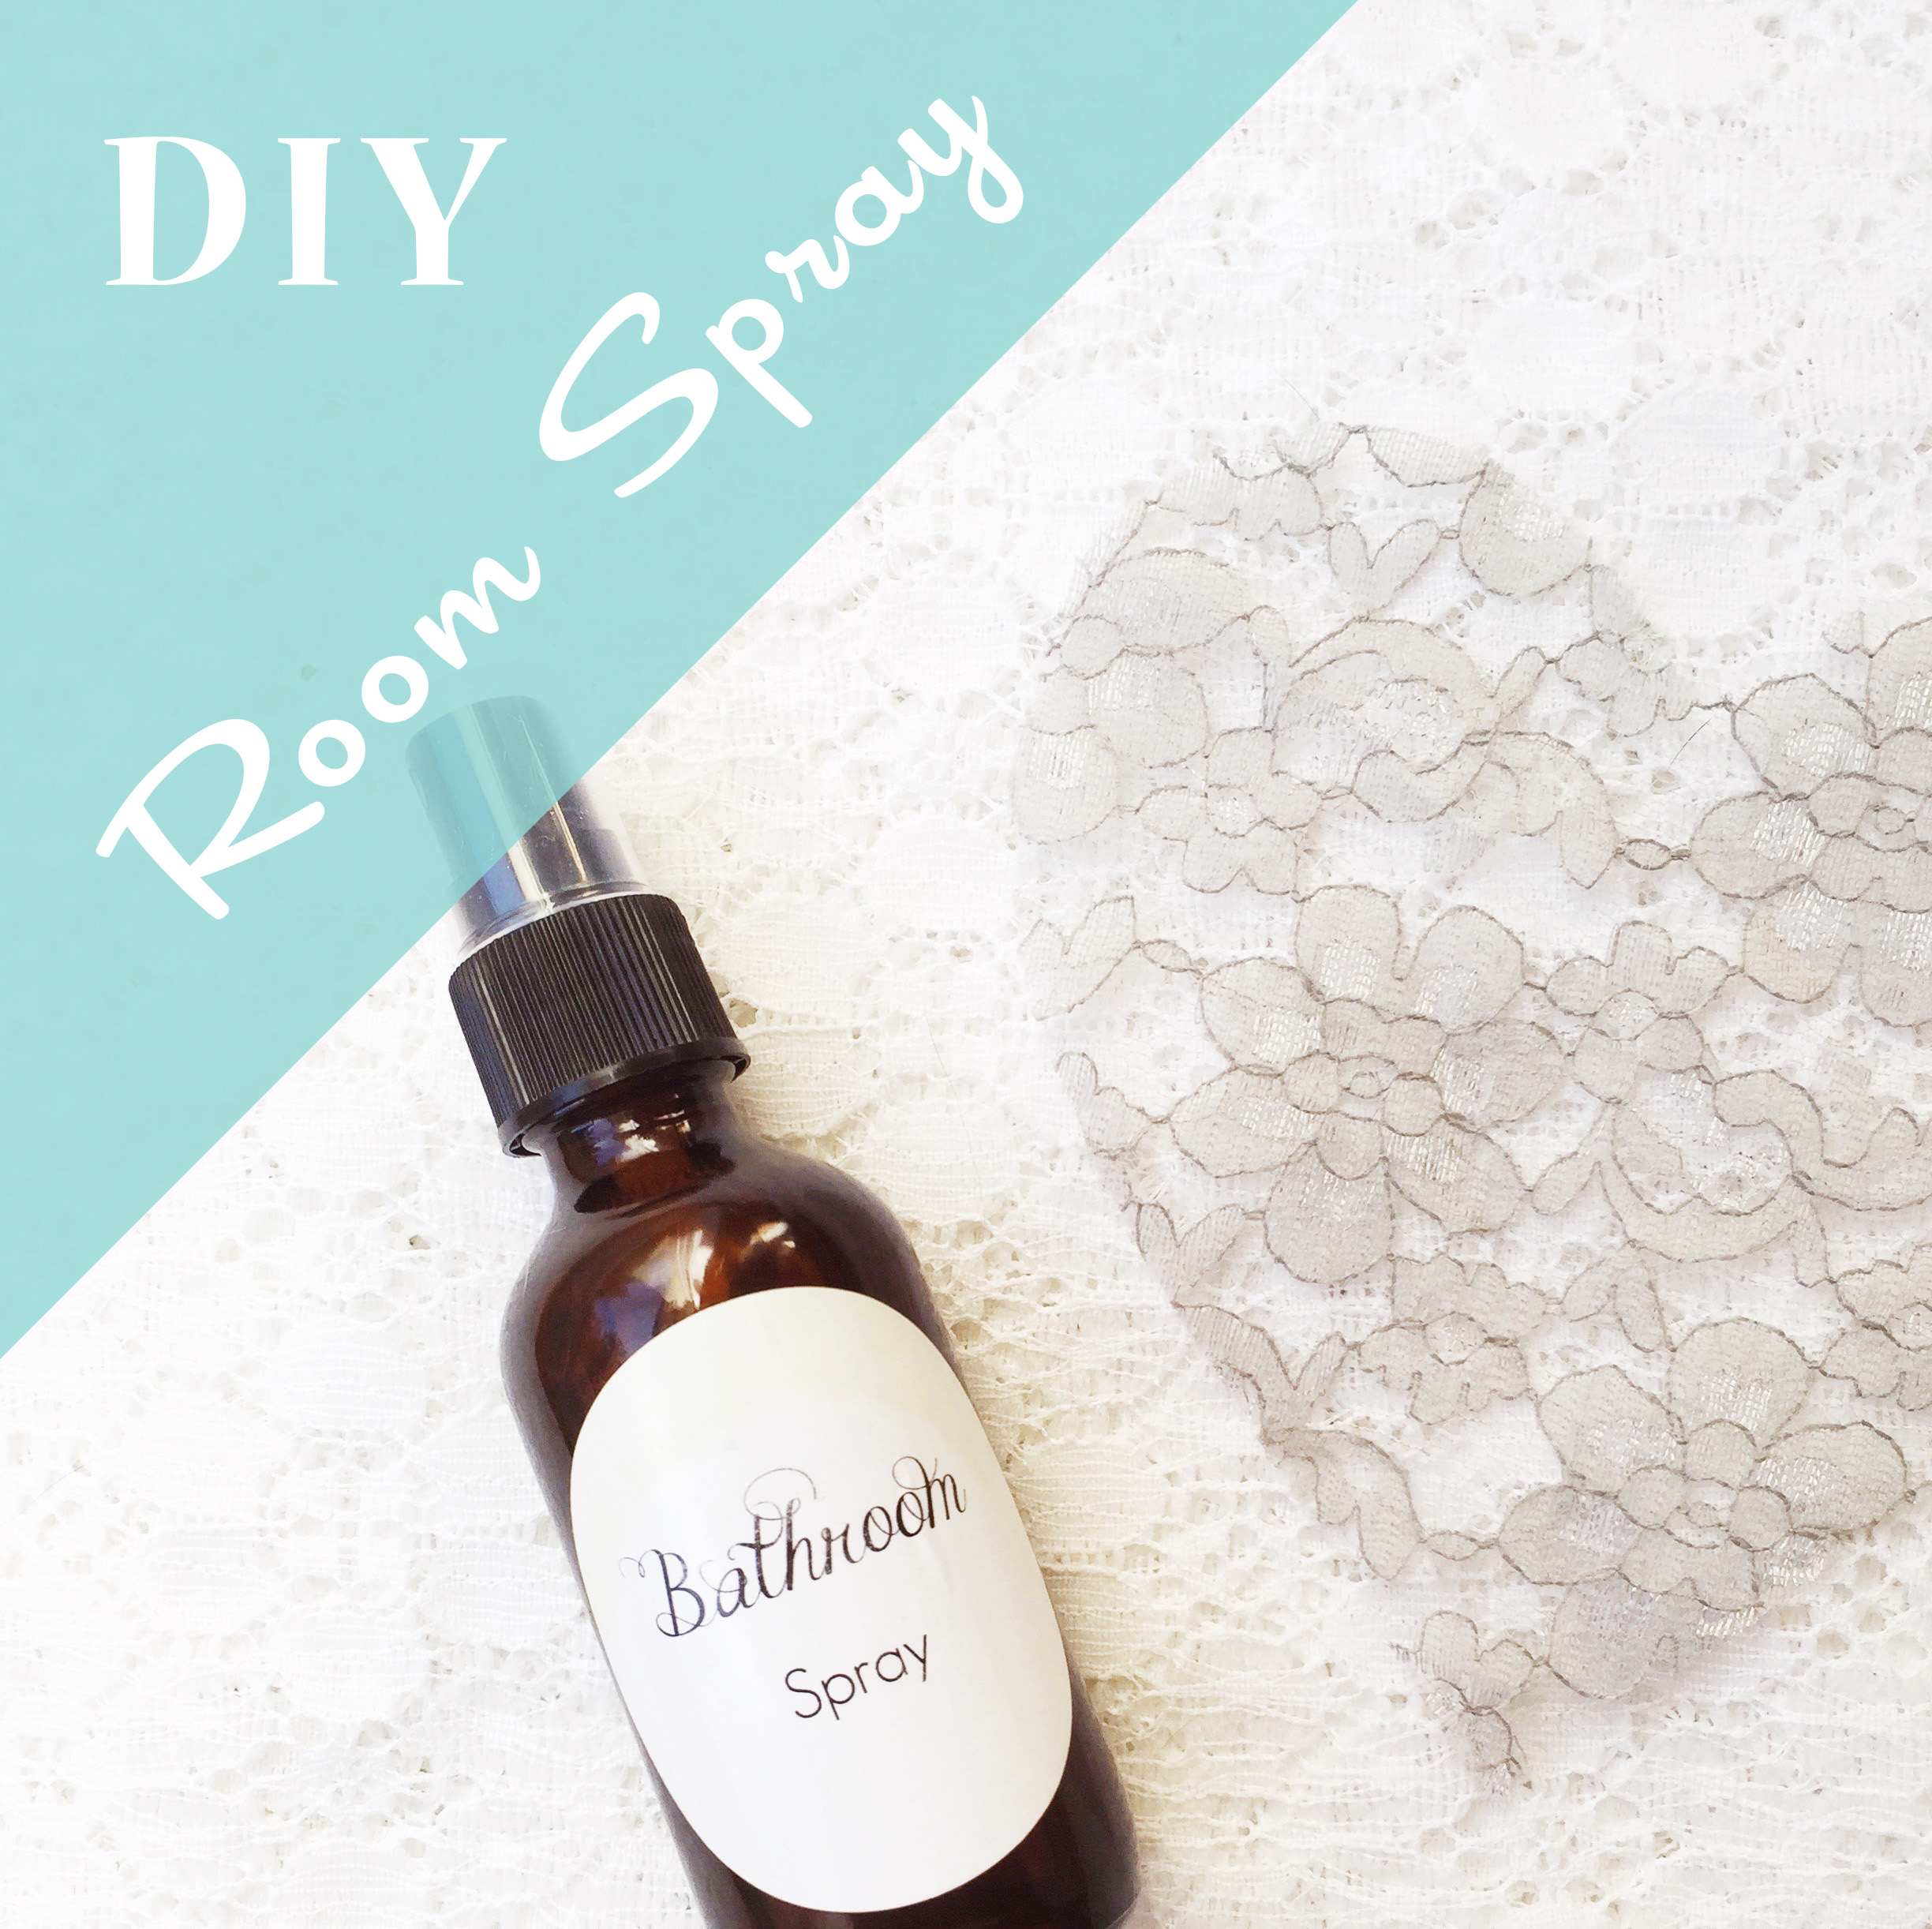
I’ve been using some purchased natural room sprays for a couple of years now. I’m tickled that my oils guru has shown me just how simple they are to make. Two ingredients combined with whichever essential oils you want to use. Ya, it’s seriously that simple!
Of course, you have to have a bit of a knack for combining scents & usages of various essential oils, a bit like diffuser recipes. Still, there’s some room for experimenting, which is what I love the most about essential oils. Well, that, and their health benefits.
So let’s get to it! The two ingredients are witch hazel and water. The rest of the variances come from essential oil combinations. Here’s a recipe for one we made recently at an oils night:
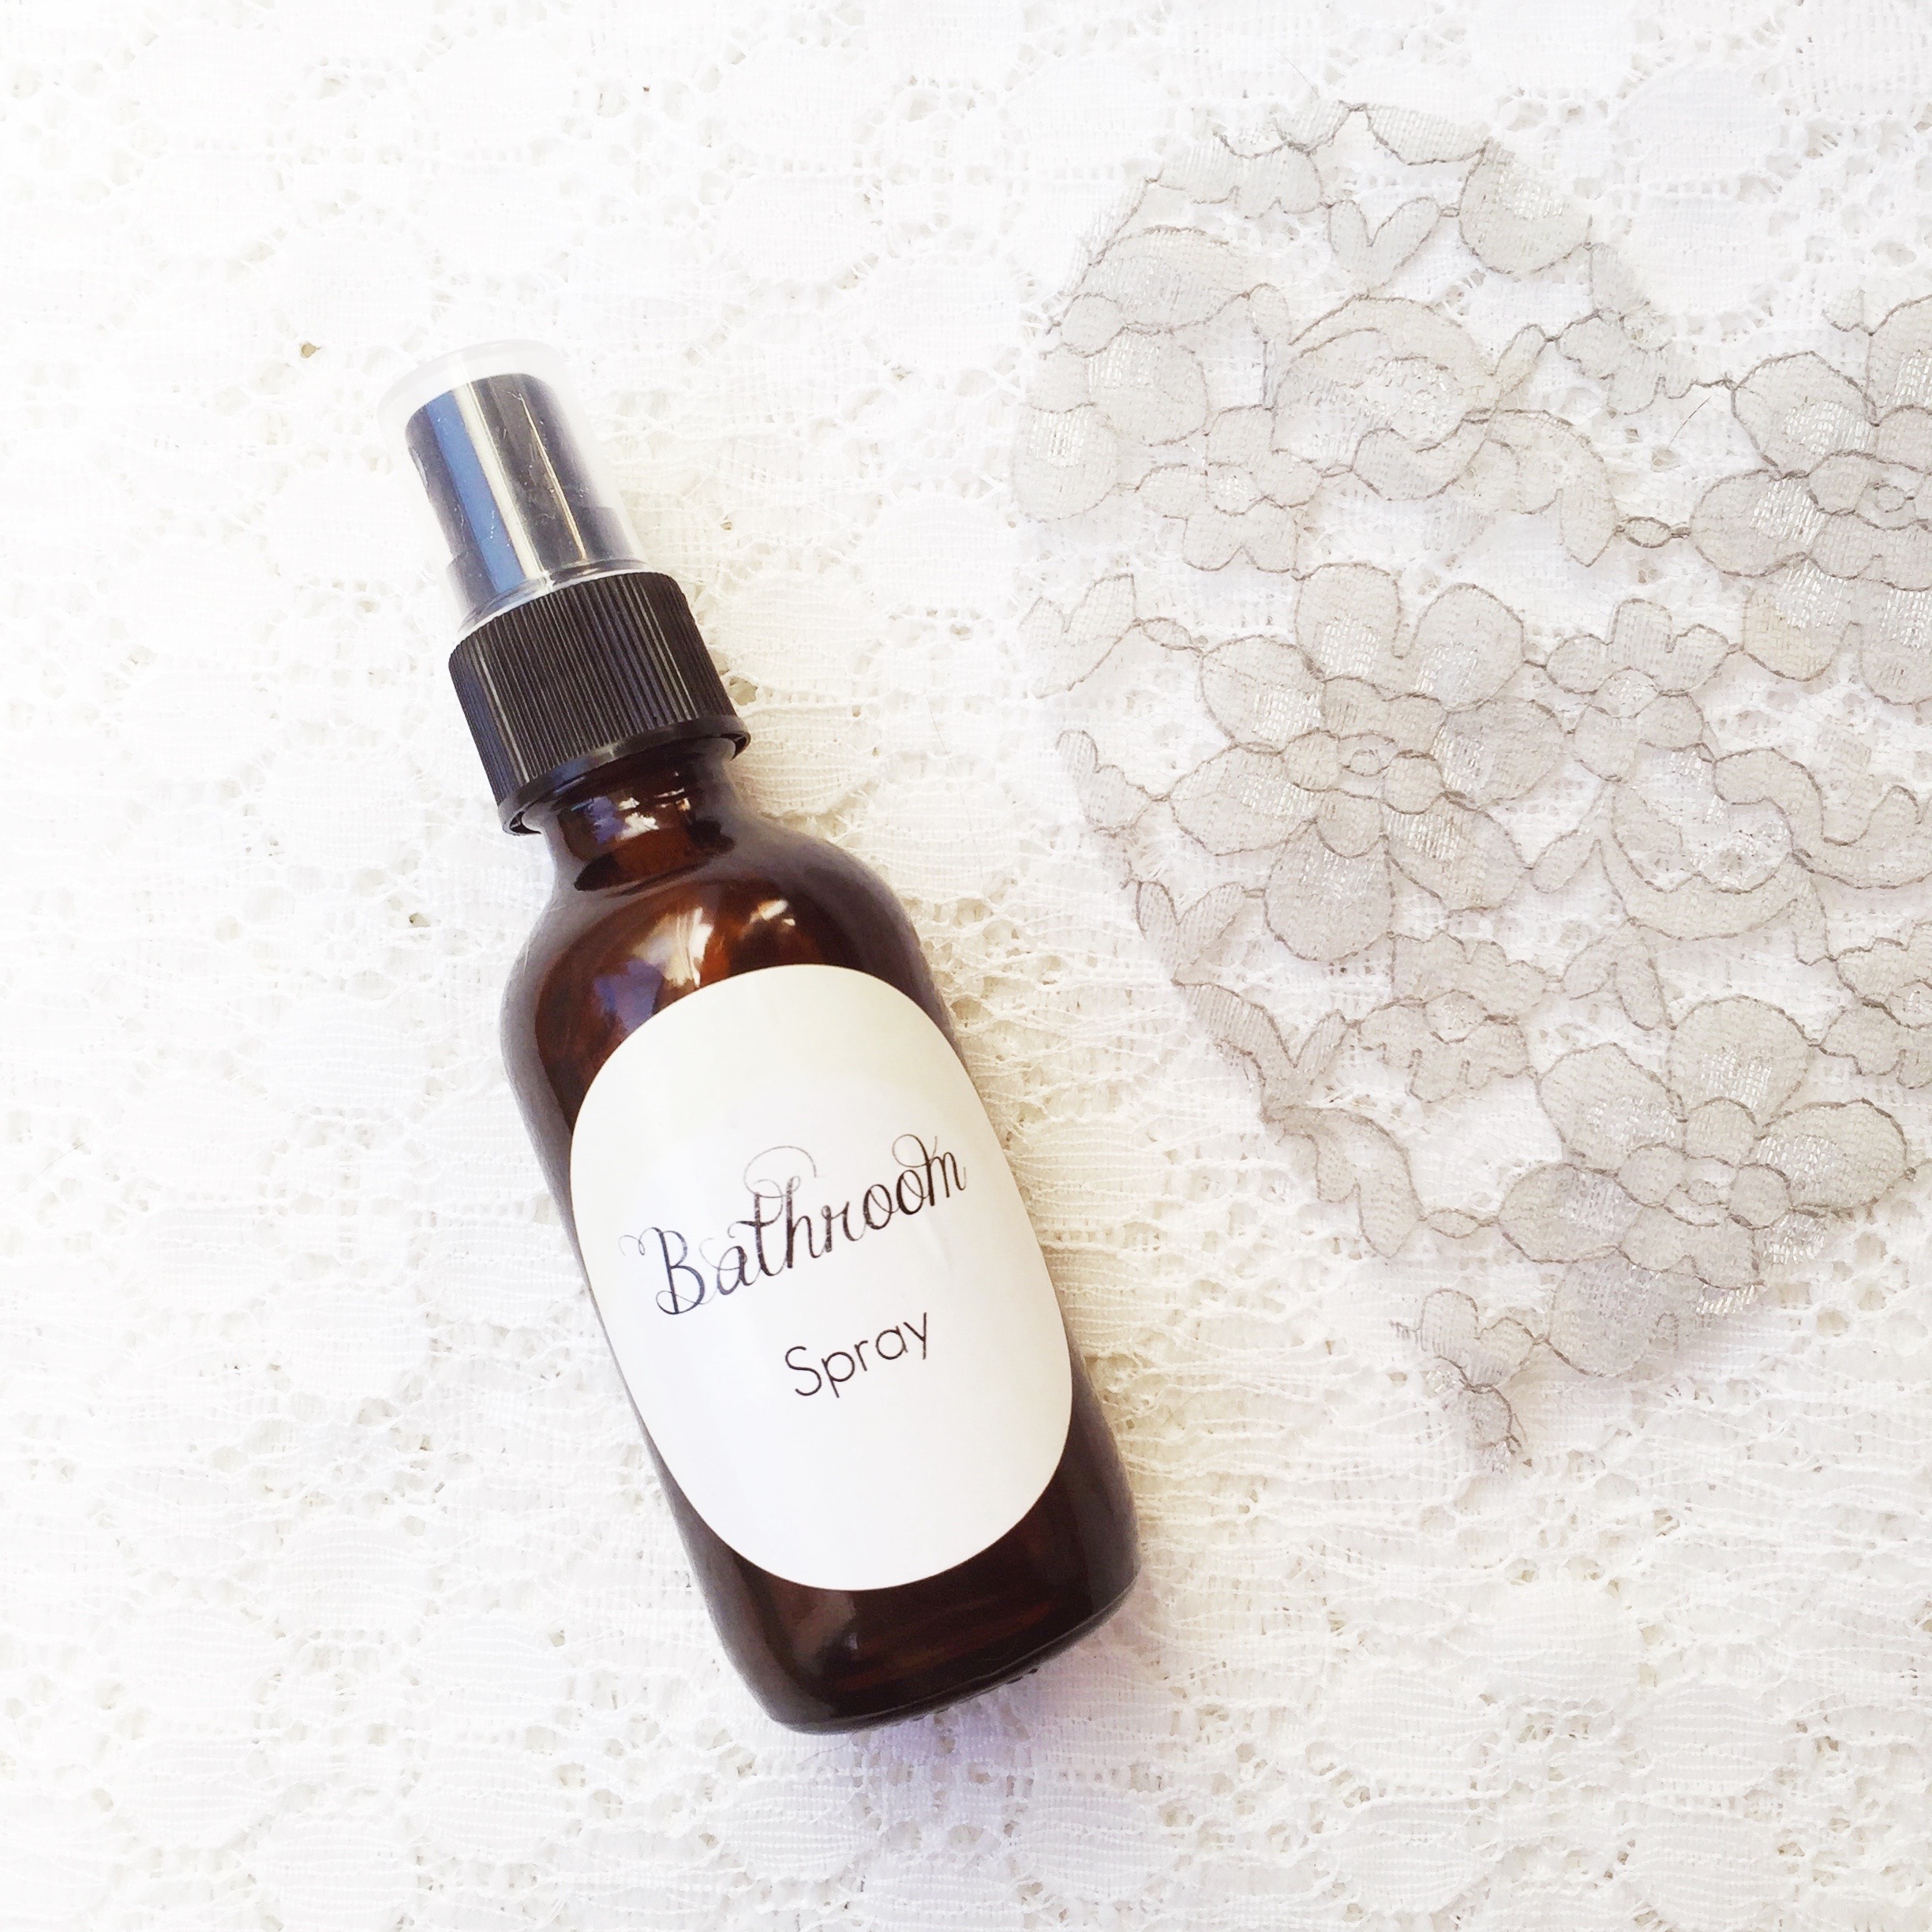
Bathroom Spray
{Spritz in the bathroom or toilet for a bit of refreshing}
- 10 drops Lemongrass essential oil
- 10 drops Grapefruit essential oil
- 10 drops Bergamot essential oil
- 1 tbsp witch hazel
- water to fill
This particular spray seems like one you could slip into hubby’s stocking for Christmas or pack along to the family gatherings over the holidays.
Bedroom Spray
{Spritz in the room or on your linens}
- 10 drops Lavender essential oil
- 6 drops Joy essential oil
- 6 drops Lemon essential oil
- 4 drops Spearmint essential oil {optional ~ leave out if you want a more relaxing room spray, add if you want a more refreshing, clean linen spray}
- 1 tbsp witch hazel
- water to fill
Just measure the essential oil drops into a glass or aluminum spray bottle {which can be purchased in various sizes at Soap & More}. Add the witch hazel. Then fill the bottle with water, leaving enough room for the spray top/lid.
Happy Making!
]]>
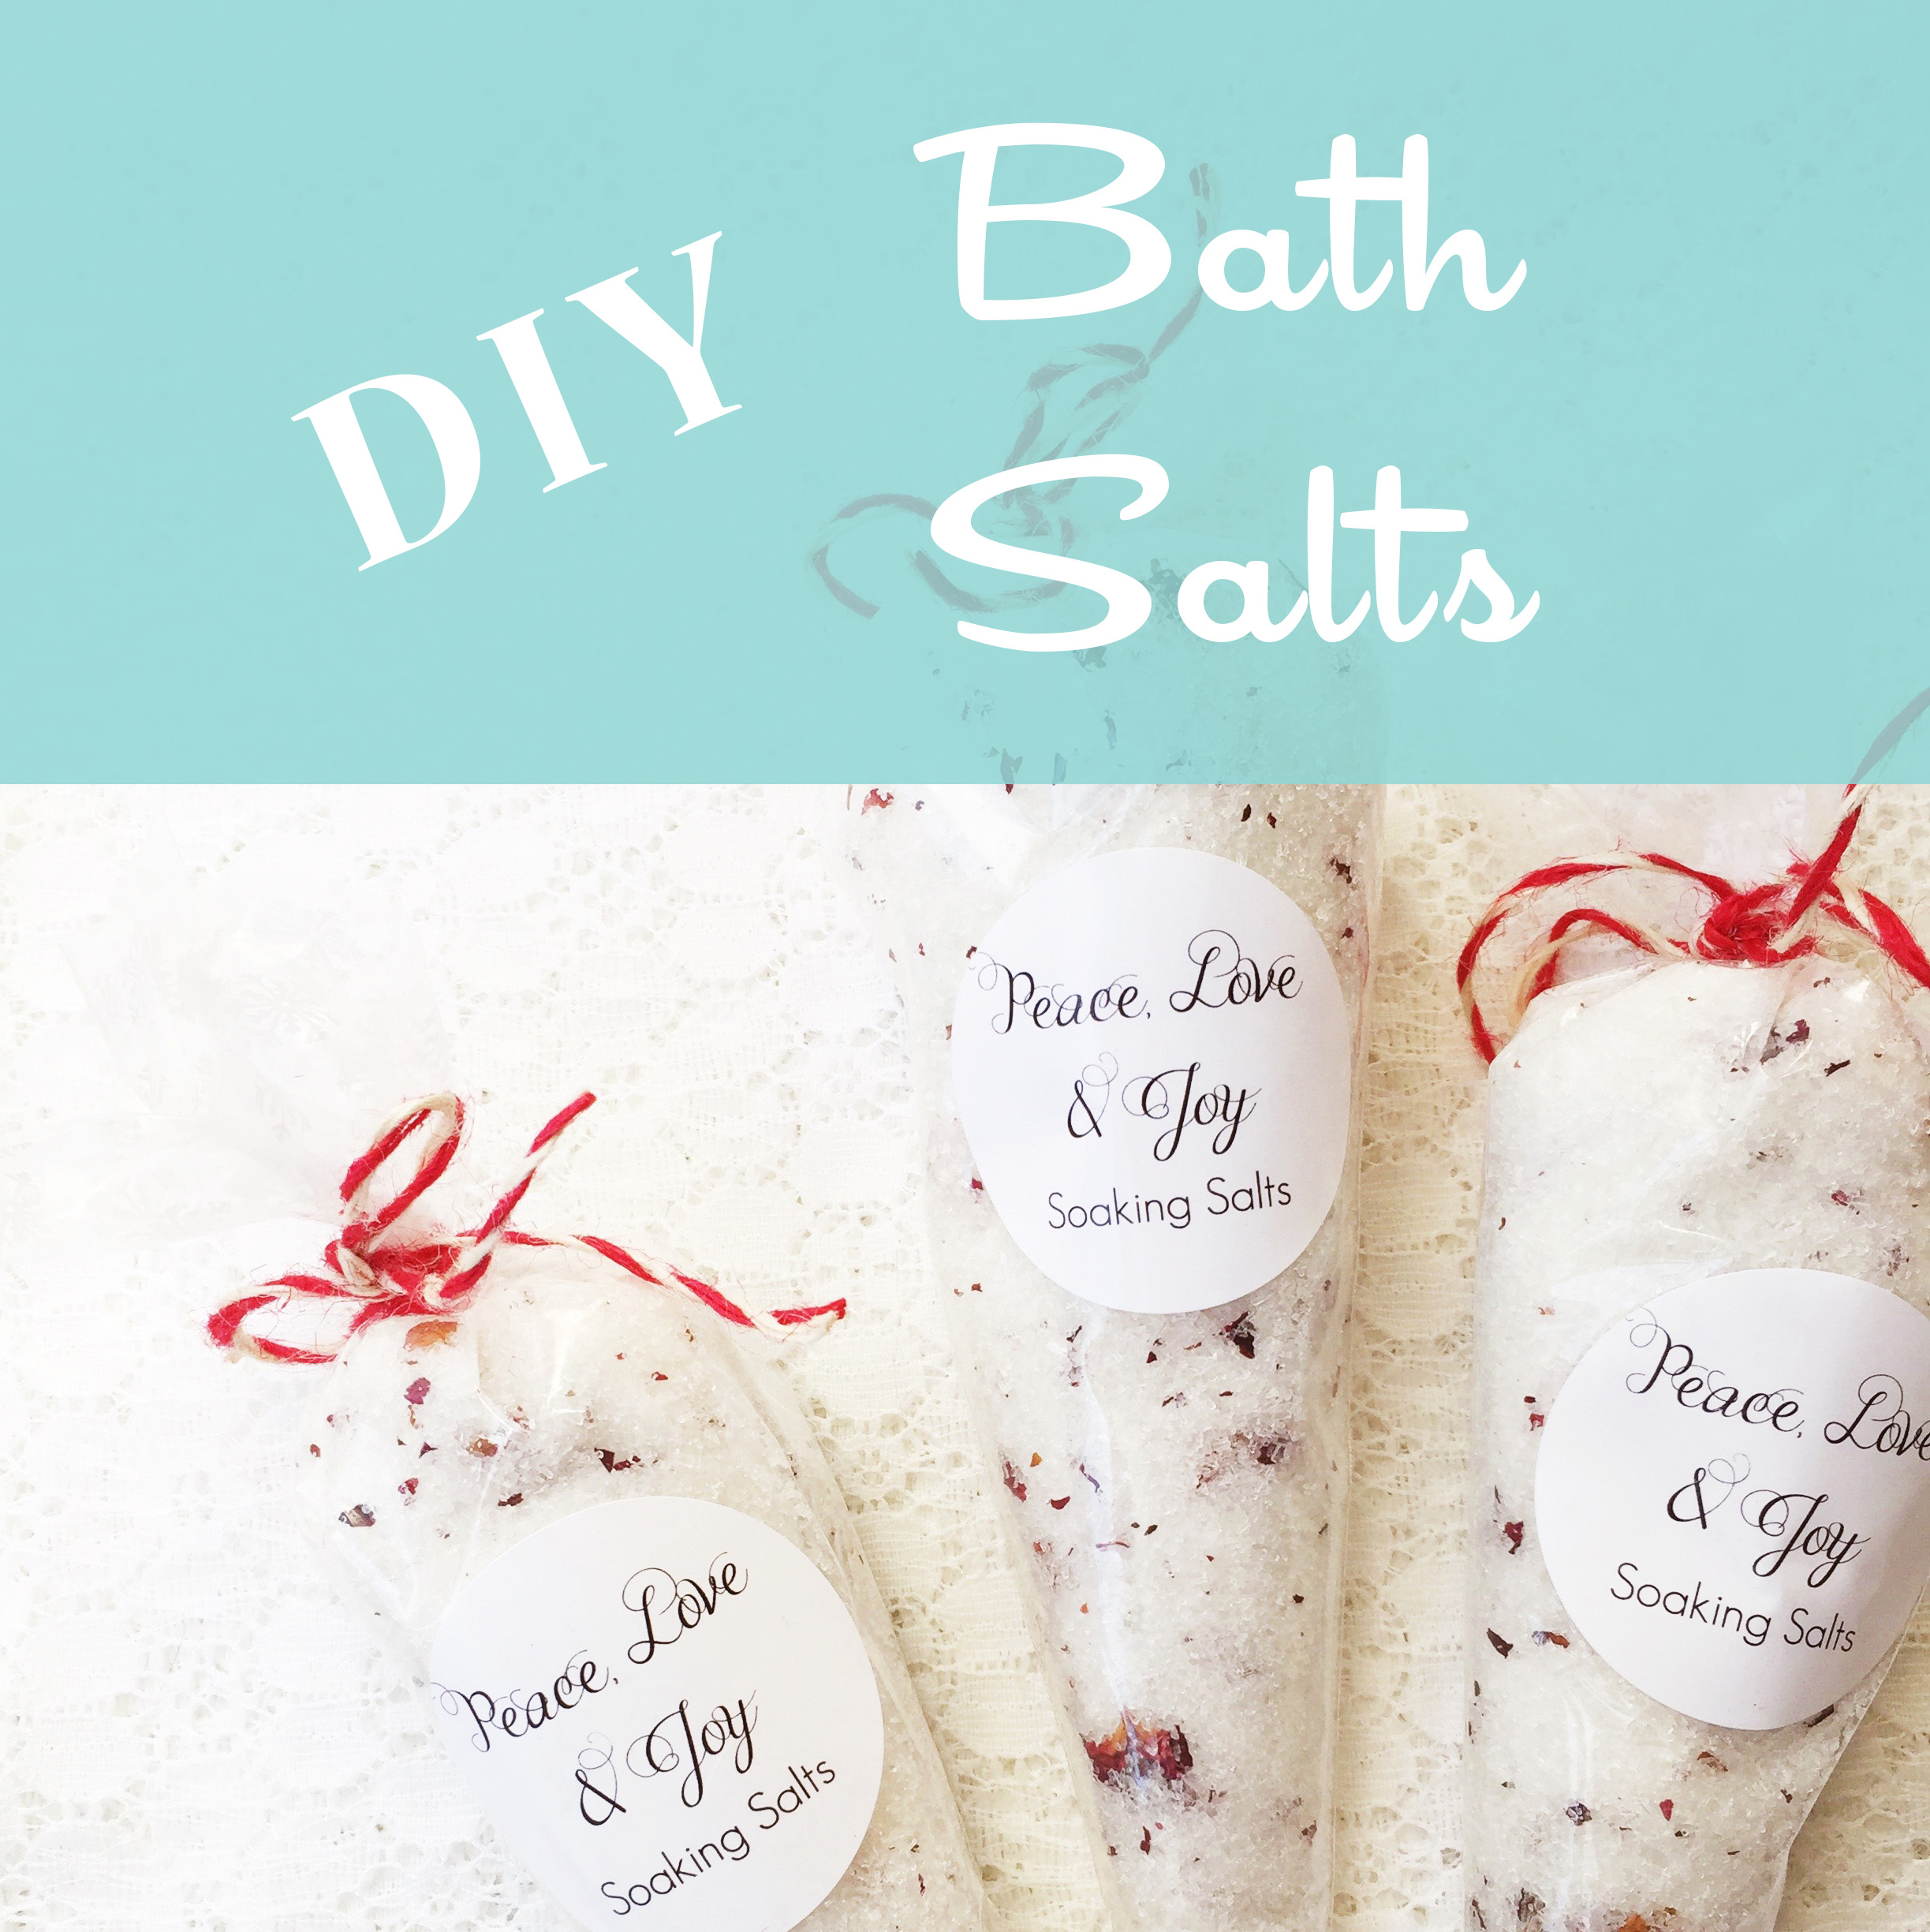
Hot soaking tub time is upon us in Canada. Whether to warm up, soothe sore joints & muscles or immerse yourself in total relaxation, bath time can be a great way to rejuvenate in winter. Today, I’m sharing a couple of quick recipes to make your own bath salts.
I have been gifted various bath salts mixed by my friends over the last couple of years. They have always been a treasured treat, not just for myself, but also for special bath time with my son. I’m excited to finally be making my own and can’t wait to share the gifts with family & friends.
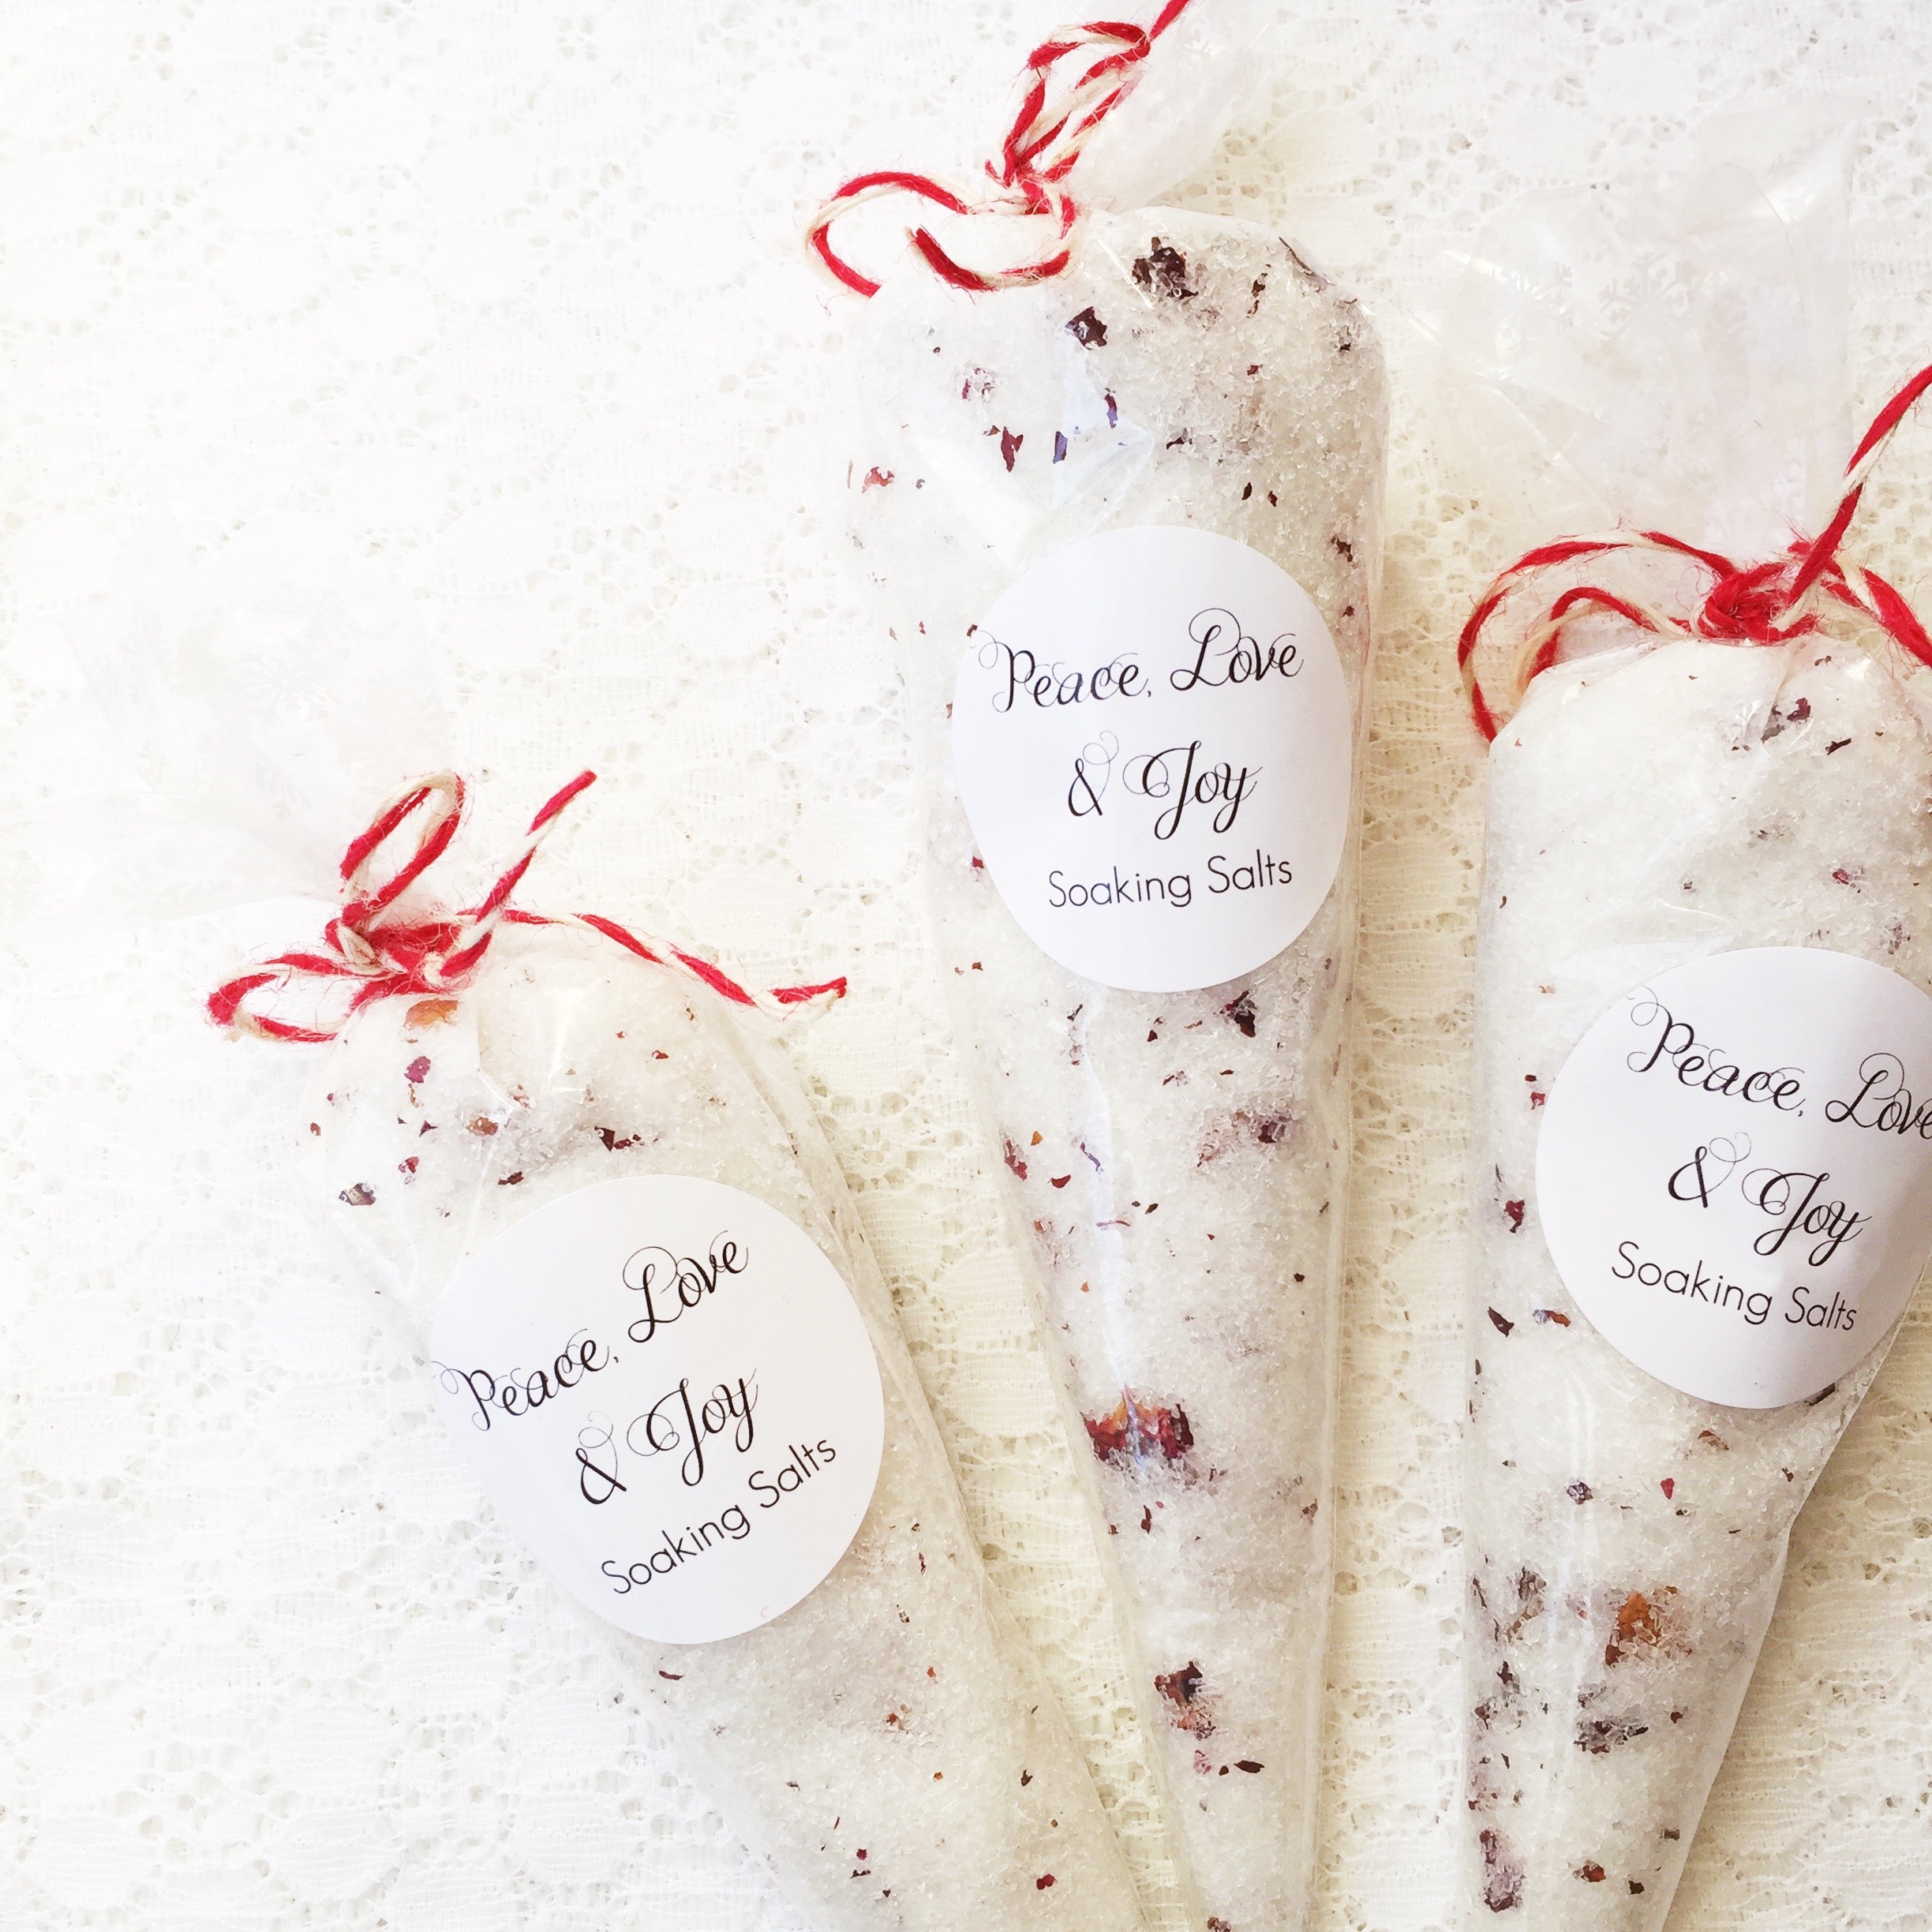
Here’s a few different mixtures to try, useful for this time of year. You can place the finished bath salts into wide mouth mason jars or disposable decorating bags {like the ones from Wilton}:
Peace, Love & Joy
{relaxes while uplifting your emotions}
- 1 cup epsom salts
- 1 tsp dried rose petals
- 1/2 tsp fractionated {liquid} coconut oil
- 3 drops Peace & Calming essential oil
- 3 drops Joy essential oil
Relax Away
{relief for sore & tired muscles}
- 1 cup of epsom salts
- 4 drops of Pan Away essential oil
- 4 drops of Lavender essential oil
Breathe Easy
{for colds & congestion}
- 1 cup epsom salts
- 1/2 cup baking soda
- 2 tbsp mustard powder {fine dry mustard}
- 5 drops of Peppermint essential oil
- 5 drops of Eucalyptus Radiata essential oil {if you have a different Eucalyptus on hand, use that… this is just me personal preference}
- 3 drops of Rosemary essential oil
To make these, simply combine dry ingredients in mixing bowl. Add liquid ingredients and essential oils. Stir well. Place in bag or jar. Done.
Pass the corresponding recipe onto the recipient of the bath salts and you’ve got a lovely little spa gift. Toss in one of the oils in the ingredients as a bonus If you’re in Calgary, we are blessed with a Young Living office right here, so you can order online and swing by for pickup. If you need shipping, within Canada, just place your order before December 13th!
Happy Making!
]]>
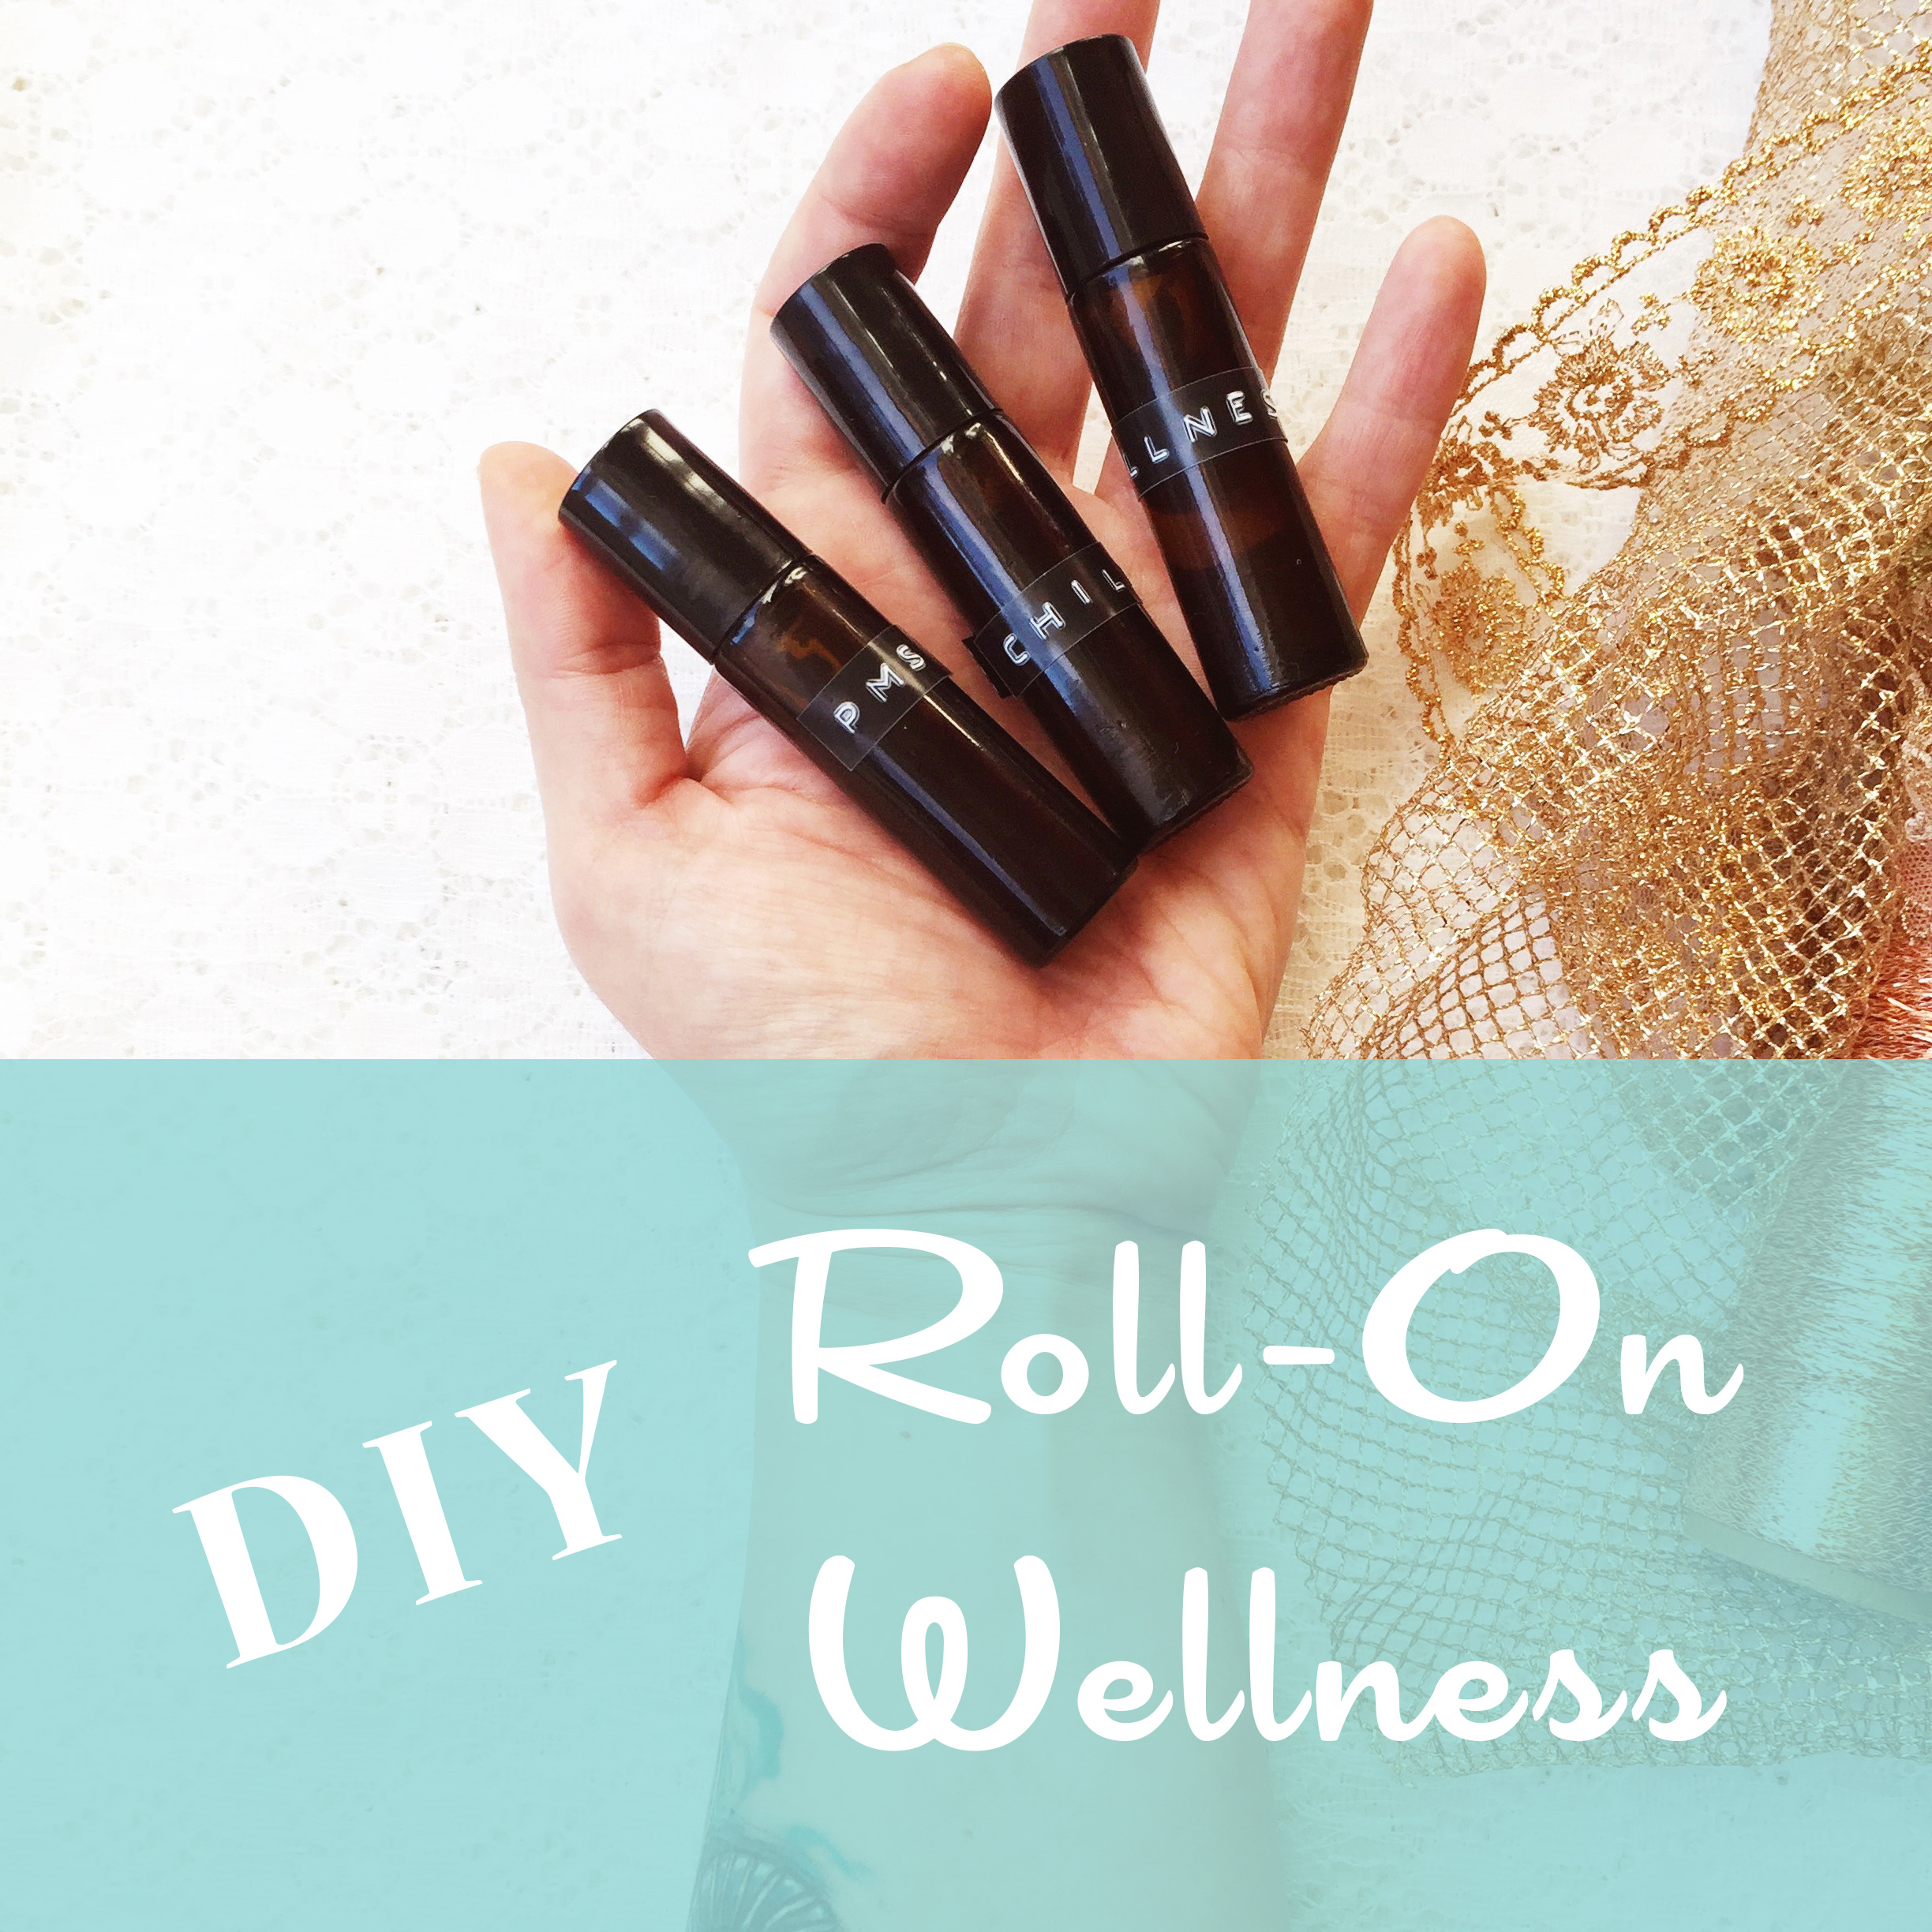
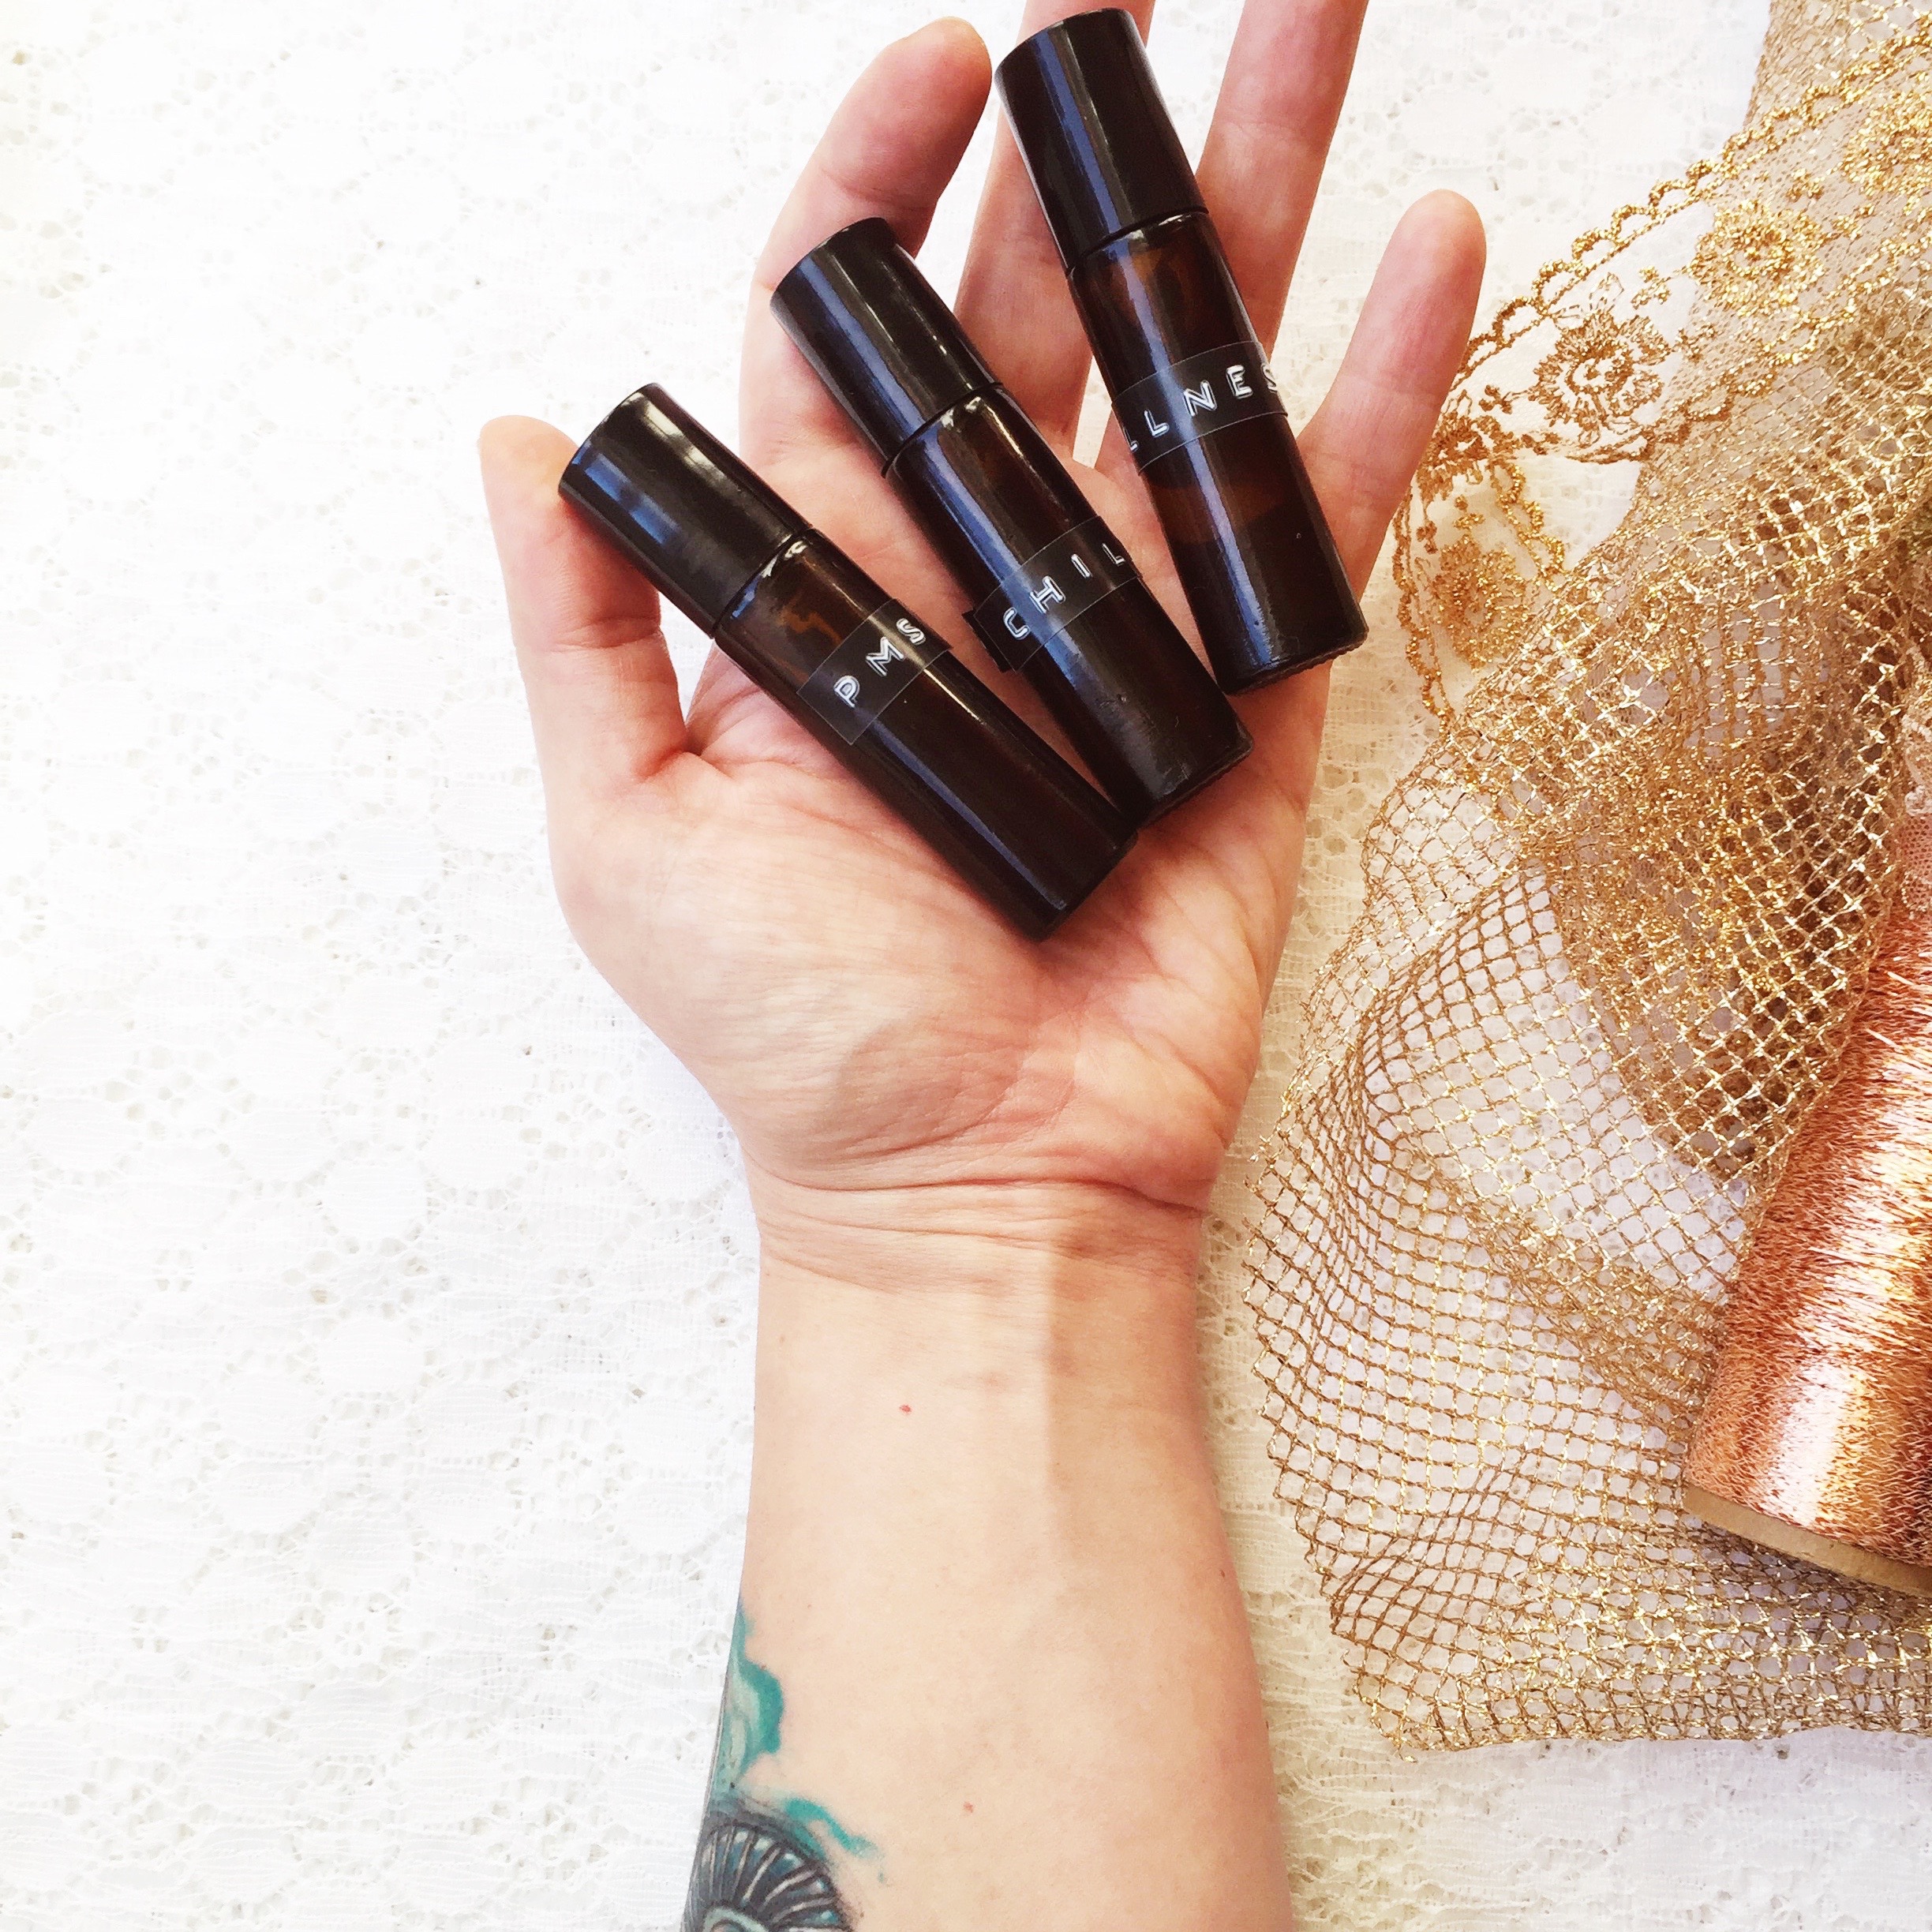
Today I’ve got three great essential oil roll-on recipes to share: PMS Wellness {to help balance emotions}, Winter Wellness {to help boost immune systems}, and Chill Out {to, obviously, help you chill & relax}. Once again, all these recipes are courtesy of my generous oils friend, Jan DuMontier.
These roll-ons are easy to use. I often apply PMS Wellness & Chill Out right behind my ears, the back of my neck or the inside of my wrist. My son & I apply the Winter Wellness to the bottoms of our feet every night before bed. The roll-ons are also convenient to pop in your purse & keep with you {especially for re-applying through the day when you need more PMS support or calming down… hello Christmas line-ups!} Here’s what you will need for each roll-on:
PMS Wellness
- 10 ml glass roll-on bottle, you can find them here
- 5 drops of Joy essential oil
- 9 drops of Dragon Time essential oil
- 6 drops Copiaba essential oil
- Fractionated (liquid) coconut oil, found here
Winter Wellness
- 10 ml glass roll-on bottle, you can find them here
- 5 drops Thieves essential oil
- 5 drops Lemon essential oil
- 5 drops Tea Tree essential oil
- 4 drops Oregano essential oil
- Fractionated (liquid) coconut oil, found here
Chill Out
- 10 ml glass roll-on bottle, you can find them here
- 10 drops Stress Away essential oil
- 3 drops Peppermint essential oil
- 3 drops Lavender essential oil
- Fractionated (liquid) coconut oil, found here
To make each of these roll-ons, simply {and carefully} drop required amount of essential oil into bottle. Then fill the remainder of the bottle with the liquid coconut oil. Easy-peasy, although a little messy at times. Do it when you don’t have kiddos pulling at your arm & can concentrate on pouring slowly. *Tip* Get an olive oil bottle spout and use that to pour your coconut oil into the small bottles… my oils ladies thought of this after an evening of mixing & making. I still need to give it a try.
Now that I’ve figure out where to buy the bottling supplies and liquid coconut {it’s also available at Superstore}, I can’t wait to experiment with some other useful roll-on recipes!
Happy Making!
]]>
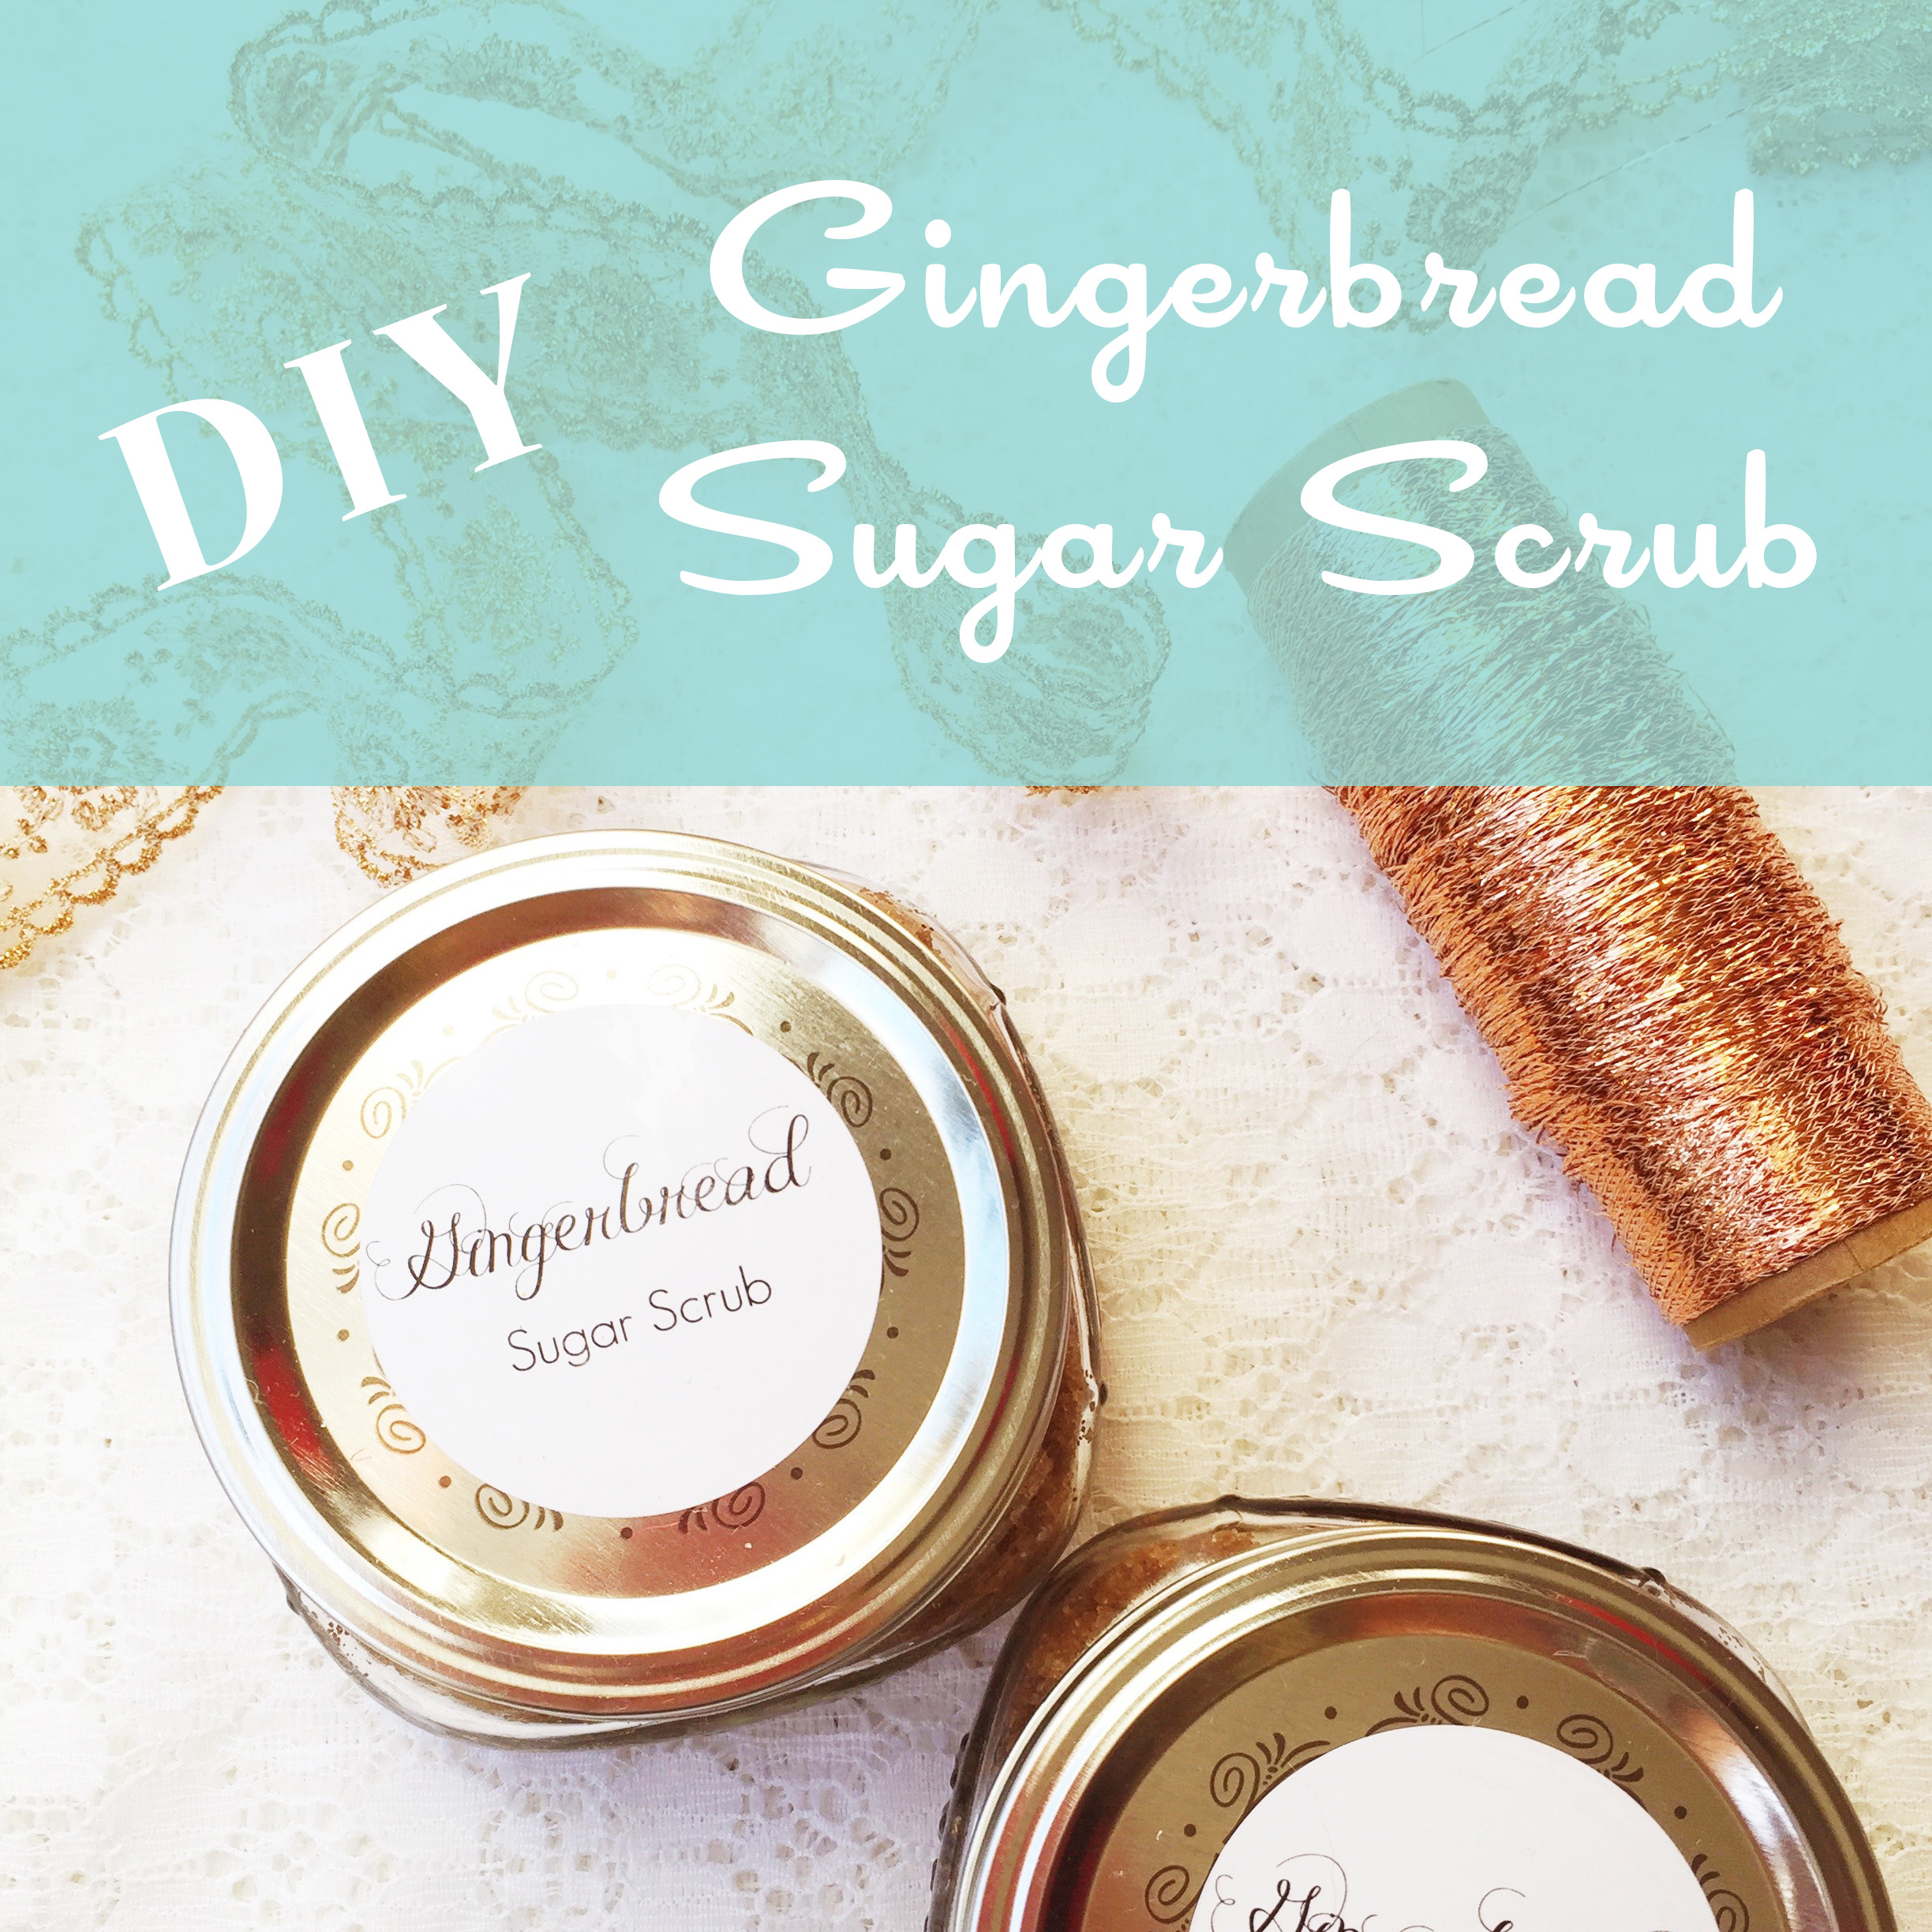
This week I’m sharing some simple DIY gift ideas using essential oils. All the recipes are thanks to my oils guru, Jan DuMontier. She continues to teach me so much about how to incorporate essential oils into my daily life and I’m thankful for her genuine interest in my wellbeing and the wellness of my family.
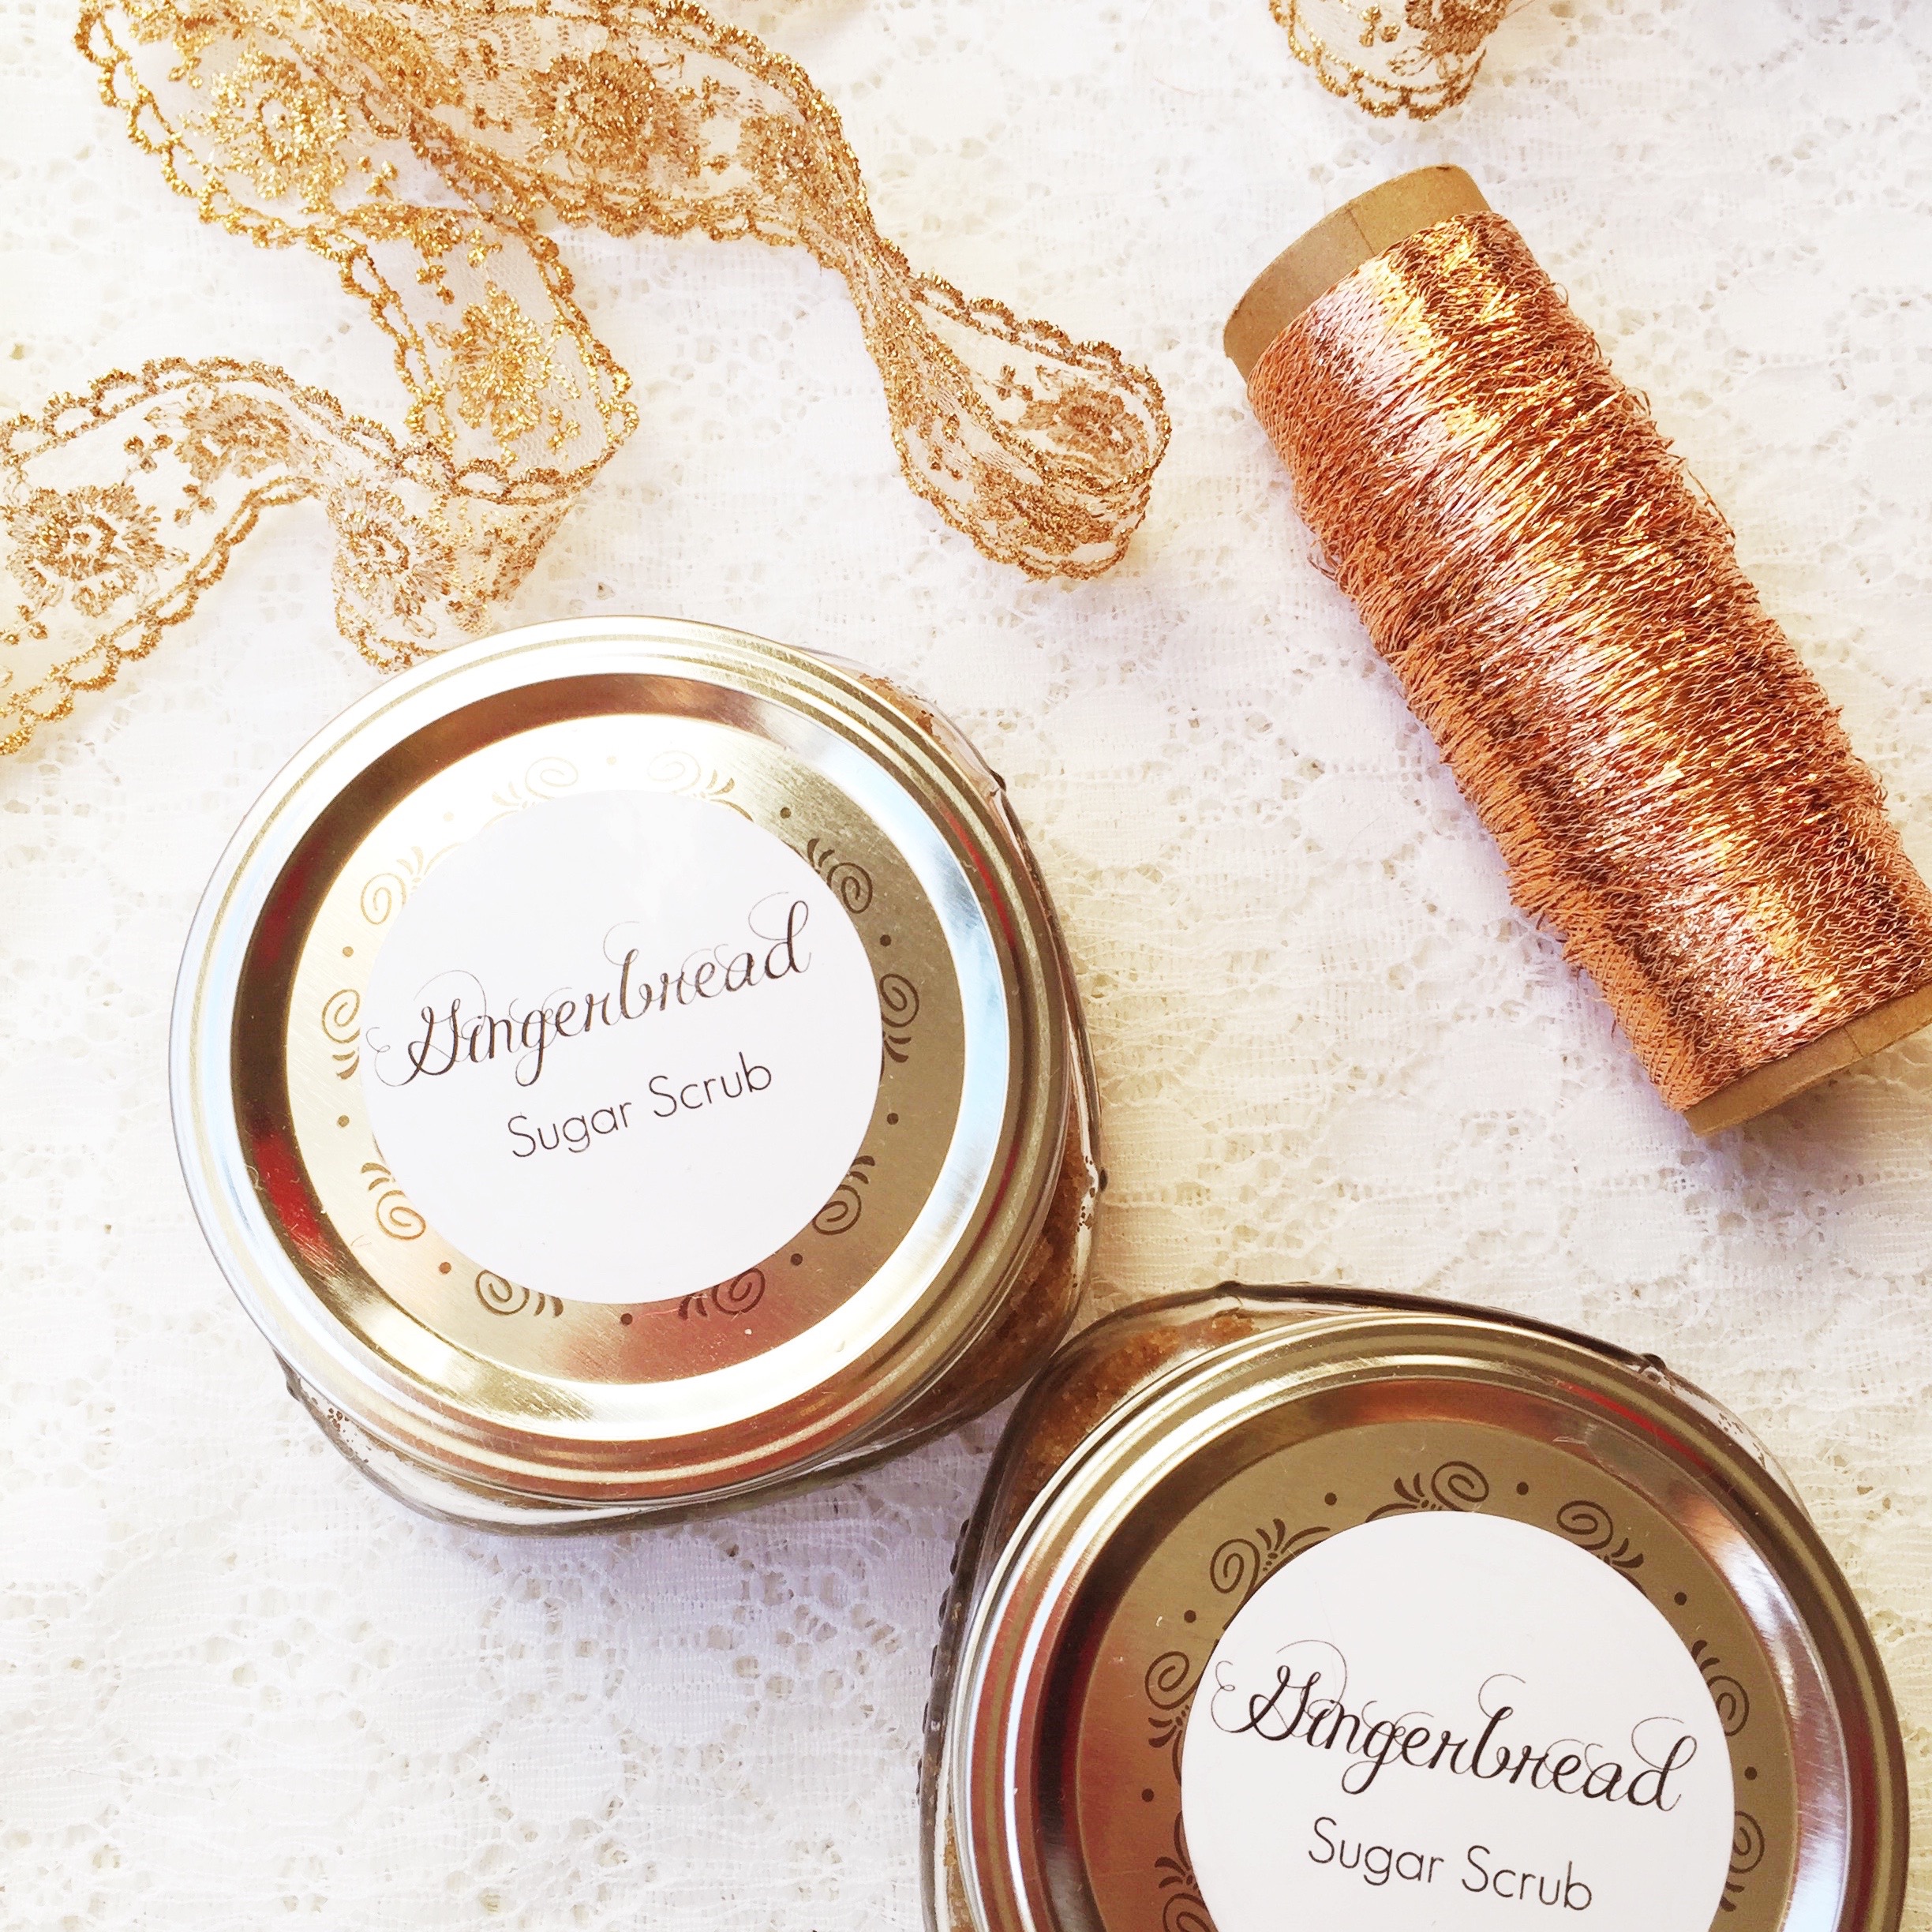
First off, a yummy seasonal Gingerbread Sugar Scrub! I’ve been using this in the shower the last couple of weeks and it’s been really lovely on my skin.
Here’s what you need:
- 250 ml wide mouth mason jar, like this
- 1/4 cup brown sugar
- 1/2 cup sugar
- 1/4 cup coconut oil, slightly softened
- 1/2 tsp vanilla
- 1/4 tsp allspice
- 2 drops ginger essential oil
- 2 drops nutmeg essential oil
- 2 drops cinnamon essential oil
In a medium sized mixing bowl, combine brown sugar & white sugar. Cut in the coconut oil & mix together well. Add the remaining ingredients and stir until completely mixed. Scoop & press into mason jar. You can easily double this recipe to make two jars at a time (just use a bigger bowl).
If you’re doing any “spa themed” giving this Christmas, the sugar scrub makes a nice addition. Combine it with some of the other items coming later in the week, or put in a gift bag along with a couple of bottles of essential oils (like Lavender or Joy). If you really want to treat someone, pick up a gift card from a local spa and tie it onto the jar.
Happy making!
]]>