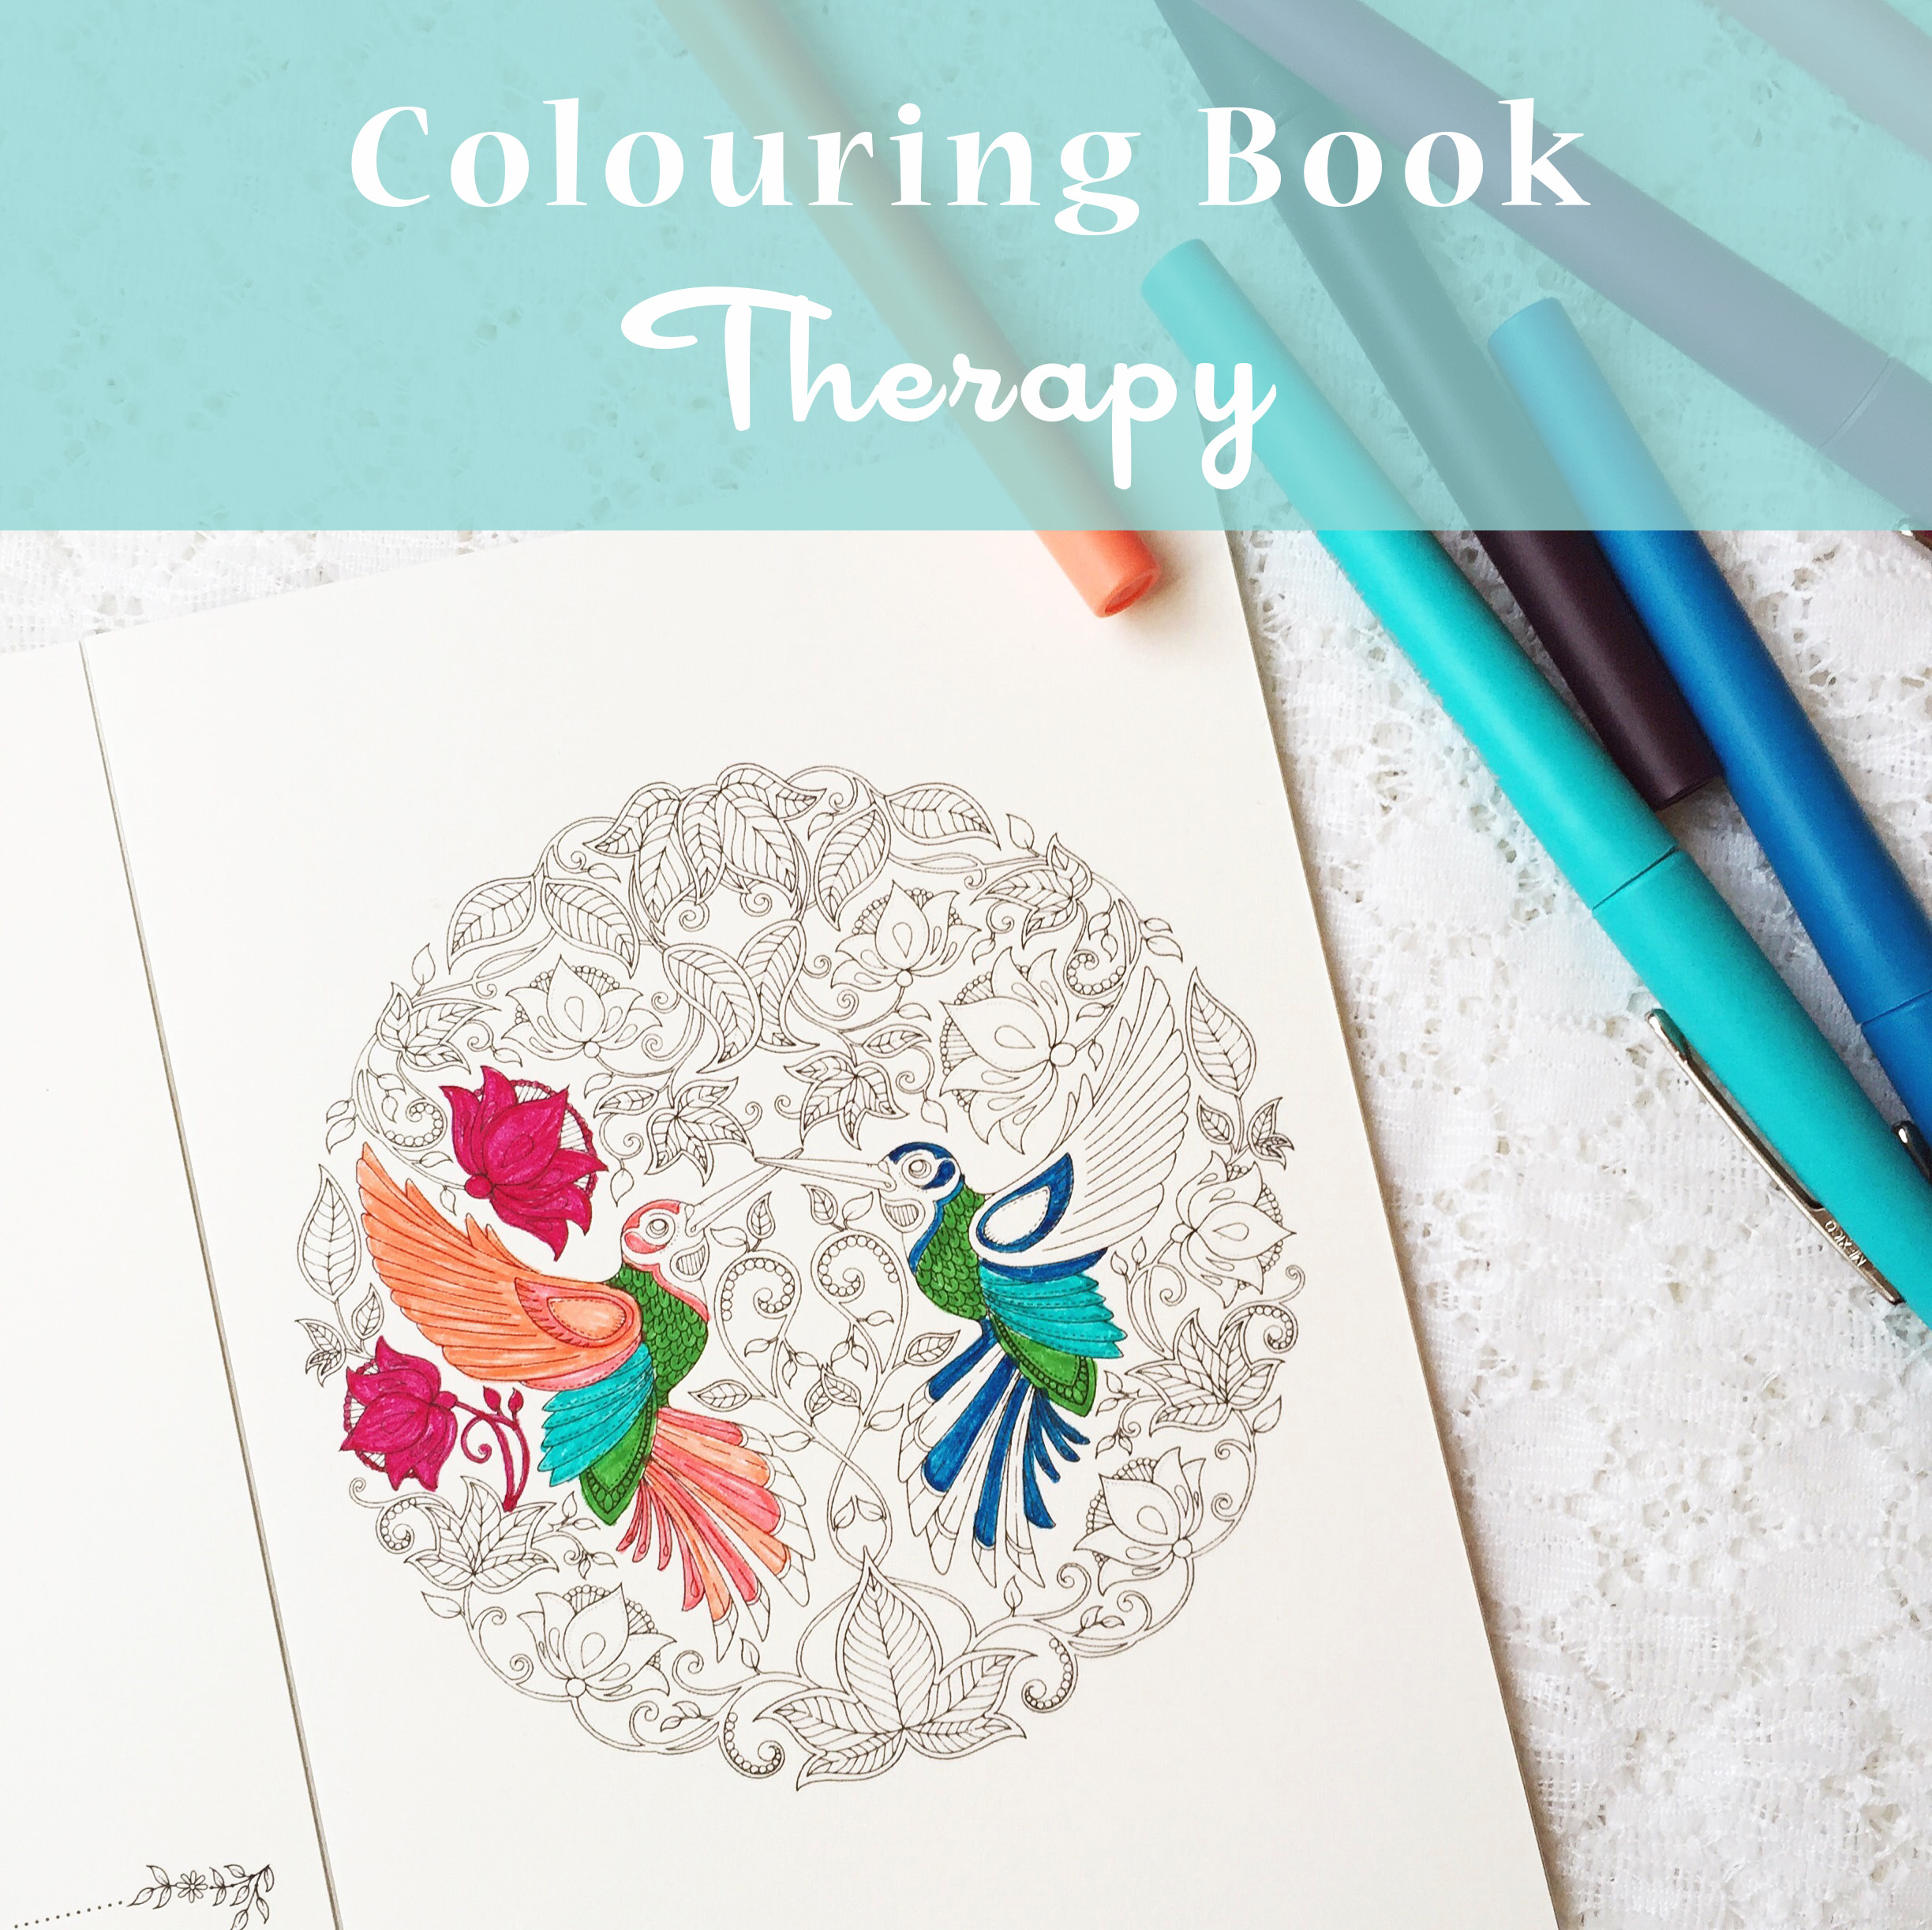
Have you heard about “adult colouring books”? How could you NOT! Seriously. Feels like everywhere you turn, there’s something about them. I’m not saying that’s a bad thing. Not at all. They are incredibly popular right now, and I’m all for it!
Have you heard about “adult colouring books”? How could you NOT! Seriously. Feels like everywhere you turn, there’s something about them. I’m not saying that’s a bad thing. Not at all. They are incredibly popular right now, and I’m all for it!
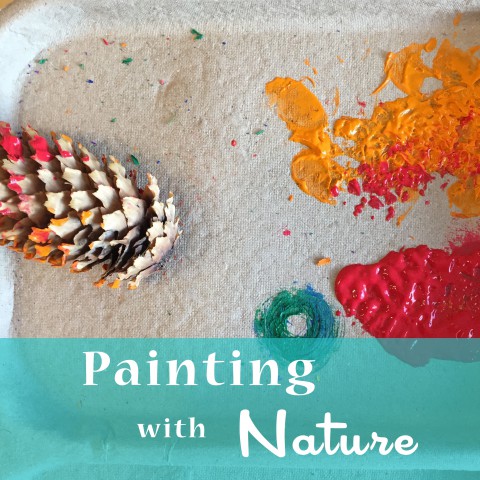
Sammy and I recently had quite the fun afternoon painting bits of his nature collection and then painting with bits of nature. For quite some time now, he has kept a nature box, where he stashes away things he finds on our daily adventures, from twigs & leaves to stones & moss. Feathers have their own special place. The actual box where he stores all of this is overflowing and so I knew that some arts & crafts projects were on the horizon.

We’ve been moving Sam away from nap time the past few weeks because his nighttime sleep was getting pretty crazy. He gets quiet time in his room instead of naps, which he is growing to like more and more. No naps in the afternoon can make for long days though. I recently whipped up this little activity for him to try out just to break up one particularly long afternoon.
Ok. So I have to admit that I actually did this project with Sam well over six months ago, back when he was a toddler. Somehow I didn’t get around to posting about it until now. Go figure.
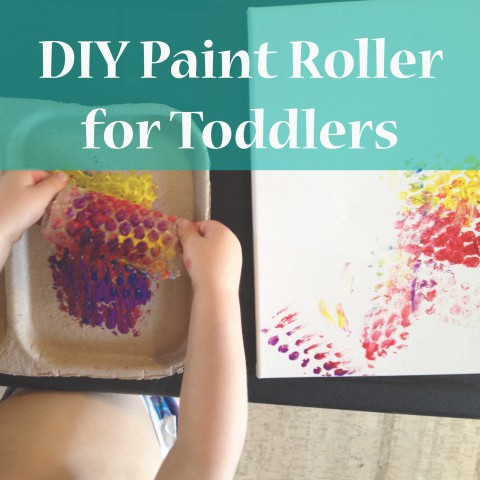
This is a simple project for you to make when your creative time with the kiddos needs a little refreshing. Sam was getting bored with the typical paint options, so I put together his own little paint roller to add some fun.
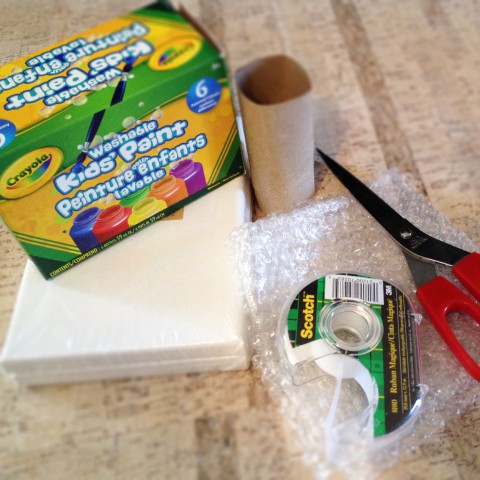
Here are the supplies you will need for this project:
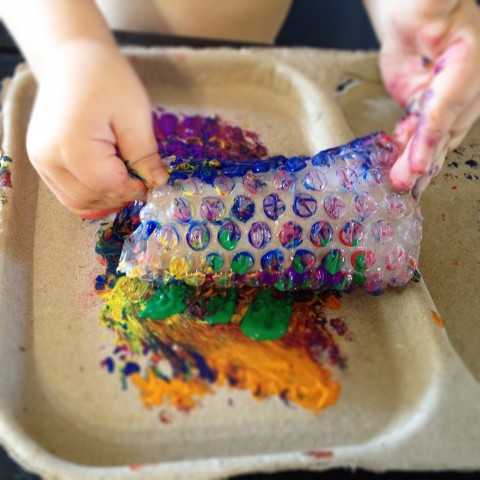

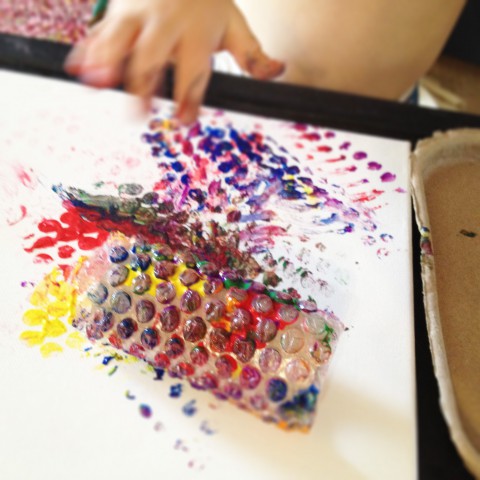
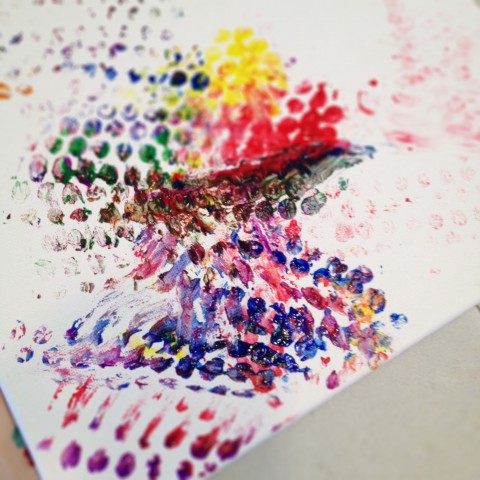

The toilet paper rolls are a nice size for the little ones to use, but you could also try empty paper towel rolls. And of course, I hope the the bubble wrap is inspiration for you to try other materials too. It’s fun for them to see what textures different things create. Here are some other DIY Paint Roller techniques to consider:
Also, just a note to mention, that at the same time I was writing this post, my friend Kerri was experimenting with bubble wrap painting on FABRIC!! You can see the results of her project on her newly started blog Soham Design.
Hubby and I are determined to get our basement under control over the coming weeks. We had our first day of clean-up last weekend, in which a truck load of junk was hauled to the dump and a car load of reusable stuff awaits a trip to the thrift store. Yes, success! Still a lot more to tackle, but starting this process felt great.
Even better were some of the treasures that were rediscovered down there, including these, bags of baby dolls dressed in Corporate Reich uniforms. A blast from our art school past! Hubby and I traveled from thrift store to thrift store to find all these dolls. Then we designed & silk screened the fabric, and cut & sewed each individual uniform.

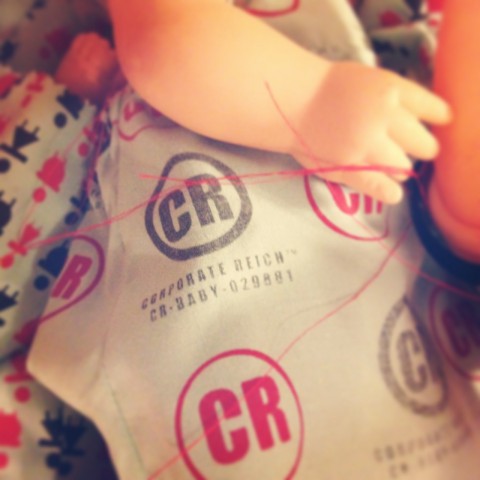
Good thing I hang onto to stuff, because I managed to find a copy of our artist statement in one of my old sketchbooks. It’s full of terms like “globalization”, “dehumanization”, “corporate dream”, “corporate ladder”, and “maximum conformity”. Basically the baby dolls represented children & innocence, which are burned to fuel the “corporate dream”, in a world where human power is a natural resource, and so often mistreated. (I can send you a full copy of our statement, just leave a comment).
I dug through our old photos and found pictures from the exhibition itself, entitled Our Little Children, which was held in February 2004 at the University of Calgary’s Little Gallery. Yes over a decade ago, and we still have all the dolls lingering in our lives (but no for much longer)
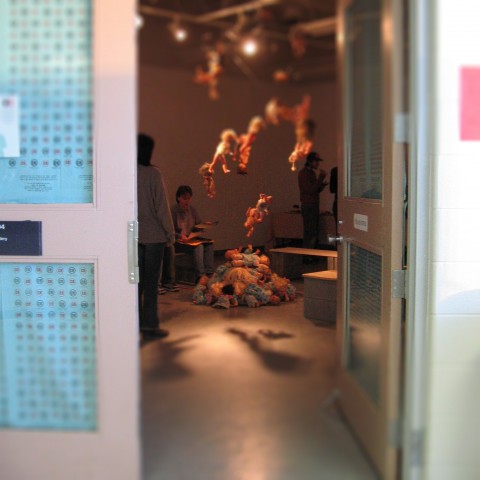
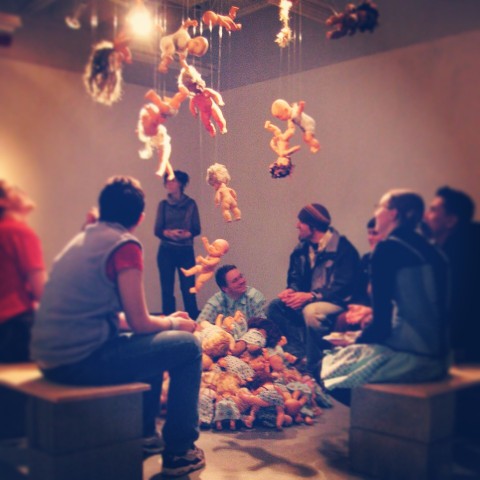
The dolls that we dressed in uniforms were put into a pile on the gallery floor. Other dolls, without uniforms, were burned & dirtied with charcoal and then suspended from the ceiling to act as burnt embers. Benches were set up and viewers were invited to sit around the crackling “campfire”.
Besides the installation in the gallery, we put a lot of effort into the other details, along with much help from friends & family. The invites for the show were actually matchbooks. We purchased boxes of blank ones and spent a weekend sticking our own custom stickers to them and signing our names to the inside. These were handed out and left around town.
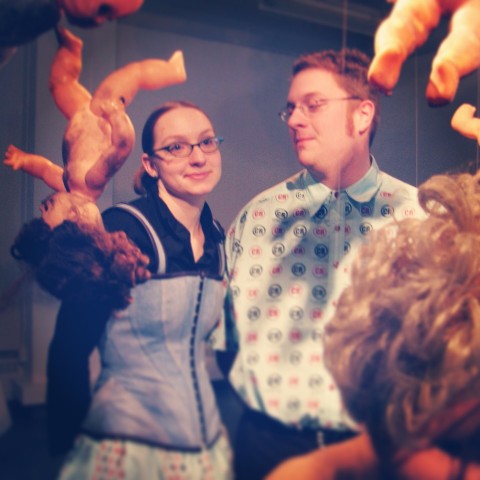
I also sewed Marcus and I matching outfits for the opening of the show using leftover fabric from the baby doll uniforms; a skirt for me and I shirt for him. It’s hard to believe we were that cool! But art school does that to you. My brother Aaron also silk screened our Corporate Reich logo onto t-shirts, which we wore into the ground. In fact, hubby still wears his as a “work-shirt” (out in the gardens & on the farm).
The entire project was actually quite a large undertaking, when you consider that this wasn’t done for a class, but just because we thought it would be “awesome” to do an art show together. Ahhh… young love. Our good friend said to me at the time, “if you two can survive this project together, not kill each other, you’ll be together for good.” Looks like he was right. Good thing too, because hubby and I have a tendency to take on big projects, like starting our farm business.
As for the baby dolls sitting in our basement, they are waiting for the snowstorm craziness to stop in Calgary & then they will be dropped back off at the thrift store. Cycle of a doll’s life, I guess.
I felt it was high time to share some more button porn on the blog! I’m always amazed at the wonderful button-themed fine art prints available. Feast your eyes on these newest finds:
Crafty print by McClain Creations
Stand Out print from Photos By Judy

I’ve been thinking about past art projects, in particular, mail art. Years ago, when hubby and I lived in B.C., we started a postcard exchange with several of our friends from art school. It was a really fun way to keep in touch with each other and I loved receiving random surprises of wonderful artwork in the mail. I kept all the postcards that we received, with the intention of displaying them somehow as a larger piece of art. Sadly, they are still just sitting in a shoebox, untouched, but not quite forgotten. One day perhaps…

Back in those days, I was horrible at documenting everything, so very few of the postcards that I made were properly scanned before I mailed them on their merry way. I thought I’d share a small sample of ones I made for an Alphabet series (you’re probably not that surprised to discover that I’m the type of person who likes to make art in a series). Each postcard was a different letter of the alphabet (and I really did manage make it through the whole alphabet, although don’t ask me what I did for the letter X). Of course there was a theme to the whole thing… fashion. The definition of each word represented was written on the back of the postcard.

All of the postcards were made on inexpensive card stock, using water colour paints, rubber stamps, and graphite pencil. The first step was to lay a light wash of water colour in a fairly random pattern. Once dry, I would make my sketches in simple pencil and then go back in with the water colour to bring out certain areas. Then I would begin creating textures and patterns with rubber stamps & ink. Finally, I would bring out particular details of the drawing and patterns by filling them in with graphite pencils. It all involved just a lot of experimenting with layers and colours.
I really don’t get much of a chance to do any mail art these days, but sometimes I get the hankering to. I started a Pinterest board quite some time ago, dedicated to inspirational mail art. With close friends moving across the country and our inevitable move out to the farm in a few years, I’m thinking that we might have to resurrect the postcard exchange real soon. Besides, think of all the great stuff that Sam could start making into postcards. Fun times and exciting mail await us…

It’s time for some button porn. I’ve spoken to you about my lusting after button photography before, but it’s been like eight months since I shared any with you. So here are a few new favs that I have been eying:
1. Button-ology Number Two by dditta
2. Button sewing room by ShadetreePhotography
3. Jar of buttons by lladybuggz
1. Button-ology Number Two by dditta
Last month, while Sam was teething and in need of some serious distraction, I decided to try out some finger painting with him. I’d seen random ideas for doing finger painting with babies on Pinterest and opted for the plastic bag method (as trying to clean up a teething, grumpy baby would only lead to more rage).
 I used a large freezer bag, some acrylic paint left from my art school days, packing tape and a piece of board intended for an artist palette. I wanted to be able to place it on the floor, so that Sam could get “into it” a bit more than making him sit up at a table.
 I squeezed some paint into the freezer bag (next time I will use more paint so it’s easier for him to squish it around). Then closed the bag up nice & tight and taped it down to the board.
 Then I plopped it down on the floor in front of him. He wasn’t sure what to make of it at first. I showed him how the colours squished & moved around. Eventually he got interested in touching each colour and was soon squishing a bit on his own.
 (Getting more into it)
 (I love his chubby little hands!)

Overall it was a nice activity. Quick set-up and clean-up (just pulled the bag off the board and tossed the bag into the garbage). No mess on the baby (I recommend you ensure that baby’s nails are clipped short to avoid ripping holes in the bag). And lots of fun to watch him explore. We will be doing more of this soon, for sure.
Okay, confession time. Besides the many button craft projects that I’ve been collecting on Pinterest, I also have a board titled “Button Porn”. It’s probably (most definitely) the only time I’ll use the P-term on this blog, but there’s really no way round it. There is just some super stunning, beautiful, and adorable button fine art photography out there! I lust after it like only a crazy craft person can! Oh, to have a wall of button pin-ups! I thought I would share a few of my fav with you today, all of which are available for purchase through Etsy, if you too have a certain desire for these lovelies.
First off, one from Shanon Gass of SLGdesigns. The second is by Jillian Audrey of Jillian Audrey Designs. And the third, is by Havilah Savage of dear machine. Feast your eyes on these beauties!