Santa’s Workshop: DIY Salts & Sugars

Santa's Workshop: DIY Salts & Sugars ~ Essential Oil Infused ~ by Bubblegum Sass


I was gifted a lovely & deliciously useful salt & sugar set infused with essential oils. It’s one of those things, at first glance, you’re not sure how you’ll use it, but I quickly changed that attitude into “what won’t I use them in?!” Turns out they are simple to make, and really handy to have sitting on the kitchen counter to shake in here & there.

{Read more}

Let’s just jump into it:

Lime Salt

  • 1/2 cup of fine sea salt
  • 15-20 drops of Lime essential oil
  • fresh zest from one lime

Zest your lime & set aside {don’t let your now naked lime go to waste; slice it up & add to your water, or juice it & put it towards a margarita}. Mix together sea salt & lime essential oil, breaking up clumps. Add lime zest. Mix well. Put into whichever container is most convenient. Mine came in spice shakers, which work awesome.

Orange Sugar

  • 1/2 cup of white sugar
  • 7-10 drops of Orange essential oil
  • fresh zest from one orange

Zest your orange & set aside. Mix together sugar & orange essential oil. Add orange zest. Spread mixture onto baking sheet to air dry. Scoop into container, breaking up clumps as needed.


Santa's Workshop: DIY Salts & Sugars ~ Essential Oil Infused ~ by Bubblegum Sass


Now here’s the best part… you can do a whole variety of citrus infused salts & sugars using citrus zests & essential oils! The other amazing thing, is the number of ways to use these. I’ve sort of lost track of how many thing’s I’ve added them to. The salt gets added to random cooking, from veggies to chicken {lime salt & cooked beans is super tasty}. The sugar gets added to things like plain greek yogurt & homemade applesauce. I keep ours handy on the kitchen counter, so whenever I’m at a loss or just plain too tired to decided on flavours or seasonings, I grab one of these. They make a great hostess gift too!

Happy cooking!

Living With Essential Oils: Lemon Oil in the Kitchen

Living With Essential Oils: Lemon Oil in the Kitchen ~ By Bubblegum Sass ~ Simple ways to add lemon oil to your cooking
One day, while attempting to make a tasty salad dressing, I decided to add in a drop of lemon oil instead of the lemon juice concentrate we had in the fridge {we don’t often have fresh lemons in the house}. The result was wonderful! And since then, I’ve been playing with adding lemon oil, here and there, to some of our simple dishes. Read on, if you’re curious about how we’ve been using this essential oil in our cooking.

(more…)

Happy Food pt. 3

Finally a third installment in our “Happy Food” series! You can find the previous two posts here and here. This time around I want to share one of hubby’s fave recipes for low-carb “bread”, Almond Butter Bread. I say “bread” loosely because generally we joke around calling it almond-not-a-bread. It’s close to the texture of actual bread, without having any flour in it. You can slice it, toast it, use it for sandwiches, dip it in egg yolks, and spread your favourite jam on it. Close enough to bread for someone who eats a low-carb diet and seriously misses bread. I’ve grown to quite like it, even though I still eat real bread on occasion. Not sold yet? Let me cut you a slice and slather it with some tasty homemade apple butter.

Almond Butter Bread

Almond Butter Bread

500 ml smooth organic almond butter (we buy ours at Community Natural, but it’s also available at general grocery stores)

6 large eggs (or 5 extra large eggs)

1 tbsp baking powder

1 tsp salt

3/4 cup warm water


Making Almond Butter Bread

  1. Preheat oven to 350 degrees Fahrenheit
  2. Butter small loaf pan, 8″ x 4″ (be quite generous with your butter so the bread will pop out easily)
  3. Place almond butter in bowl & mix well until almond butter is smooth
  4. Add baking powder & salt and mix well again
  5. Add eggs and hand whip with a fork until, you guess it, mixed well
  6. Add warm water and mix until nice & smooth
  7. Pour batter into loaf pan (it will be quite full, but don’t worry)
  8. Bake for 50 minutes
  9. Remove from loaf pan and cool on rack
  10. Slice and enjoy!

We’ve tried adding tasty bits like raisins and nuts to the batter before baking. It’s yummy, but they do tend to settle to the bottom of the bread. Maybe you could drop some raisins in part way through the baking process? Haven’t experimented with that too much. If you’re looking to toast it, keep in mind that it burns a little more quickly than normal bread, so turn down the heat on your toaster a bit. Also, the bread is a touch bland, but that’s why it works so well with whatever you decide to spread on it!

This week, I think I’m going to venture into actual bread making. We picked up some lovely Red Fife flour from Country Thyme Farm. Confession: I’ve never actually made bread before. Working with yeast makes me nervous. It’s why we don’t have homemade cinnamon buns in the house, no matter how much I love the smell of fresh baked bread. Hoping to change that in the coming weeks. Wish me luck! Even if I pull off “real” bread, I’ll still be making this tasty Almond Butter Bread for hubby & myself to nibble on.

From Weed To Yummy

Confession: Our backyard is a sea of dandelions.

They’ve taken over any area that we left as lawn. In past years, we tried pulling, mowing, even spraying them with vinegar (we refuse to spray any chemicals). This year, I’ve given up and I’m treating them like just another crop to harvest.

Dandelions are such a cheerful thing to harvest.

Here’s some tips I’ve found handy so far:

  • If using the greens, harvest fresh or no more than a day before. They keep in the fridge, but they really are best eaten as soon as possible.
  • When preparing to de-petal the dandelions, pick them no more than a couple hours prior. They are easiest to de-petal when the blossom is big and open. Dandelion blossoms tend to close up and wilt very quickly. In general, I pick a big bowl of blossoms right before making dinner and then 2-3 hours later, after Sam heads to bed, I get comfy on the couch & start to de-petal the blossoms. You can still de-petal dandelions even after they close up, but it’s just a trickier task.
  • Dandelion petals can be frozen! Once you de-petal the blossoms, pop them into a freezer bag or container (I measured out 1 cup bags). This makes life easier when you want to tackle bigger dandelion projects (like dandelion wine) or if you only have a small crop of dandelions and therefore have to combine multiple harvest days to accumulate enough petals.
  • I tried washing the dandelion blossoms, letting them dry, and then de-petaling. It was kind of a fail. Now I don’t even worry about washing the blossoms to de-petal them. You can clean off any bugs you come across while you de-petal each one. Our yard is chemical free, and pet-free, so I just don’t worry about it. I do wash the greens in cold water after I harvest them (just treat them like any other salad greens).
  • I choose to wear rubber gloves while de-petaling. Besides my struggle with eczema on my hands, I just don’t love the sticky, &  yellow stain mess that is involved with de-petaling. Even with pumice soap, it’s tricky stuff to get off. Then again, I spend a couple hours at a time de-petaling, so maybe if you’re only doing small batches, it wouldn’t be so bad 😉
  • Fact: Children love to play with dandelions. They are an easy crop to teach kids to harvest. Sam has really enjoyed helping me pull off blossoms. Even got him de-petaling for a little bit one afternoon. So dandelion harvest time can definitely be a kid friendly task.
Dandelion petals ready to be frozen.

There are lots of interesting things to make out of dandelions. There’s a good collection of ideas & recipes on The Prairie Homestead blog. I started out simple, just making come dandelion green salads. There’s really no end of possibilities when it comes to salad combinations. Just think of some of your favourite salads or dressings, and add or substitute dandelion greens. For example, I love broccoli salad, but there’s no broccoli ready to harvest in the backyard, so I used dandelion greens instead, added my usual raisins, nuts, and cream dressing. Viola! I tend to like adding sweet things to salads made with dandelion greens, just to cut the slight bitterness of the leaves. I’m thinking strawberries and sunflower seeds next time around or maybe a sweet rhubarb dressing. Just have fun experimenting with it!

Dandelion green salad with fresh chives, raisins and pumpkin seeds. I made a simple creamy dressing of mayo, vinegar & a touch of sugar.
Dandelion green salad with fresh chives. I simmered dried apricots and prunes with coconut oil and a bit of water to form the dressing. Sooooo tasty!

There are several things I want to try making with the dandelion blossoms and petals, including syrup, fried blossoms, and wine (if I’m super ambitious one week). We made dandelion cookies this week from some of the fresh petals. They were yummy and a hit with Sam. I used a recipe from the Dinner For Everyone blog. Since they are basically oatmeal cookies with dandelion petals, I want to try adding raisins to them next time around.

Cookies made from dandelion petals. Yummy, but next time I'm going to add some raisins.
Cookies made from dandelion petals. Yummy, but next time I’m going to add some raisins.

Have you ever done anything with dandelion greens or blossoms? Would love to hear about it! Also, should let you know that if you happen to be one of those lucky folks who don’t suffer from dandelion invasions in your yard (or don’t have a yard), chances are you can purchase dandelion greens from your local urban farmer or grocery store. Here in Calgary, you can check out the YYC Growers & Distributors booth at some of their upcoming farmers’ markets. Some of the greens you purchase from them might just be from our yard.

Happy Food pt. 2

It’s been a little long in coming, but finally put together the second installation of my Happy Food series. You can find Part 1 here. Keeping with my intention of changing some of our food habits, I finally decided to get on board with my hubby and cut out all vegetable & canola oils (including shortening). I wasn’t using them all that much really, mostly in my baking. We already frequently use olive oil, butter, or bacon grease to cook with. We decided to start using coconut oil for some things. The switch wasn’t as difficult as I had built it up to be. In my mind, it was going to be a real pain in the butt and mean sacrificing some of my fave recipes (many passed down from my family) and having to find new ones to use.

This has not been the case. I found some helpful, easy tips online about substituting coconut oil for vegetable/canola oil & shortening. I also embraced the fact that things might not turn out “right” the first time. Armed with that attitude and determined to commit to the switch, I dove in. I started substituting coconut oil in my baking in the fall, and so far, there hasn’t really been a fail recipe. So today, I want to share some of the tasty things Sammy & I have been eating (hubby is low-carb, so he skips most of these treats… being low-carb is quite a big eating habit change, one that I’m not mentally or emotionally capable of committing to, yet).

First off, you might ask, why coconut oil? It’s not locally grown or made and travels large distances to get onto my pantry shelf. This is one of those instances where healthy outweighs buying local, that is, until we have our own dairy cow & can make enough butter to keep our household happy without breaking the bank. For hubby, who believes in low-carb eating, the fat in coconut oil is not something to be scared of, but embraced. You can find plenty of info and ugly videos on just how disgusting vegetable & canola oil is. With the limited time we have on this earth, I’d much rather put yummy organic coconut oil in my body than that stuff! Don’t get me wrong, we LOVE butter at our house and have been trying to purchase butter from pasture-raised, grass-fed dairy. Simply put, it’s expensive, especially in the quantities we already use. The good quality milk to make the butter is pricey too. Again, I dream of days when we have buckets of milk from our own dairy cow to make yummy, healthy butter.

So let’s check out some of the tasty treats.

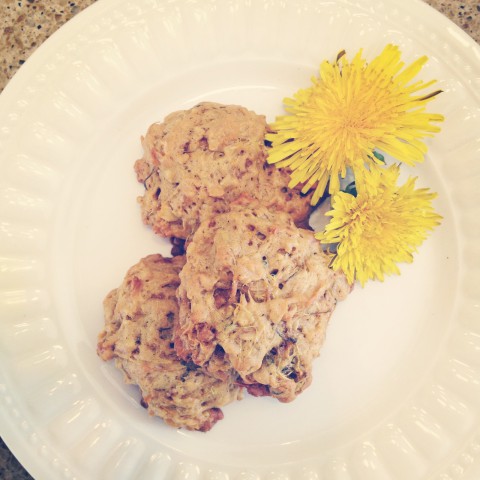
We’ve made yummy pancakes, waffles, even Sammy’s birthday cake. Some of these were done with a box mix for dry ingredients (hey, I didn’t say we were perfect). Homemade biscuits are great with that touch of coconut taste. And we’ve made lots & lots of muffins! Coconut oil in muffins has been a delightful discovery. Try it! Another wonderful recipe find has been Coconut Crack Bars. They’re a super snack at our house now, that even Sam loves! I even figured out a low-carb version for hubby (skip the agave syrup & salt, increase the coconut oil, melt some of the coconut oil beforehand and add some lime juice). And who can forget THE best gingerbread cookies I’ve ever made!?! Yep, for Christmas this year, I stuck to my commitment to avoid shortening and made my mom’s gingerbread cookie recipe with coconut oil. Best batch I’ve ever made! Seriously. That officially ended my fear of substituting coconut oil into my fave recipes.

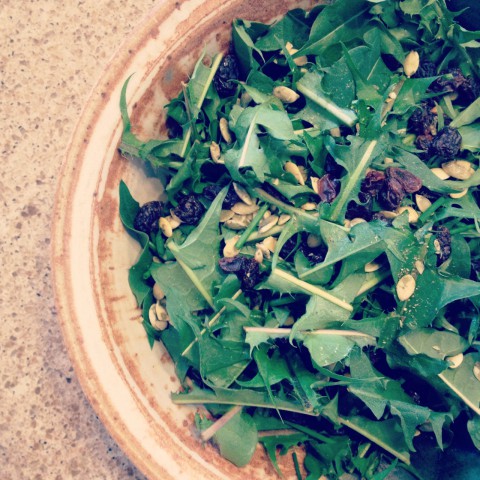
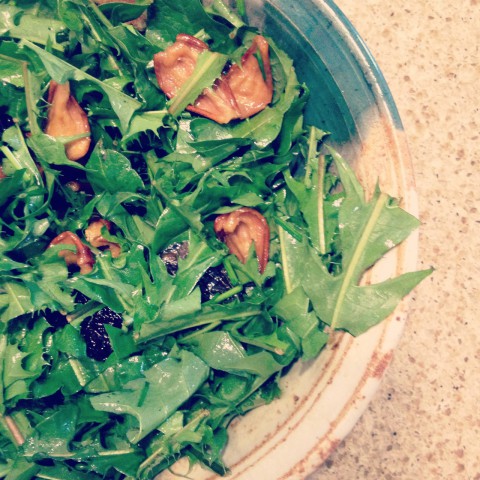
By the way, frying some veggies (like kale & chard) and meats (like beef) in coconut can add a nice change in flavor. I sometimes put just a dab of it on cooked veggies before we serve them (so yummy on carrots). There’s a lot you can do with coconut oil!

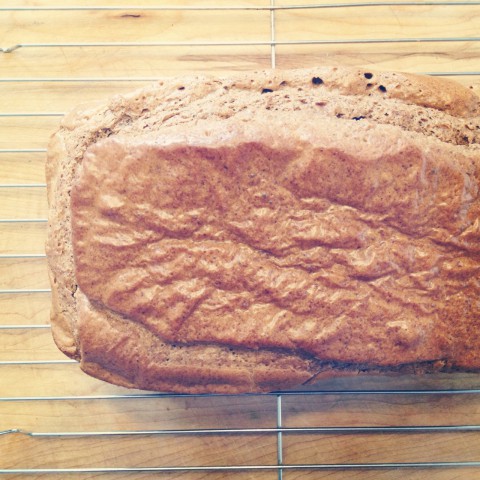
Here’s our fave muffin recipe for you to try:

Banana Chocolate Chip Coconut Muffins

Banana chocolate chip muffins by Bubblegum Sass

Ingredients
• 1 3/4 cups all-purpose flour
• 3/4 cup sugar
• 1 teaspoon baking powder
• 1 teaspoon baking soda
• 1/2 teaspoon salt
• 1 egg
• 1/2 cup coconut oil (or a touch more for even more moistness)
• 1/2 cup plain or vanilla greek yogurt
• 1 teaspoon vanilla extract
• 1 cup mashed ripe bananas
• 3/4 cup semisweet chocolate chips (or more if you want)
• 1/2 cup finely shredded coconut (optional)

Directions
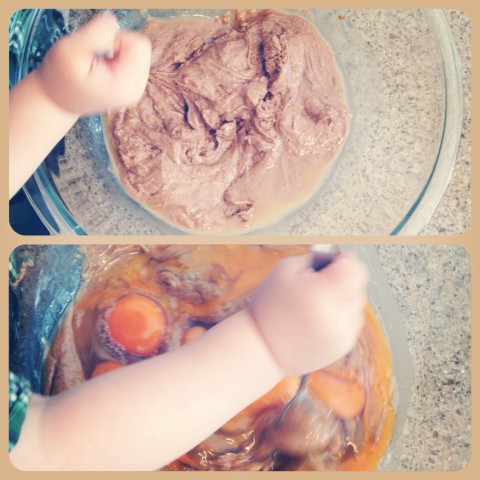
1. In a medium size bowl, combine egg, yogurt, and vanilla. Microwave for 20 seconds & let sit.
2. In a large bowl, combine the flour, sugar, baking powder, baking soda and salt.
3. Measure out your coconut oil & melt it.
4. Add the melted coconut oil to the bowl of other wet ingredients. Mix well with a whisk.
5. Stir into dry ingredients just until moistened.
6. Fold in bananas and chocolate chips and optional shredded coconut.
7. Fill parchment paper-lined muffin cups two-thirds full.
8. Bake at 350 degrees F for 22-25 minutes or until a toothpick comes out clean.
9. Cool for 5 minutes before removing from pan to wire racks.

Tips For Baking With Coconut Oil

  • To substitute coconut oil for vegetable oil, simply use the amount of oil called for in the recipe & then melt it. It’s a straight 1-1 substitution amount.
  • To substitute coconut oil for shortening, reduce the amount of oil used by about 25% (for example, if the recipe calls for 1 cup of shortening, use 3/4 cups of coconut oil).
  • To melt my coconut oil for baking recipes, I usually pop it into the microwave for 15 sec. The “experts” on coconut oil recommend a double boiler. If you use a microwave, just be very careful not to over heat. Coconut oil melts easily.
  • Coconut oil has a lower smoke-point than vegetable oil, so keep that in mind if you’re frying it.
  • The  most helpful thing to keep in mind, if you’re adding melted coconut to other wet ingredients in a recipe (like eggs & milk), make sure those ingredients are not straight-out-of-the-fridge cold. Start your baking by mixing together the cold wet ingredients, microwave them for 20 sec & let them sit while you organize everything else. This will ensure that when you add the melted coconut oil to the wet ingredients, the oil won’t start to cool & re-solidify right away. The first recipe I tried, I didn’t heed this advice & the dough never was a great consistency for mixing thoroughly.

Hope you enjoy experimenting with coconut oil! I’ll try to post some of the other recipes we use, like our homemade biscuits and gingerbread cookies, later this month.

Tasty greens

Homemade kale chips

We had such a tasty “dessert” the other night. Kale chips. Yep, you heard that right. So simple to make. They disappeared really quickly. Even our little man, Sam, thought they were great. And now I’m wishing that we had planted more kale. It feels good to try new recipes with fresh things from the garden. There are several kale salads I’d like to try one day. For now, I’ll have to be satisfied with being able to slip some kale into Sam’s morning smoothie, which he hasn’t noticed yet, thankfully (he’s been a bit short on veggies in his diet).

Wanna give these melt-in-your-mouth kale chips a try? Just place the kale on a baking sheet (with stems removed), drizzle with extra virgin olive oil, and sprinkle with sea salt. Place in the oven for 4min at 400 degrees. Just make sure to pay close attention to it, because the leaves can burn easily. Remove from oven and enjoy!

Sam eating kale chips