A shirt story

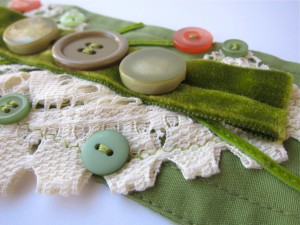
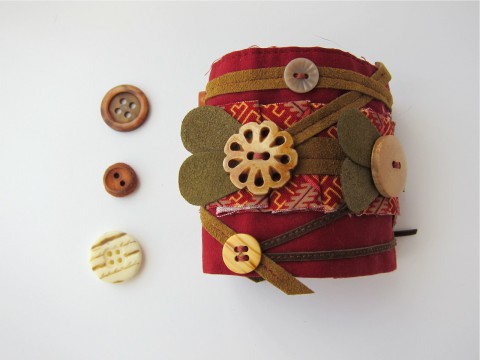
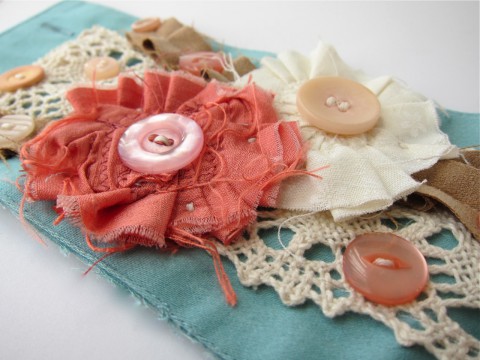
Upcycled Tribal Cuff Bracelet by Bubblegum SassVictorian Upcycled Cuff Bracelet by Bubblegum Sass

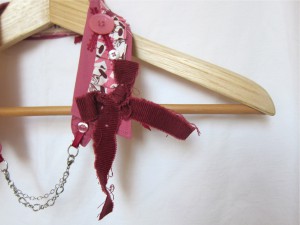
I thought it was time to share my inspiration for the current collection of accessories that I’ve been making (and making, and making). The full unveiling is coming up at Make It on Thursday. Some of the items have been for sale in the Etsy shop this past year, but other designs, like the Upcycled Collar, will be on sale for the first time. I’m actually a little nervous, but hopeful, in how they will be received.

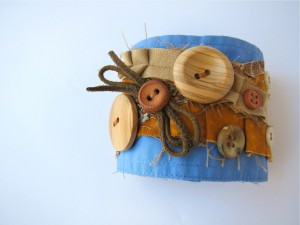
I started sewing the Upcycled Cuff Bracelets over a year ago, but my inspiration actually came a little over two years ago. I was facing the saddest moment in my entire life, the sudden loss of my oldest brother Blake. Through the course of that sadness, one of the tasks we took on was cleaning out some of his personal items from his house, to make room for a friend to live there until we could bring ourselves to sell it. My mom and I found ourselves cleaning out Blake’s big walk-in closet, folding up each shirt & pair of pants. My big bro loved clothes. He loved being fashionable and as such, he had an amazing collection of outfits. There were several items that we couldn’t bare to let of. My mom and I each kept a pile of things. My pile mostly consisted of dress shirts, some of my brother’s favourites & some that I simply adored. At the time, I kept thinking that I would make my soon-to-be-born baby a teddy bear out of various shirts, in memory of the uncle he would never get to meet.

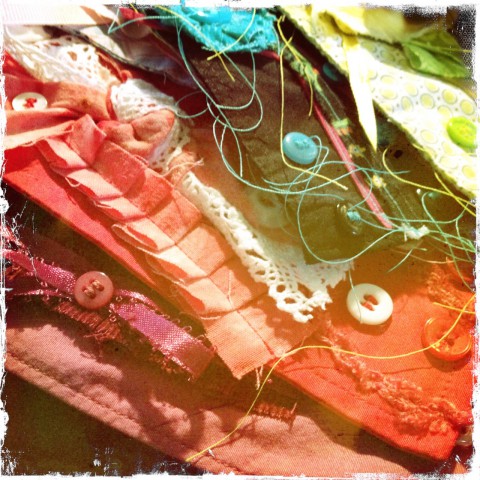
Months past, and the pile of dress shirts remained untouched in my sewing room. They sat partly because I wasn’t ready to deal with them, partly because I didn’t have the time to sew (hello, newborn baby), but mainly because I couldn’t decide on the perfect project. Then one day, out of the blue, I found myself standing in the sewing room unfolding & re-folding the dress shirts. The next day, I took a pair of scissors and cut a off a cuff from one of the shirts. Then I just started grabbing bits & pieces of things from around my table, made a small pile and began to “play”. Before I knew it, I had a colour theme going and sat down in front of the sewing machine with that cuff and a handful of scrap odds & ends. I hadn’t felt that creative in a long time! I was so satisfied with the end result & eager to make more. Of course, it would be a while before I could really sit down to sew much, but gradually, as I gained more “mama time”, the designs started to flow.

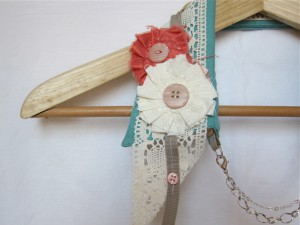
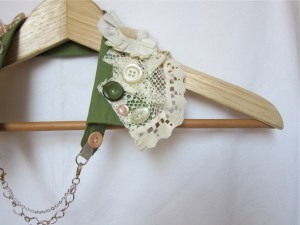
Shabby Chic Upcycled Collar by Bubblegum Sass, Sea Foam GreenShabby Chic Upcycled Collar by Bubblegum Sass, Sea Green

Shabby Chic Upcycled Collar by Bubblegum Sass, RaspberryShabby Chic Upcycled Collar by Bubblegum Sass, Olive Green

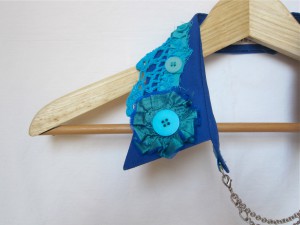
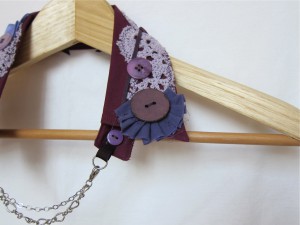
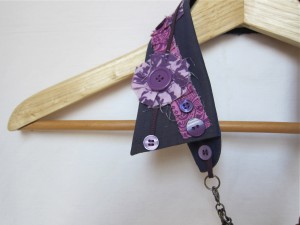
When I first saved my brother’s shirts, I was keen to make something crafty in memory of him. Hence the teddy bear idea. But the more time the shirts spent sitting there in the sewing room & in the back of my mind, I had this nagging desire to make something funky out of them that I could wear. Something to capture my brother’s fashionable style, but with my own twist. I’m not too sure where the idea of using the cuffs & collars came from. It just sort of popped into my head. In the end, they have become the perfect way to pay homage to the shirt they were cut from, and an interesting canvas to design on. I love being able to use lots of scrap fabrics & notions & buttons! I try my best to use supplies I have on hand, since, let’s face it, I have a LOT of crafty odds & ends that have accumulated over my many years of sewing, but sometimes I see an interesting notion at the fabric store that I can’t resist. My fave find is coming across vintage doilies at the thrift store. All of these things get incorporated bit by bit into various cuffs & collars.

Some shirts get donated to me by friends, but most I pick up at the thrift store. There is one cuff sitting unmade from my brother’s shirts, the rest were used up long ago. I like the idea of being able to wear something of his, keeping him close to me. I often find myself wondering about the person who previously owned a shirt, when I’m making a cuff or collar. Did they give the shirt away because they were tired of it, did it no longer fit right or was it donated by their family after they passed away? I like to think that I’m giving new life to these shirts, but often wish I knew their story.

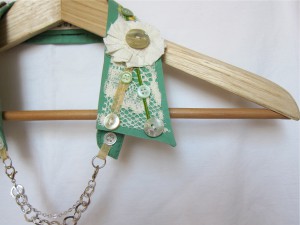
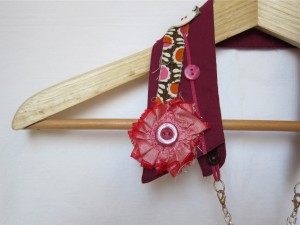
Shabby Chic Upcycled Collar by Bubblegum Sass, AquaShabby Chic Upcycled Collar by Bubblegum Sass, Plum Purple

Shabby Chic Upcycled Collar by Bubblegum Sass, Dusty PurpleShabby Chic Upcycled Collar by Bubblegum Sass, Dusty Pink

Button-spiration

Ok, ok, I know that we’ve just gotten through Halloween and here I am posting about Christmas, but let’s be realistic. If you want to actually have Christmas crafts completed BEFORE the holiday craziness, you probably should have started in July (making mental note to start posting Christmas craft idea posts next summer). Especially if you wanted to make a super cool Advent calendar. A lot of Advent calendars seems fairly complicated and time consuming, specifically the type that requires figuring out 25 gifts or activities for kids. I personally opted not to make that type. Although I enjoyed the traditional chocolate Advent calendar as a kid, Sam is still too young to partake in that & he certainly doesn’t need 25 little cheap gifts or toys. We’re still striving for a “less is more” approach (sometimes we’re successful and other times, we give in). Last year, I made a simple Button Christmas Tree Advent Calendar (brief tutorial available). Each day he got to choose a colourful button magnet to put on the tree.

Here’s another version of this type of Advent calendar from small pea studio, a Felt Advent Calendar Wreath. Not to tricky to make and uses some basic craft supplies. Plus, if you get started on it now, you could definitely have it done before December 1st hits!

The wreath is made of two layers of felt, stitched together & stuffed. Before you actually do the stuffing though, stitch on your 25 buttons. Stuff the wreath & finish stitching it up. Then cut out your leaf shapes (can be any shape you want) and put a small slit in each for the button holes. I think it would be nice to do several non-leaf shapes too. Perhaps some stars, snowflakes, & circles as Christmas ornaments. On that note, you could also do a Christmas Tree version if you’re not into the wreath shape. Do check out the full tutorial for all the details.

Happy crafting! And don’t stress about all those Christmas crafts you want to make… there’s always next year.

Making, making, making

There has been a lot of making going on in the past several months. I’m finally starting to feel like I *might* have enough inventory for Make It. It’s a good thing too because we’re down to only a few weeks before the show. Eeek! Also, did I mention that we’re leaving for a two week road trip to Colorado, today. Super eeek!!

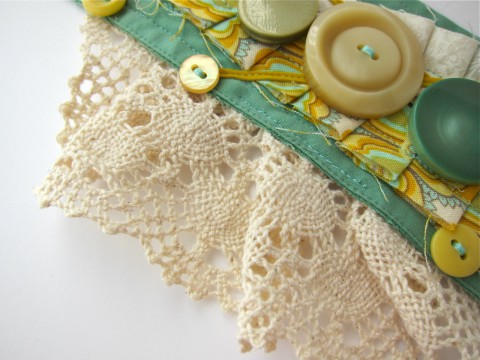
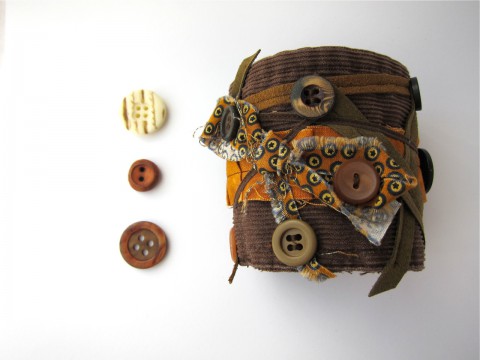
I did manage to list some new cuff bracelets in the shop a while ago. Plus, a shipment of new items made their way to Treehouse Boutique in North Bay last month. Busy making indeed. Here’s a little look at some of the upcycled cuff bracelets that have come out of the sewing room. Getting really excited to see them all on display at Make It! If you’re thinking about checking out the show, you definitely want to grab your discounted early bird admission tickets.

Red Tribal Upcycled Cuff Bracelet by Bubblegum Sass

Sea Green Upcycled Cuff Bracelet by Bubblegum Sass

Brown Corduroy Upcycled Cuff Bracelet by Bubblegum Sass

Sea Foam Upcycled Cuff Bracelet by Bubblegum Sass

A birthday top

Our adorable grand-niece (I think that’s how that relation goes…) turned two years old a few weeks ago. On top of that, she and her parents were getting set to move all the way to London, Ontario. These events called for a little sewing. At first I thought, I would just use my go-to reversible pant pattern by Anna Maria Horner in her Handmade Beginnings book. But then I started thinking about all the super cute patterns out there for little girls, and given that it is a rare occasion that I get to sew for little girls, I decided to try something new. Not only that, but I decided to try out a new pattern company.

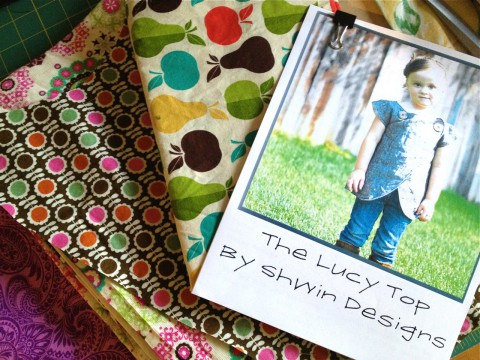
Lucy Top pattern by Shwin Designs

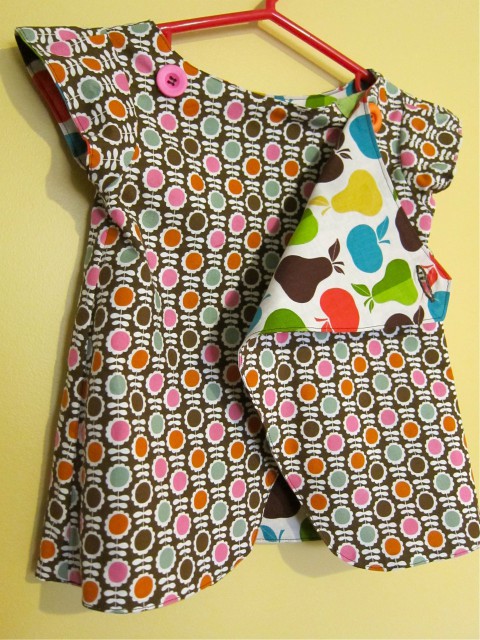
After trolling the internet in search of reversible tunics/tops (I love reversible clothes for the wee kids in our lives), I came across Shwin & Shwin. I really like the aesthetic of their patterns. And purchasing patterns online as a downloadable pdf is so feasible & easy, that I went ahead and bought the Lucy Tunic pattern, not knowing whether the instructions & pattern would be good or not. Turns out, the the pattern is quite good. The tunic went together really easy. I would even recommend it to friends who are wanting to test the sewing waters, with a stylish end result. The most difficult part was choosing the fabric combination, because, again, I so rarely get to sew for little girls. Yet, I didn’t want it to be all pink & purple. I settled with some fabric that I picked up almost a year ago in Colorado at Jo-Anne. Just waiting for the right project to come along.

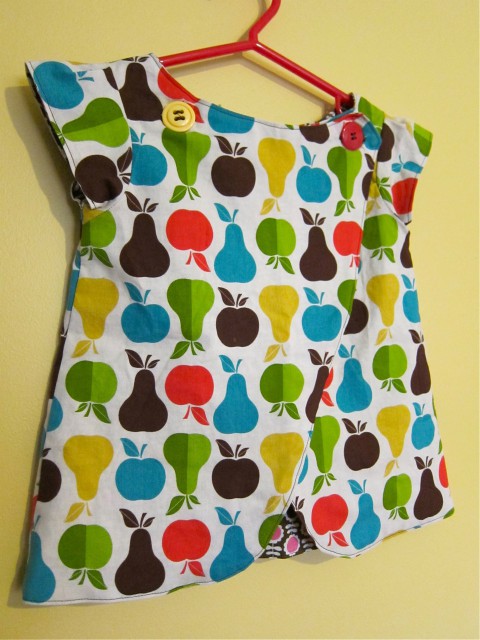
Lucy Tunic pears & apples side sewn by Bubblegum Sass
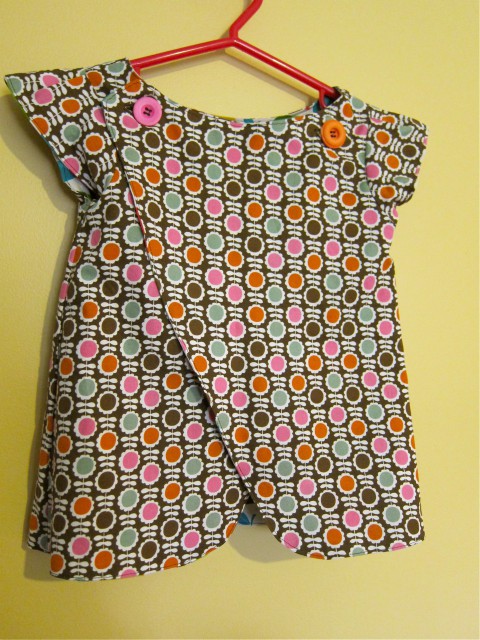
Lucy Tunic brown floral side sewn by Bubblegum Sass

I really do like the autumn feel to the two prints, which is one reason I went with them. They are also only a little girlie, not over-the-top. With the size I made, she should be able to wear it for quite a while. I think it will look super cute layered with a long sleeved shirt and leggings in the cooler months.

Reversible Lucy Tunic sewn by Bubblegum Sass

Again, love the reversible design of the top. Makes kids clothes so much fun! Two tops in one. If they spill something on themselves, you can just turn it inside out and you’re still good to go. I’m all for cutting down on the number of laundry loads that have to be done each week 😉

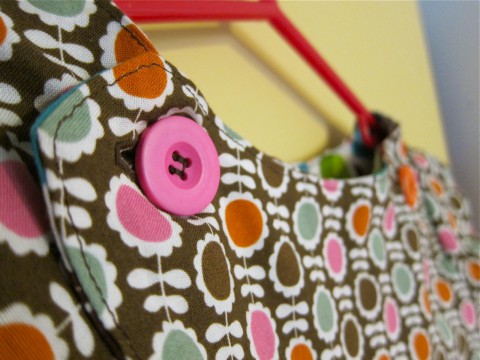
Colourful buttons on Lucy Tunic by Bubblegum Sass

And of course, one of the reasons this particular reversible tunic stood out to me, was the use of buttons in the design. Big, funky, colourful buttons. None of the buttons are the same, just mixed-and-matched them. It was a little tricky sewing the buttons back to back to create the reversible closure. Probably the only tricky part of the design.

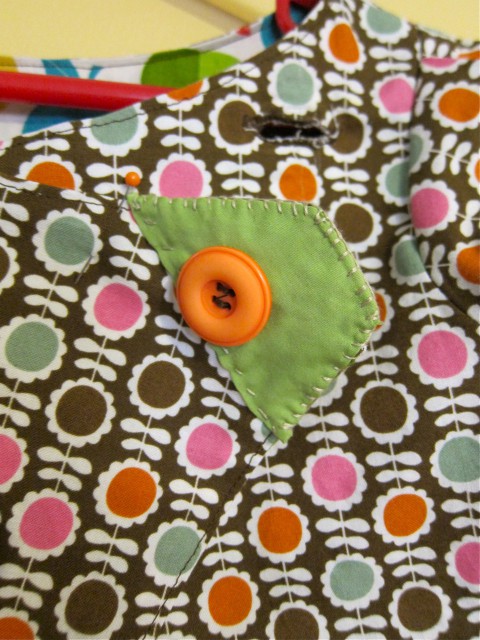
Lucy Tunic mistake by Bubblegum Sass

Let’s be honest for a moment. I make mistakes. Yep. Your heard that right. My sewing is far from perfect. I cut things out wrong. I sew things incorrectly. And for the first time, I put a button hole in the wrong spot… and realized it after I had already cut the button hole open. The worst part, is that sewing the button holes and buttons is the very last step in the pattern, the finishing touch. The whole top was done and here I ruined it. I almost started crying when I realized what I had done.

At first, I thought the whole project was a right off. And I was so sad because I wouldn’t have a chance to sew anything else before little Sumerlee’s birthday and big move. I held my head in my hands for a few minutes and wallowed in my stupidity at making such a mistake. Then I began to tinker a bit and soon discovered that if I put a patch on the incorrect button hole, you wouldn’t even see it while she was wearing the top (that shoulder piece is always toward the inside). So I stitched on a patch, by hand (for a little extra love) and it turned out OK. Hubby said I’m my own worst critic and that he thought it was part of the design, until I told him the story. Far from perfect, not my best work, but cute none-the-less. I look forward to making more of these Lucy Tunics for friends, hopefully without the patch next time.

Button-spiration

It’s been a while since I did one of these Button-spiration posts. Sorry about that. You know my button passion hasn’t waned at all, but I haven’t been on Pinterest a lot these days, so I’m lacking some fresh button craft ideas. That is, until I came across these leather button cuffs. You can find the full tutorial on Delia Creates. They are super simple to make & I like the funky look. If you’re not sure where to track down some leather to make these, you can get some at Tandy Leather (you can order online or they have a store in Calgary just off Macleod Trail near the Kingsland Farmer’s Market.)

Happy crafting!

Button-spiration

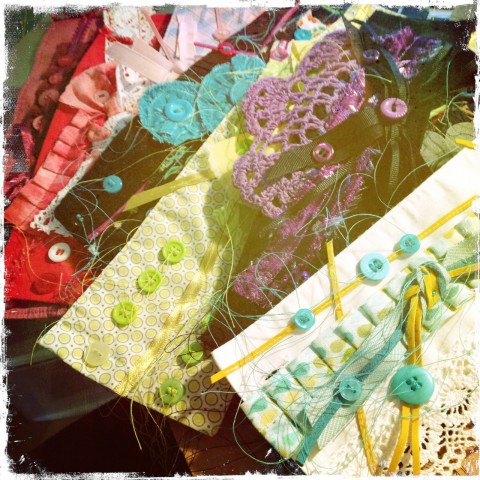
Today’s post is a little glimpse at all the creating that is going on in the sewing room this week. And of course, lots of buttons are getting sewn onto everything. Here are 10 new upcycled cuff bracelets that are awaiting some finishing touches. I really like several of these beauties and it will be hard to ship them off. But go, they must. This sewing blitz is being done in preparation for my first batch of items to be sold at a new boutique in Ontario!! Yep, you read that right! Some of my product will be available at a brick and mortar store for the first time ever! The shop is call Treehouse Boutique, and the line up of artisans is quite lovely. I feel very lucky to be included in such a talented group! Now that I’ve shared that bit of good news with you, I should get right back to it and start work on some new button hair combs.

In progress upcycled cuff bracelets

Detail of in progress cuff bracelets

Button-spiration

These were just too cute to share! Plus I’m starting to need some more big bibs for baby boy as he attempts to master the spoon by himself. These use printed cotton and terry fabric, bias tape, and buttons. Pretty simple, modern design, but super functional and think of all the wonderful colour combinations you can put together. Check out the full tutorial by de rerum natura (the original site is in French, but the Google translation is fairly decent).

Colourful blossoms

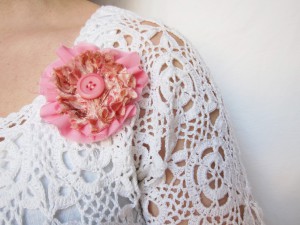
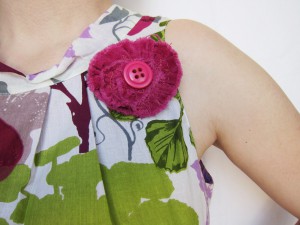
Blush Rose Pink Button Pin by Bubblegum SassMagenta Button Brooch by Bubblegum Sass

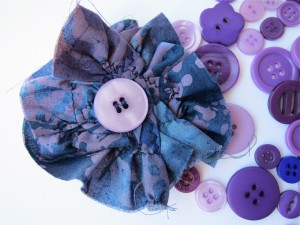
I’ve been working on getting these little button brooches into the shop lately. Sticking with my desire to use up the materials I already have in the sewing room, these flowers are made from scrap fabric strips, some cotton, some silk or corduroy. All very cute and perfect for spring and summer! Or even for bringing a little cheerfulness to our “winter coats” which we have sadly continued to wear, with fresh snow falling each week.

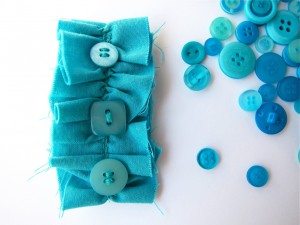
I love how the flower acts as a little frame to those adorable buttons! Each brooch is one-of-a-kind, colourful, scrappy and eclectic. I’ve even been playing around with a slightly modern version, a ruffled button brooch that can be worn vertically or horizontally. It’s been fun to experiment with these AND to see my mound of scrap fabric getting a little smaller each week.

There is a colourful collection of these brooches now available. And of course, all my Canadian friends should take advantage of the FREE shipping for these gals.

Turquoise Ruffle Button Brooch by Bubblegum SassPurple Button Brooch by Bubblegum Sass

Button-spiration

Here’s a super cool way to inject some new life into an old necktie. I’ve seen a few of these pleated necktie/bib necklaces for sale on Etsy, but it is definitely an easy DIY if you have a bit of time and a collection of ugly ties in the house. The full tutorial can be found on Maybe Matilda. There is also another version on Of Pinks and Fairy Tales (this one actually unbuttons). You could have a lot of fun playing around with the necktie patterns and using big, bold or unique buttons. A super funky accessory for sure!

Button-spiration

Here’s a quick & easy project from Happy Serendipity. A cute little felt cloud brooch with rain drops. I like that this could realistically get made during one of Sam’s naps. Seems like the perfect accessory for spring, which I have started thinking about more and more these days, with all the mild weather we’ve been having in Calgary.

You could probably even whip up a Valentine’s Day version just in time for tomorrow. Can’t you picture a cute little heart with a strand of buttons dangling from the bottom?