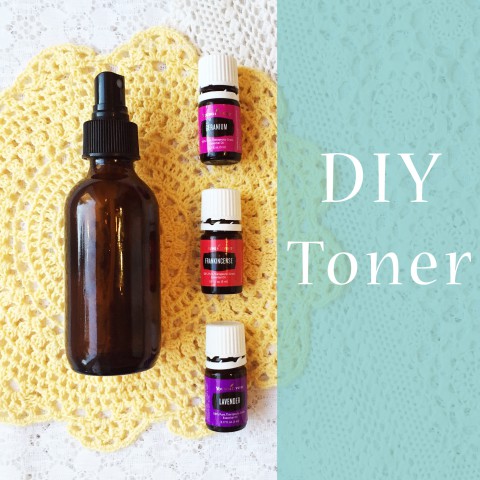
We’ve been introducing essential oils into various parts of our lives, from bath products, cold remedies, stress & pain relief, and to simple enjoyment in the diffuser. Today I’m sharing a pretty basic tutorial for making your own facial toner.
We’ve been introducing essential oils into various parts of our lives, from bath products, cold remedies, stress & pain relief, and to simple enjoyment in the diffuser. Today I’m sharing a pretty basic tutorial for making your own facial toner.
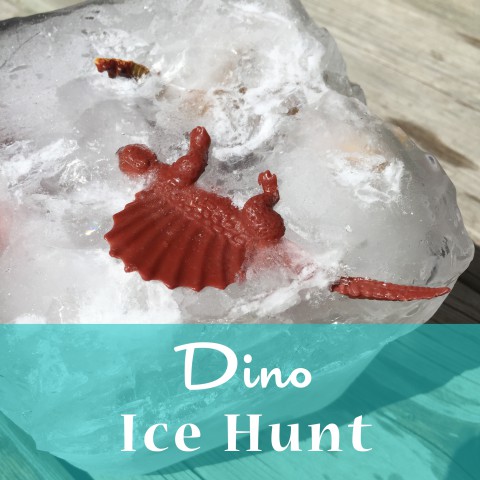
Sam and I spent many afternoons this summer on the back deck being paleontologists (dino hunters according to Sam). We froze some of his smaller plastic dino models in a block of water and used a toy hammer to chip them out of the ice. This is a pretty simple activity to get setup, it makes hot afternoons go a bit faster, and you get to cool down eating ice chips as you go. (more…)
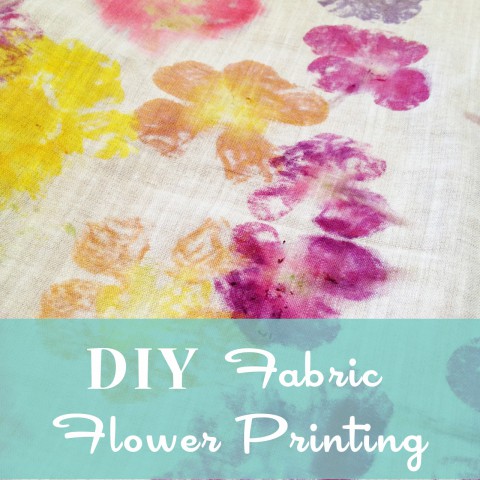
This is actually an activity that Sam and I did last spring, but I never got around to blogging about it. With gardens full of fresh flowers, summer is the perfect time of year to give this fabric printing technique a try. And you heard me right, this is something you can certainly do with your young child, as soon as they show an interest in using a toy hammer.
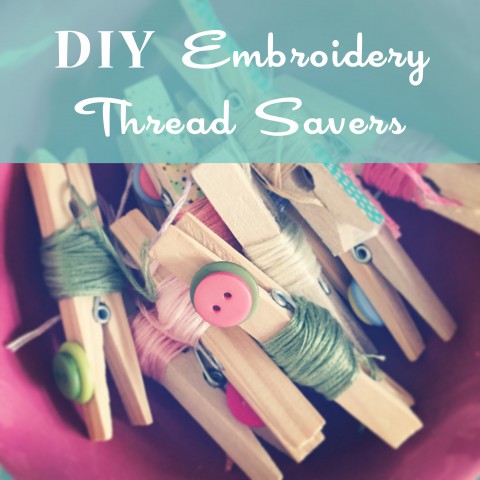
I was recently on a mission to tidy up my Love Catcher sewing box. It contains all the bits and pieces I need to prepare the embroidery hoops for the Love Catchers. I began pulling everything out of the box and sorting things into piles, which is when I quickly discovered a mishmash of embroidery thread pieces. They’re good lengths of embroidery thread (perfectly suitable to keep around), so I whipped out some clothespins and got to work on organizing them. When I posted a picture on Instagram of the nicely organized threads, folks were tickled {and surprised} at how a simple thing like a clothespin could make such a great thread saver. And so, I’m sharing it here with you. Pull out your sewing box and errant threads and let’s get to work!

We’ve been moving Sam away from nap time the past few weeks because his nighttime sleep was getting pretty crazy. He gets quiet time in his room instead of naps, which he is growing to like more and more. No naps in the afternoon can make for long days though. I recently whipped up this little activity for him to try out just to break up one particularly long afternoon.
Ok. So I have to admit that I actually did this project with Sam well over six months ago, back when he was a toddler. Somehow I didn’t get around to posting about it until now. Go figure.
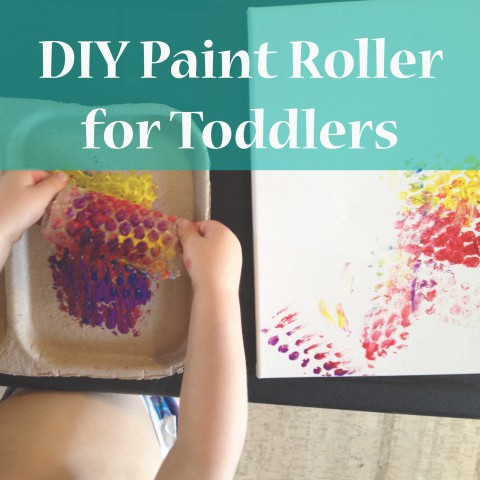
This is a simple project for you to make when your creative time with the kiddos needs a little refreshing. Sam was getting bored with the typical paint options, so I put together his own little paint roller to add some fun.
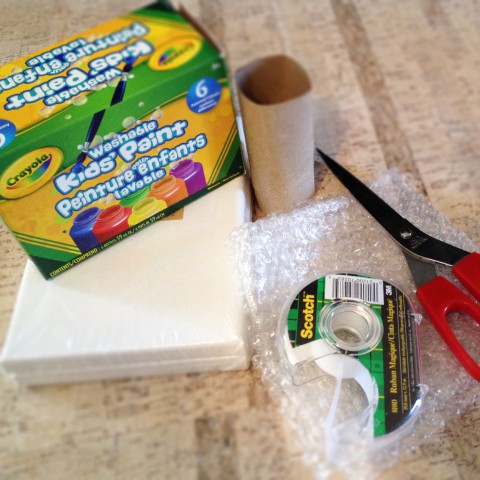
Here are the supplies you will need for this project:
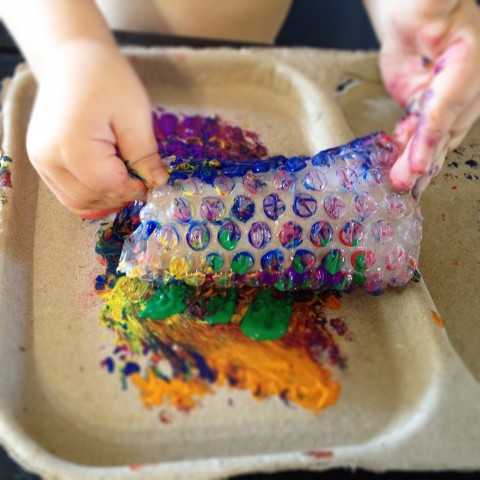

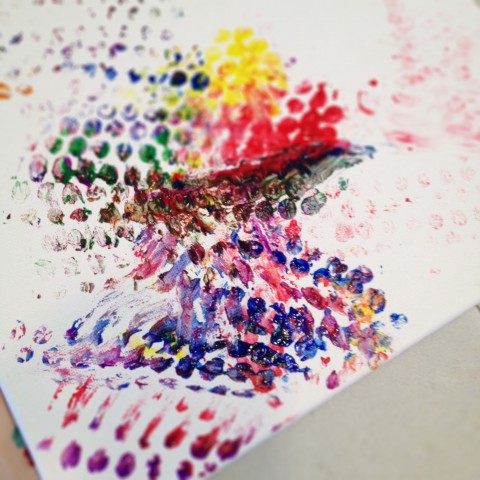

The toilet paper rolls are a nice size for the little ones to use, but you could also try empty paper towel rolls. And of course, I hope the the bubble wrap is inspiration for you to try other materials too. It’s fun for them to see what textures different things create. Here are some other DIY Paint Roller techniques to consider:
Also, just a note to mention, that at the same time I was writing this post, my friend Kerri was experimenting with bubble wrap painting on FABRIC!! You can see the results of her project on her newly started blog Soham Design.

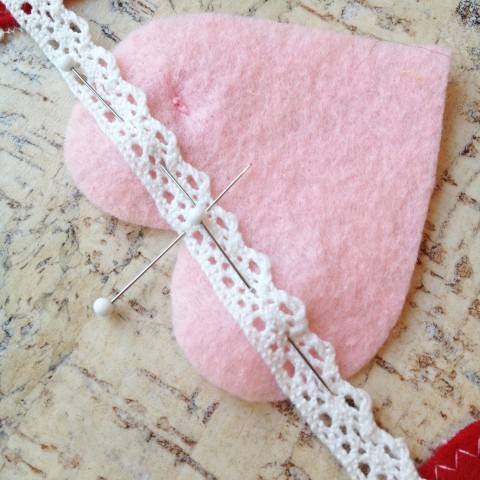
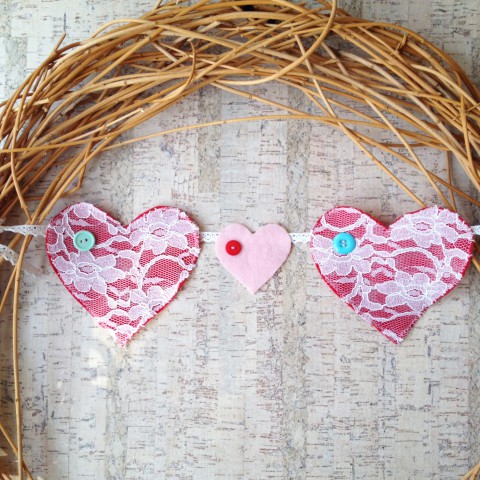
Although we don’t typically do a lot to celebrate Valentine’s Day at our house, we do decorate a wee bit. It’s nice to have a few pretty things around the house in the dead of winter. I especially enjoy a pretty wreath on the door (I get so sad when I take down my Christmas wreath). A wreath on the door always makes me smile when I arrive home. This year, I decided to spruce up our twig wreath with a shabby chic inspired garland. Annnd… I even remembered to document the process thoroughly so I could share it as a tutorial with all my lovely readers! That’s my bit of Happy Valentine’s to YOU!
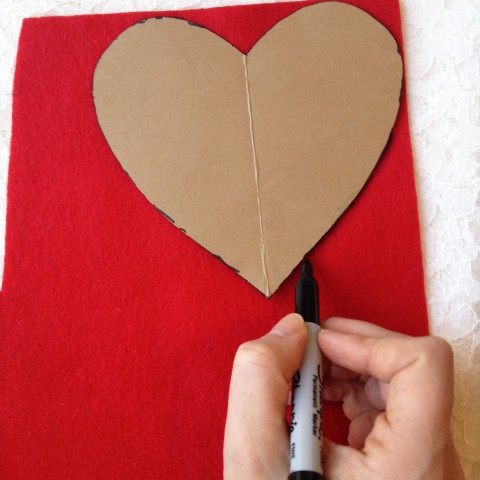
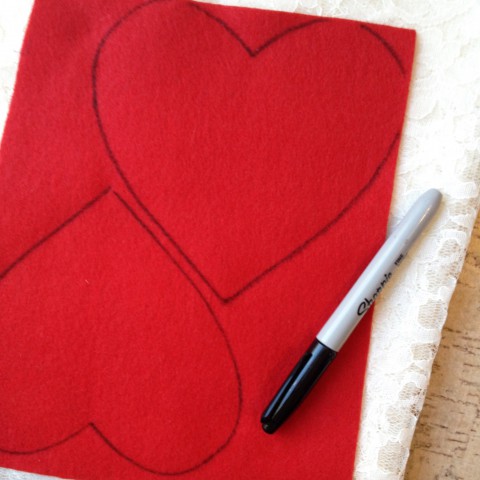
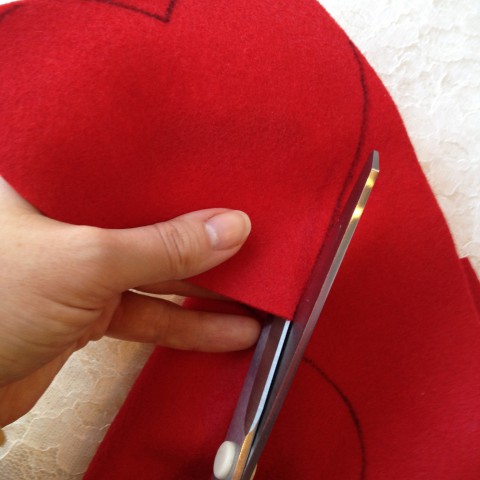
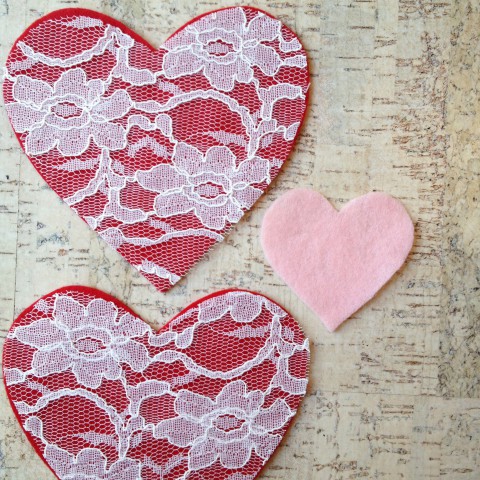
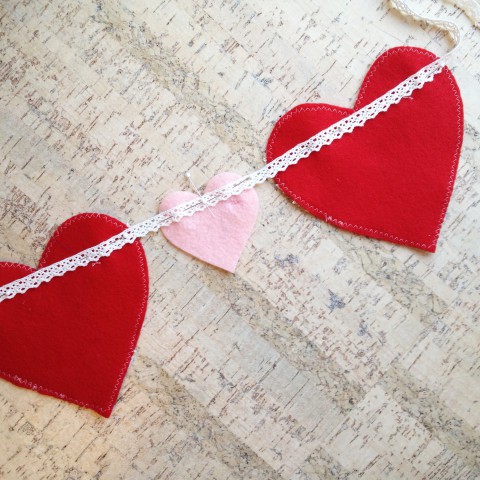
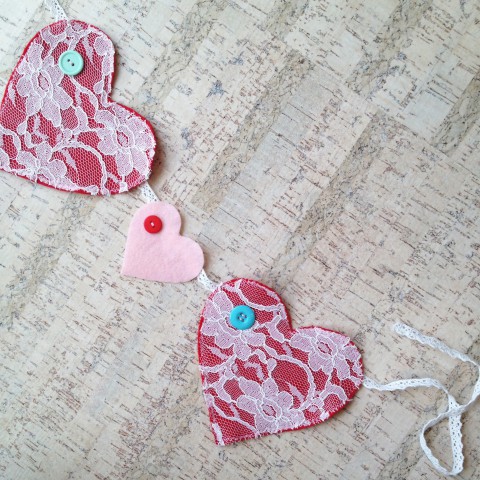
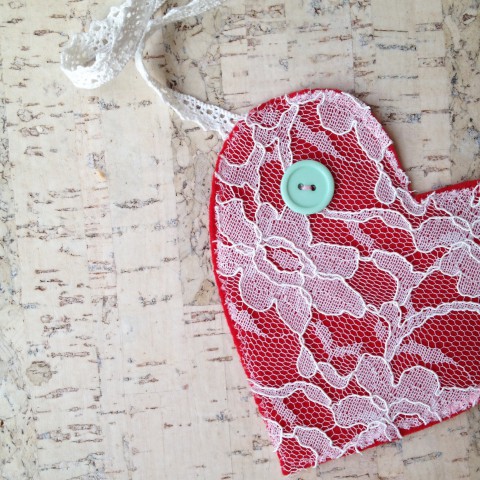
Now, the number of hearts to make for your garland is up to you (that’s why no material amounts have been given in the supply list below). I just made three (two large & one small) to symbolize my small family of three. Also, as you will see, I attached this short garland to a wreath. If you want a longer garland to hang, say from your fireplace mantel, then you will need to cut & stitch more hearts (you could alternate small & large hearts, some lace covered, some not).
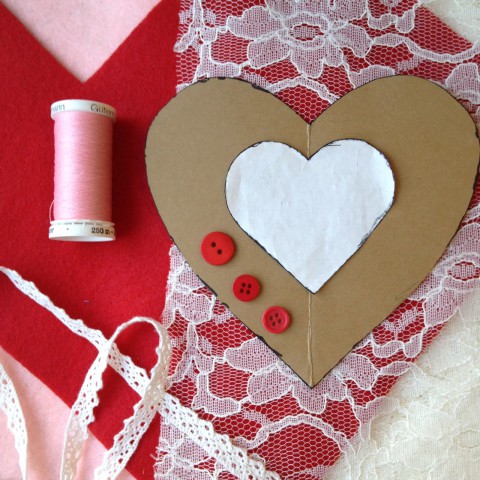 Here are the supplies you will need for this project:

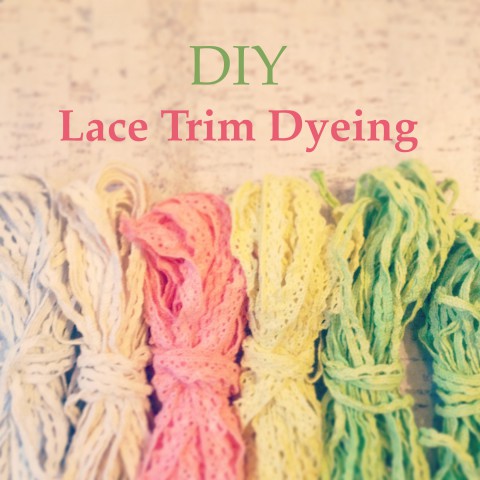
I realized early on in my making of the Love Catchers, that I was going to need a steady supply of lace trim to decorate them. Now, I try to use as much upcycled materials & materials that I have on hand as possible, but it’s hard to resist some new embellishments. It is possible to buy ready-made colourful lace trims (which I have done), but I felt a bit limited by colour choices and widths. So often I would find a package of lace trims online that were the perfect colour (there’s hardly any trim readily available locally), but the package would contain short lengths of various widths, many too wide for the Love Catchers.
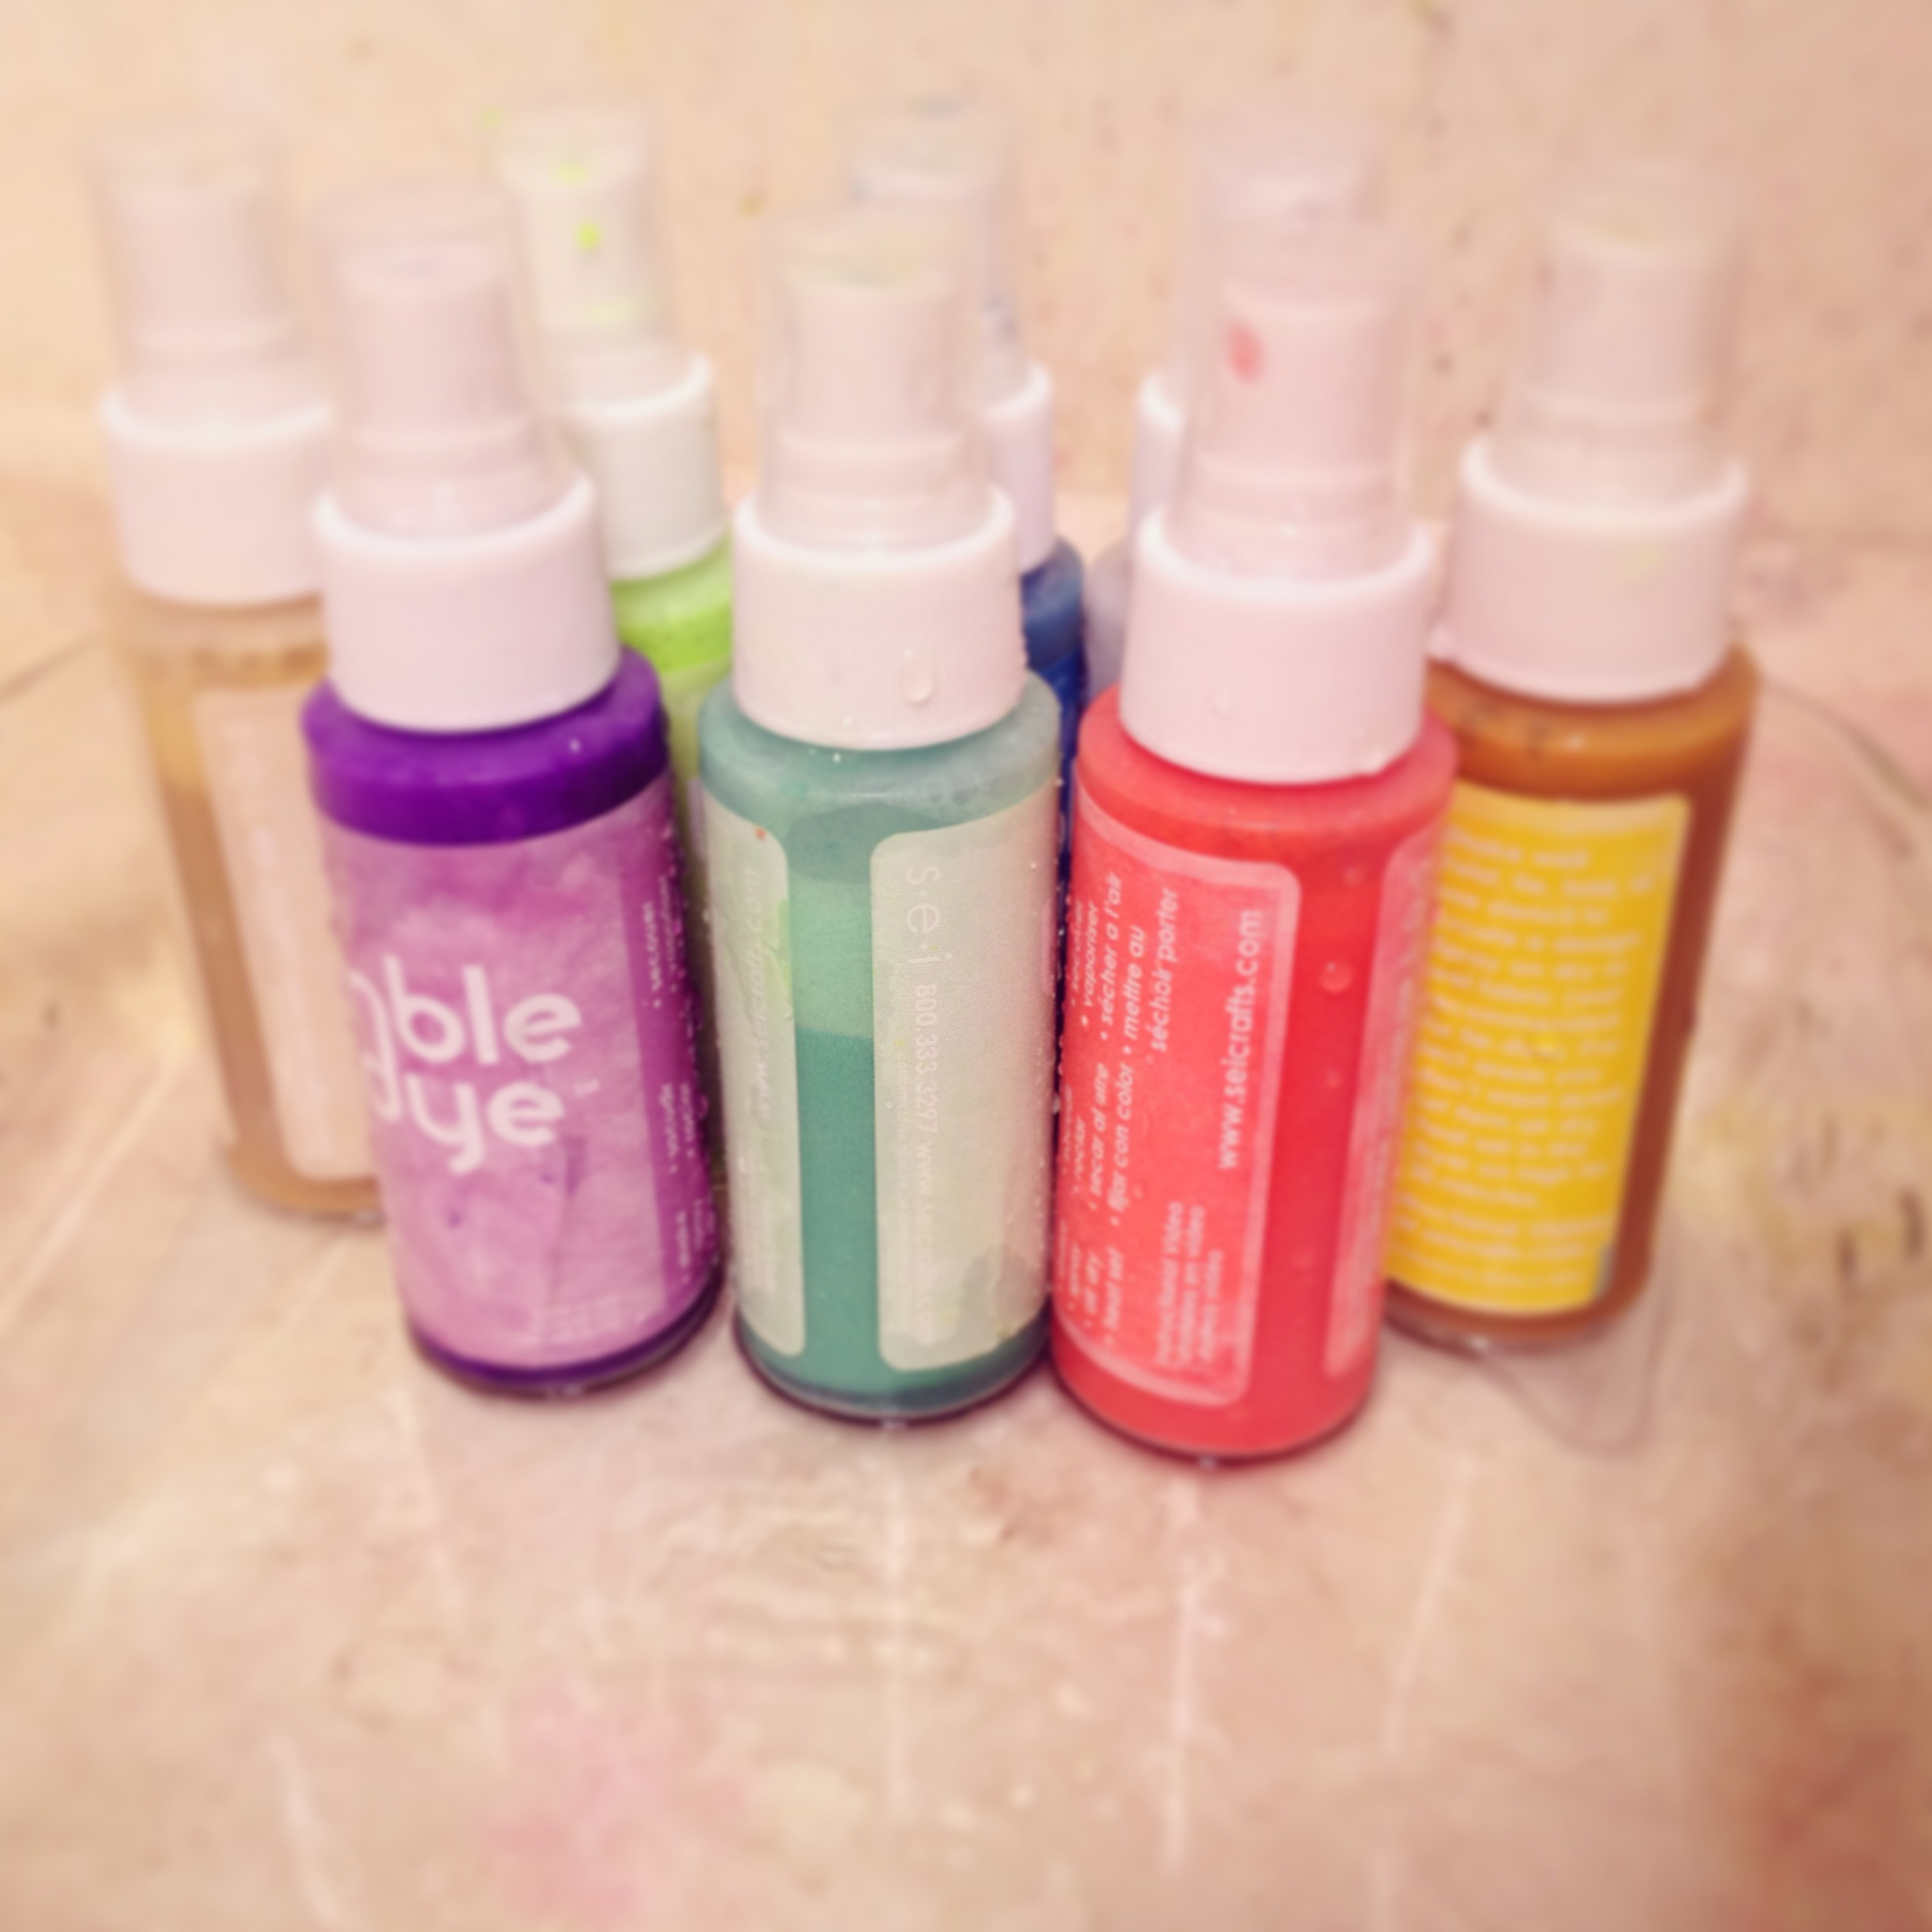
I finally decided that to flush out my selection of trims, I would purchase plain cotton, dyeable lace trim in large quantities and then dye them myself. Mostly I want to focus on making the Love Catchers themselves, and with limited time for all the crafting, I chose to purchase ready-made dyes to simplify the process. The supplies for this adventure were purchased online at the Dharma Trading Co. or were items I already had on hand. Dharma Trading Co. does offer natural plant dye options, if you would prefer to dive into that. I ordered a small selection of Tumble Dye. The fact that you could spray or dip dye with them appealed to me. Also, lovely selection of colours!
Suggested Supplies:
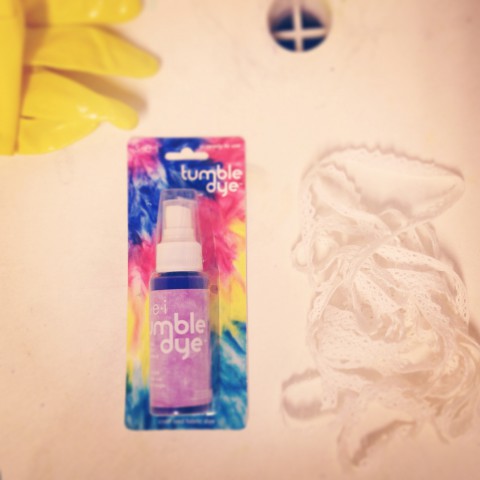
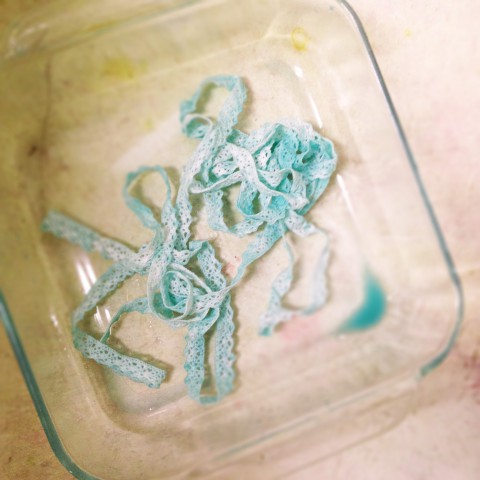
I wet the lace before applying any dye. Then I laid the lace out in the glass pan and sprayed it with the dye. Then I flipped the lace over and sprayed it a bit more. I didn’t pre-mix any dyes, but did combine some of the dyes simply by alternating which one I sprayed, to achieve desired colours.
Once enough dye has been sprayed on, wring the lace trim, allowing the excess water and dye to fall into the glass pan. Then place the lace trim back into the excess dye, rub it in a bit, flip the lace over and rub in the remaining dye. I did this step, to ensure there wasn’t any large white spots on the trim. *see note below*
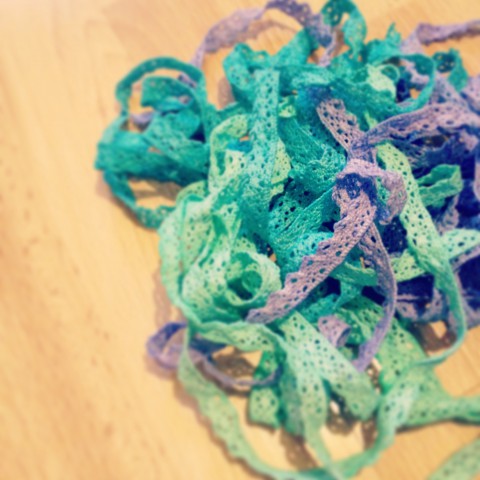
Once you’ve got the lace trim the colour & hue you want, lay it out on a plastic try or baking sheet and let it air dry completely. Once it’s dry, pop it into the dryer for about 20min (I just used our medium heat setting). So far I have just been using the lace trim for my Love Catchers, which do not go into the wash. According to the instructions, putting the dyed items into the dryer should set the colour, but I haven’t personally tried washing any of them yet.
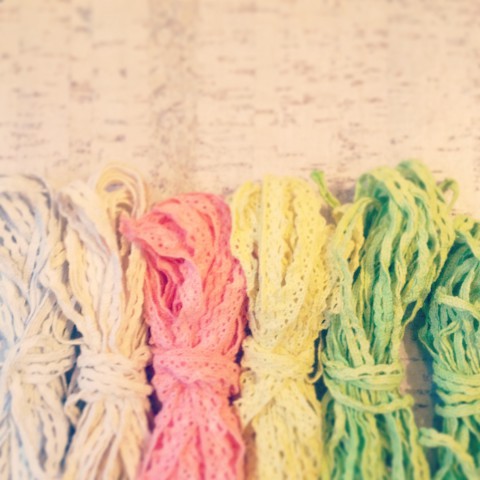
Viola! Pretty, pretty lace trims in a rainbow of colours, ready to be made into even prettier things!
*If you wish to a achieve a much more even dye colour, just pour some of the dye into the glass pan, and do a dip-dye method instead of using the spray applicator. I prefer the spray applicator to achieve the vintage shabby chic look, but it’s up to you.*
Keep experimenting (I know I still am) and have fun with your dyeing projects!

Our little man really does like watching birds. Two-years old and I’m already picturing him as a geeky birder. Plus, he looooves to look through all of his daddy’s seed catalogues, learning the names of plants and flowers. Definitely a future geek. Oh, I love him so!
We have several storybooks with birds in them. His two fave are Riki’s Birdhouse by Monica Wellington and Outside Your Window: A First Book of Nature by Nicola Davies. Sam has been learning about different birds & what they eat. So when I suggested one morning that we “make a special treat to feed the birds”, Sam was super excited! He ran to the front door with his winter boots in hand! Once I got him to put his boot back for the moment, I quickly gathered the few supplies we would need:

From there, the project is pretty straight forward. Spread peanut butter onto the toilet paper rolls (TIP: if you’re using a type of peanut butter that normally resides in the fridge, you might want to pop it into the microwave briefly to soften it). I figured Sam would enjoy rolling the toilet paper rolls through the seeds best, but then I forgot how novel it was that he was getting to use a knife. Needless to say, he loved spreading the peanut butter! One roll kept him busy for quite a while. Oh, and as with all toddler projects, just embrace the mess!


Once you’ve got peanut butter spread all over the toilet roll, gently roll it through your bird seed mix. Sam kept trying to roll his “partially” peanut-butter-covered toilet roll in the seed mix. Next time, I won’t put the plate of seed mix out until he is done putting peanut butter on the rolls, just to keep things simple.


Ta-da! Homemade treats for the backyard critters!

Now for the installation… really easy to do! Just slip the bird seed toilet paper rolls onto the branches of trees. I tucked ours into areas that would be protected from snow, and on branches that would be easy for birds to perch on and eat from. Once we had them hung on the trees, Sam & I sat in the backyard, listening to the birds and hoping that they would find our treats soon. Within a few days, the rolls were either picked completely clean (peanut butter and all) or the entire rolls disappeared (probably a squirrel or big crow made short work of ripping them off & dragging them back home).

This project is definitely on our list of things to do again! The supplies are things we often have on hand (if you have kids, I suggest you start an empty toilet paper roll collection), it was easy to do with a toddler without any frustration or tears, and clean-up just involved sweeping the kitchen a bit. Plus, it got us outside and into nature, probably the best benefit of the project! I’m sure all our feathered and furry friends were thankful for the surprise feast.
 FINALLY!! A tutorial. They’ve been so lacking on this blog, my sincere apologies. I always have the best intentions of trying to put them together to share with you, and then they get stuck at the needing-to-photograph-each-step stage or the needing-to-edit-things stage. But finally, here is one done & ready to share! A simple project to whip up, just in time for Christmas too! These DIY Candy Cane Ornaments were inspired by some yarn wrapped candy canes from Family Chic. I’ve added my own twist to them, of course, by adding an adorable button hanger! So let’s get crafting.

Here’s what you need:


Happy last-minute Christmas crafting!