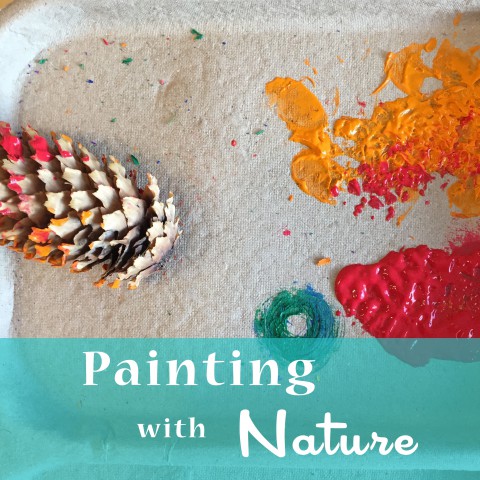
Sammy and I recently had quite the fun afternoon painting bits of his nature collection and then painting with bits of nature. For quite some time now, he has kept a nature box, where he stashes away things he finds on our daily adventures, from twigs & leaves to stones & moss. Feathers have their own special place. The actual box where he stores all of this is overflowing and so I knew that some arts & crafts projects were on the horizon.
We’ve been moving Sam away from nap time the past few weeks because his nighttime sleep was getting pretty crazy. He gets quiet time in his room instead of naps, which he is growing to like more and more. No naps in the afternoon can make for long days though. I recently whipped up this little activity for him to try out just to break up one particularly long afternoon.
Ok. So I have to admit that I actually did this project with Sam well over six months ago, back when he was a toddler. Somehow I didn’t get around to posting about it until now. Go figure.
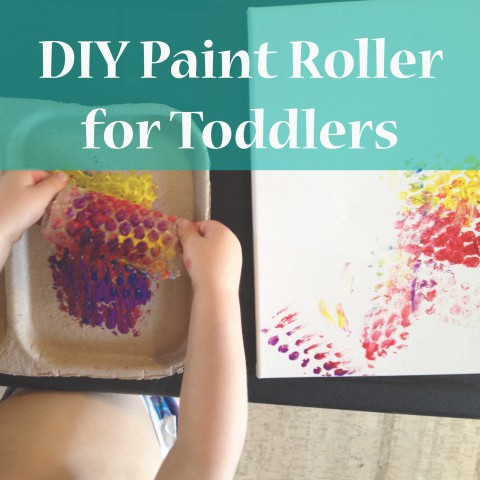
This is a simple project for you to make when your creative time with the kiddos needs a little refreshing. Sam was getting bored with the typical paint options, so I put together his own little paint roller to add some fun.
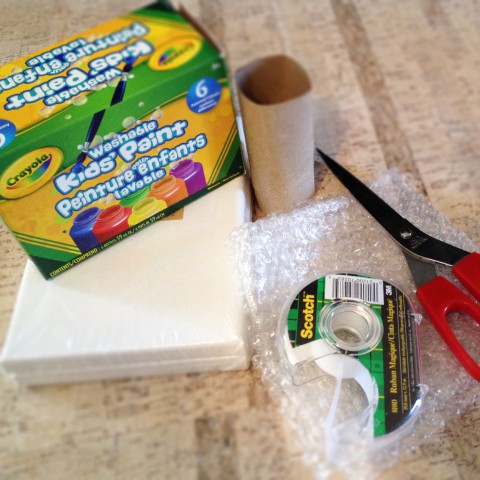
Here are the supplies you will need for this project:
empty toilet paper roll
bubble wrap
scissors
tape
paint tray (we have cardboard trays that I saved from something, but use whatever you prefer, as long as it is wide enough for the the toilet paper roll)
canvas (or paper depending on what you want to paint on)
washable kids’ paint
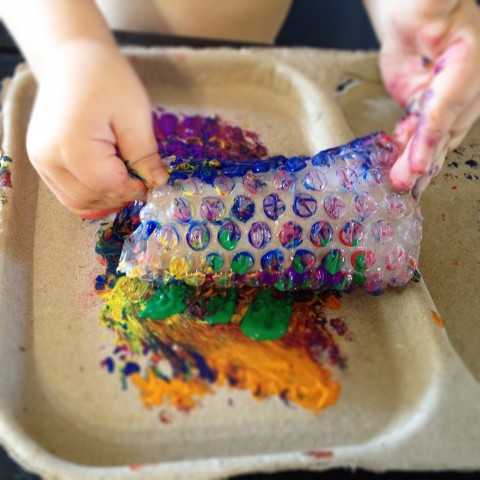
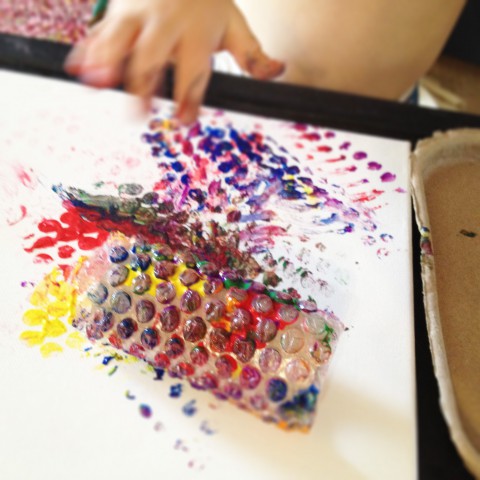
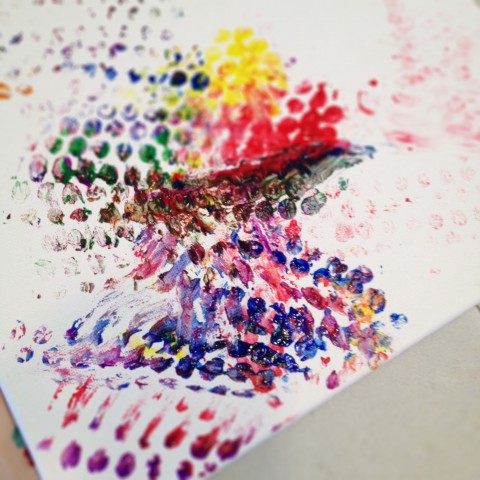
Simply cut a piece of bubble wrap large enough to wrap around the toilet paper roll. Fold a couple pieces of tape under the edge of the bubble wrap to secure into place. Using your paint tray, pour in your child’s choice of paint colours {Sam wanted every colour}.Once the paint is in the tray, it’s time to play. Have your child experiment with placing the paint roller in the tray to “pick up” different colours. When there is paint on the roller, have them try rolling it across their canvas.The bubble wrap roller creates very interesting textures. Your child might like rolling it across the whole length of the canvas, or they might enjoy using it more like a stamp. Let them explore with it.TIP: If colours start to get too muddy on the roller, simply give it a quick rinse and start over. Sam also enjoyed using some of his previously painted canvases and rolling new colours on them. They are some of my favorite paintings now.
After thoughts:
The toilet paper rolls are a nice size for the little ones to use, but you could also try empty paper towel rolls. And of course, I hope the the bubble wrap is inspiration for you to try other materials too. It’s fun for them to see what textures different things create. Here are some other DIY Paint Roller techniques to consider:
glue leaves (or other natural objects) onto an empty toilet paper roll
glue buttons onto an empty toilet paper roll (just thought of this one & really want to give it a try)
Also, just a note to mention, that at the same time I was writing this post, my friend Kerri was experimenting with bubble wrap painting on FABRIC!! You can see the results of her project on her newly started blog Soham Design.
Well, it’s July in Calgary, which means two things. One, summer is officially here. Two, it’s time for STAMPEDE!! Yep, I’m one of those crazy born and raised Calgarians who still loves to go to Stampede each year. This year is special because it’s the 100 anniversary of the Calgary Stampede and it’s the first year that Sam will get to go (not that he’ll remember). So to keep with the theme of things here in Cowtown, here is a button craft to bring out your Western spirit. This project is from artist Ann Wood, who’s work I have admired for several years. You can find the full tutorial here and the horse PDF pattern here. The horses are cut from cardboard, painted and then jointed together with thin wire & buttons. I love the look of a whole herd galloping across the wall! Ann individually names all her horses (and other creations). I’m thinking a herd of Buffy inspired horses might be in order. This is getting filed away into the “some day” project pile. It could definitely be fun to paint the horses with Sam when he’s older, don’t you think?