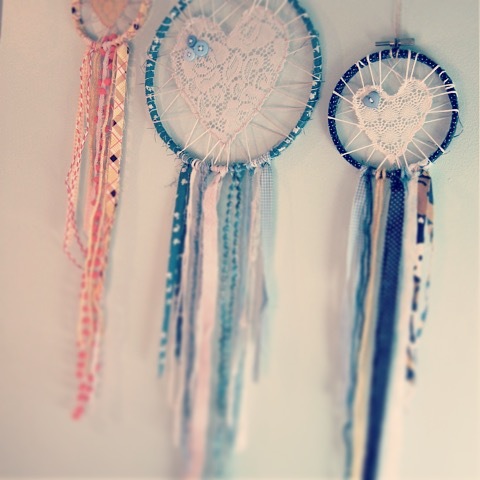
Around Town: Vixens of Vintage

Vixens of Vintage Spring Fling ~ Calgary Market

Yes, truly ecstatic to be included in this upcoming market! FINALLY! It’s been on the list of shows I’ve wanted to attend for quite a while, but could just never squeeze into the schedule. Well, to heck with that this year. I’m diving in and so very pleased that Vixens of Vintage has welcomed me!

(more…)

DIY Valentine’s Day Lace Heart Garland

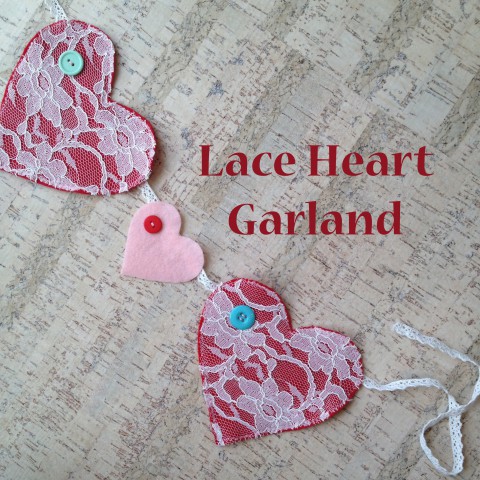
DIY Lace Heart Garland ~ Tutorial Blog Post ~ By Bubblegum Sass

Although we don’t typically do a lot to celebrate Valentine’s Day at our house, we do decorate a wee bit. It’s nice to have a few pretty things around the house in the dead of winter. I especially enjoy a pretty wreath on the door (I get so sad when I take down my Christmas wreath). A wreath on the door always makes me smile when I arrive home. This year, I decided to spruce up our twig wreath with a shabby chic inspired garland. Annnd… I even remembered to document the process thoroughly so I could share it as a tutorial with all my lovely readers! That’s my bit of Happy Valentine’s to YOU!

Now, the number of hearts to make for your garland is up to you (that’s why no material amounts have been given in the supply list below). I just made three (two large & one small) to symbolize my small family of three. Also, as you will see, I attached this short garland to a wreath. If you want a longer garland to hang, say from your fireplace mantel, then you will need to cut & stitch more hearts (you could alternate small & large hearts, some lace covered, some not).

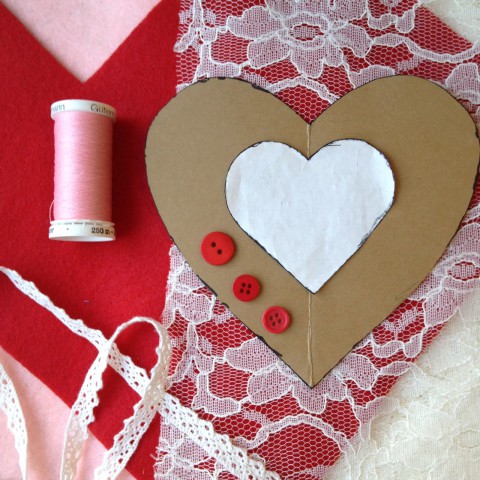
DIY Lace Heart Garland ~ Tutorial Blog Post ~ By Bubblegum SassHere are the supplies you will need for this project:

  • Bubblegum Sass Heart Template
  • Red craft felt
  • Pink craft felt
  • White or light-coloured lace
  • Buttons
  • Lace trim or ribbon (to hang hearts from)
  • Sharpie or fabric marker
  • Thread
  • Scissors
  • Hot glue gun
DIY Lace Heart Garland ~ Tutorial Blog Post ~ By Bubblegum Sass
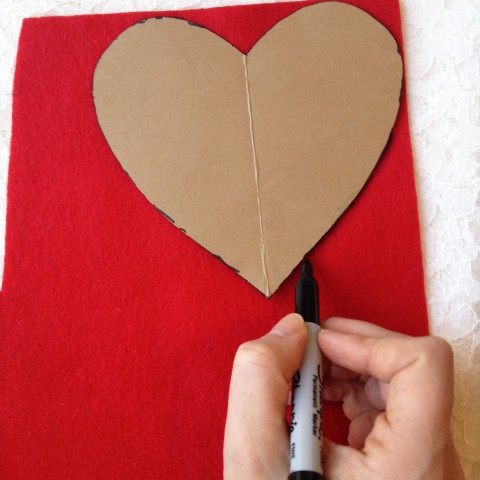
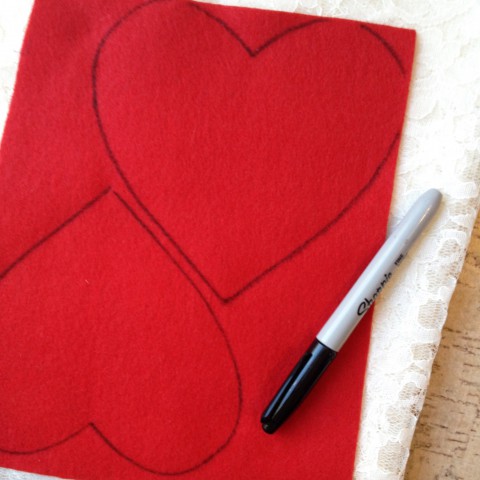
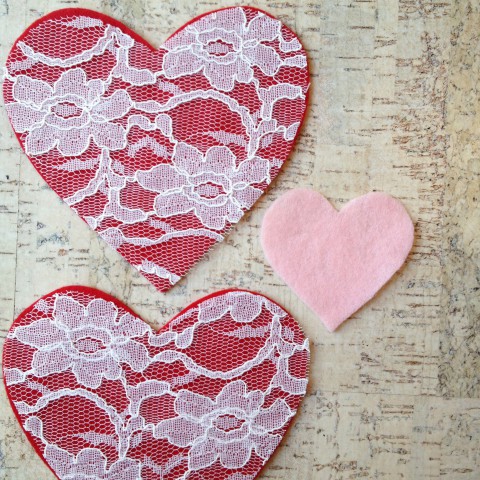
Print off and cut out the heart template (or use your own preferred heart template). Using a sharpie, trace around the template onto the felt.
DIY Lace Heart Garland ~ Tutorial Blog Post ~ By Bubblegum Sass
Trace out your heart template onto the lace, as well. *For perfectionists, see note below (in sewing section) for a tip on cutting out the lace.*
DIY Lace Heart Garland ~ Tutorial Blog Post ~ By Bubblegum Sass
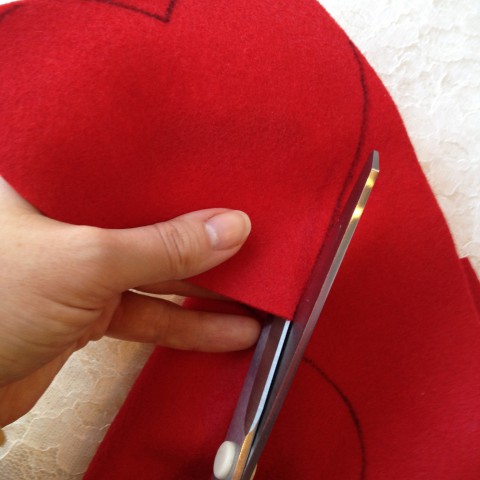
Cutting just inside the marked line, cut out each heart shape.
DIY Lace Heart Garland ~ Tutorial Blog Post ~ By Bubblegum Sass
Repeat above steps for all sizes of hearts in both felt & lace. For my short garland, I cut out: two large felt hearts, two large lace hearts, and one small felt heart.
DIY Lace Heart Garland ~ Tutorial Blog Post ~ By Bubblegum Sass
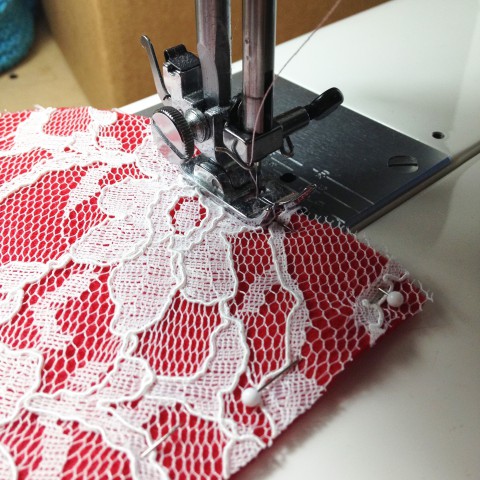
Lay one lace heart over a matching felt heart, lining up the edges. Pin into place, as the lace tends to stretch & move a bit. Using a sewing machine zigzag stitch, sew all the way around the heart. Repeat with remaining hearts that you wish to layer with lace & felt. *If you really want your lace hearts perfectly lined up with the felt hearts (I know there are perfectionists among us), then I suggest cutting your lace hearts out slightly larger than the felt hearts, zig zag stitching them on and then trimming the edge of the lace so it is even with the felt.*
DIY Lace Heart Garland ~ Tutorial Blog Post ~ By Bubblegum Sass
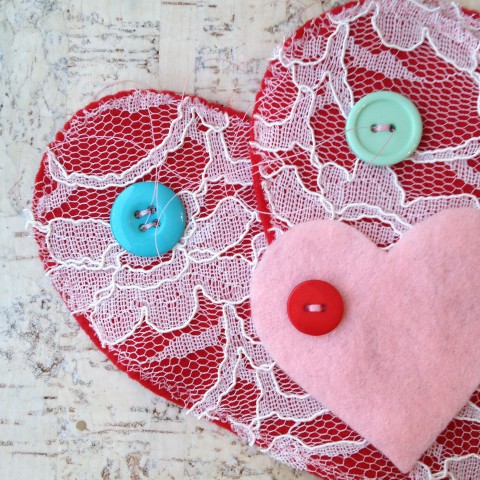
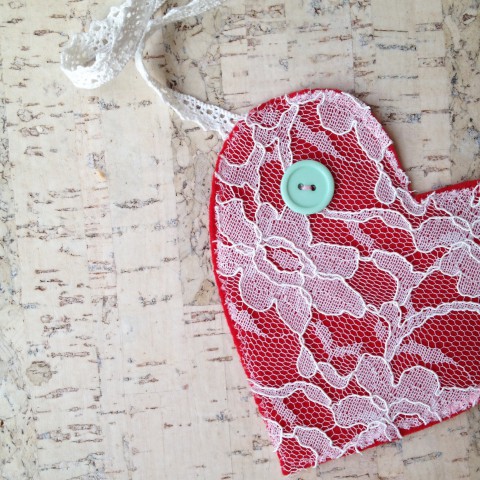
Choose your buttons and stitch onto each heart, either on the left or right upper corner of the heart.
DIY Lace Heart Garland ~ Tutorial Blog Post ~ By Bubblegum Sass
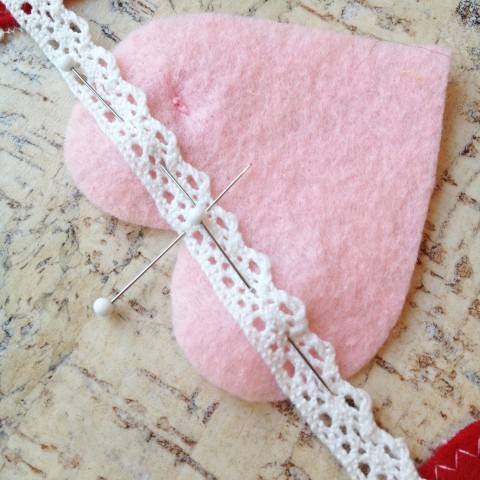
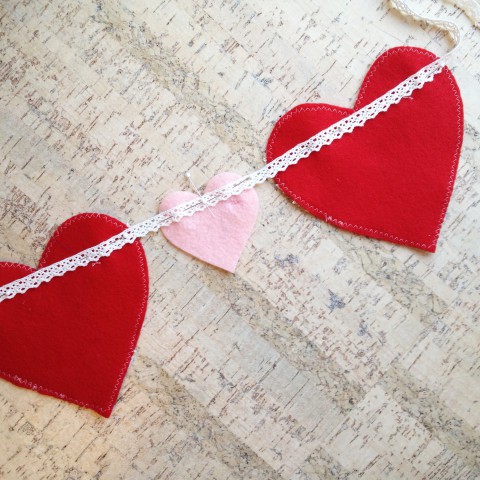
Measure and cut the length of lace trim/ribbon that you will hang the hearts from (mine was about one meter or 39″, but of course cut whatever length is going to work for your own project. A longer garland will require a longer lace trim/ribbon.) Fold this in half and mark the half-way point (with a pin). Position your center heart here and pin into place, along the back of the heart.
DIY Lace Heart Garland ~ Tutorial Blog Post ~ By Bubblegum Sass
Position remaining hearts along the lace trim/ribbon, pinning into place on the backside. Tip: Place your lace trim/ribbon on the upper part of the heart, or else the hearts tend to flip over once hung. Once pinned into place, use a hot glue gun to attach the lace trim, removing pins as you work. If you would prefer, you can stitch the lace trim/ribbon into place.
DIY Lace Heart Garland ~ Tutorial Blog Post ~ By Bubblegum Sass
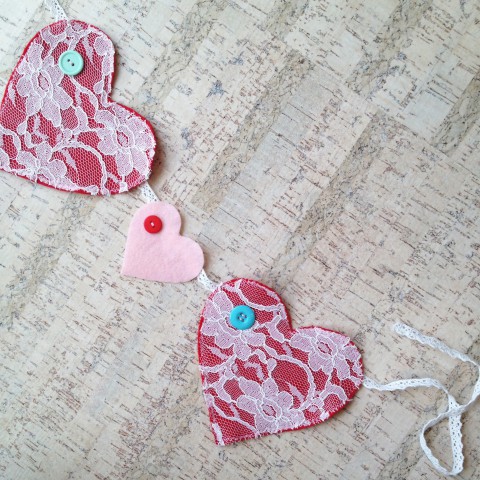
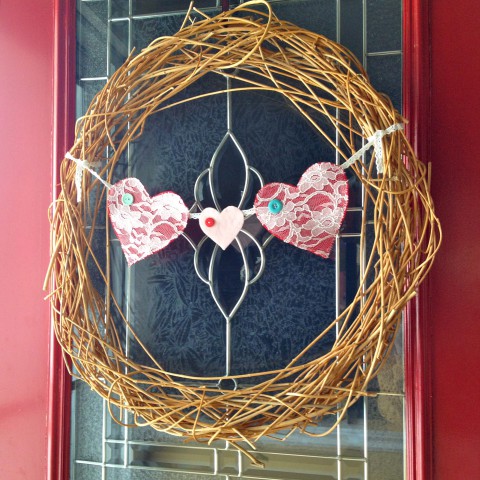
Voila! A pretty lace heart garland to hang. Besides using it to decorate for Valentine’s Day, I think it would be a sweet addition to a baby room. And of course, you could make it in any combination of colours.

DIY Lace Heart Garland ~ Tutorial Blog Post ~ By Bubblegum Sass

DIY Lace Heart Garland ~ Tutorial Blog Post ~ By Bubblegum Sass

DIY Lace Heart Garland ~ Tutorial Blog Post ~ By Bubblegum Sass
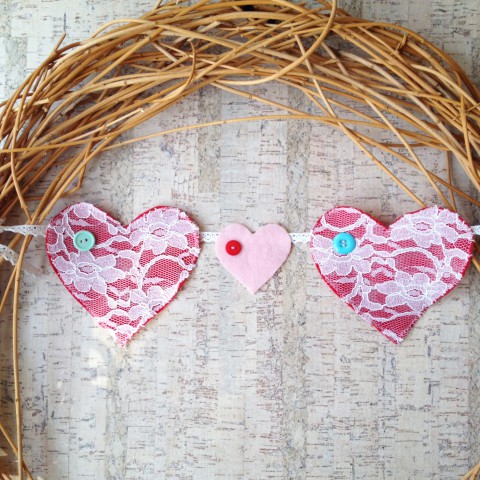
My completed project, with the lace heart garland attached to our twig wreath & hung on the front door. The wreath, by the way, is one that my hubby made for fun one year out of lilac bush branches.

In The Studio: Dyeing Lace Trims DIY

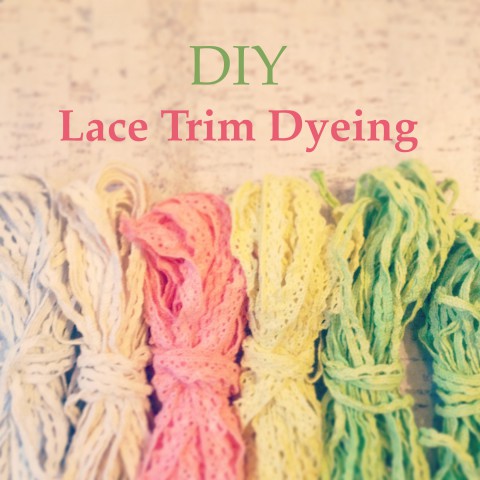
DIY Lace Trim Dyeing ~ Tutorial Blog Post ~ By Bubblegum Sass

I realized early on in my making of the Love Catchers, that I was going to need a steady supply of lace trim to decorate them. Now, I try to use as much upcycled materials & materials that I have on hand as possible, but it’s hard to resist some new embellishments. It is possible to buy ready-made colourful lace trims (which I have done), but I felt a bit limited by colour choices and widths. So often I would find a package of lace trims online that were the perfect colour (there’s hardly any trim readily available locally), but the package would contain short lengths of various widths, many too wide for the Love Catchers.

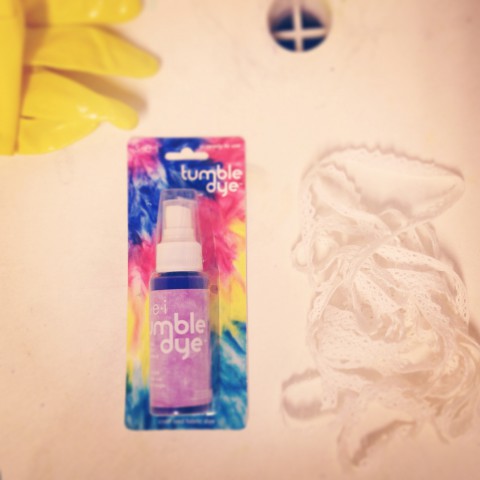
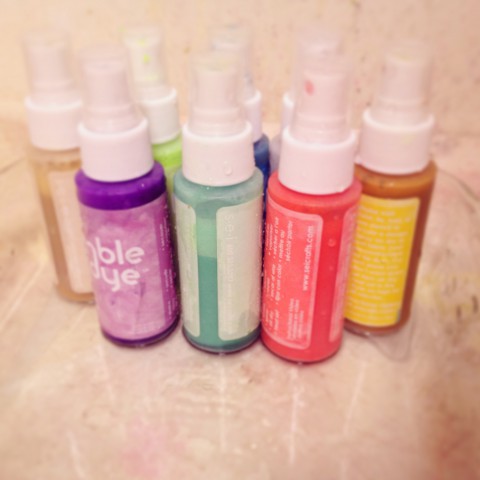
I finally decided that to flush out my selection of trims, I would purchase plain cotton, dyeable lace trim in large quantities and then dye them myself. Mostly I want to focus on making the Love Catchers themselves, and with limited time for all the crafting, I chose to purchase ready-made dyes to simplify the process. The supplies for this adventure were purchased online at the Dharma Trading Co. or were items I already had on hand. Dharma Trading Co. does offer natural plant dye options, if you would prefer to dive into that. I ordered a small selection of Tumble Dye. The fact that you could spray or dip dye with them appealed to me. Also, lovely selection of colours!

Suggested Supplies:

  • Dyeable lace trim
  • Bottles of Tumble Dye
  • Rubber gloves
  • Glass pan or large glass measuring cup
  • Flat plastic trays or baking sheets
    (For air drying the lace. I used the plastic lids from some storage containers)
  • Dryer


Hand Dyed Lace Trim ~ DIY Blog Post ~ By Bubblegum Sass

TumbleDyeColours

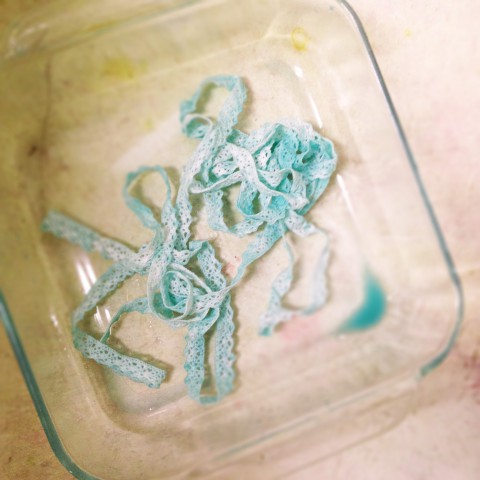
I wet the lace before applying any dye. Then I laid the lace out in the glass pan and sprayed it with the dye. Then I flipped the lace over and sprayed it a bit more. I didn’t pre-mix any dyes, but did combine some of the dyes simply by alternating which one I sprayed, to achieve desired colours.

Once enough dye has been sprayed on, wring the lace trim, allowing the excess water and dye to fall into the glass pan. Then place the lace trim back into the excess dye, rub it in a bit, flip the lace over and rub in the remaining dye. I did this step, to ensure there wasn’t any large white spots on the trim. *see note below*
Hand Dyed Lace Trim ~ DIY Blog Post ~ By Bubblegum Sass

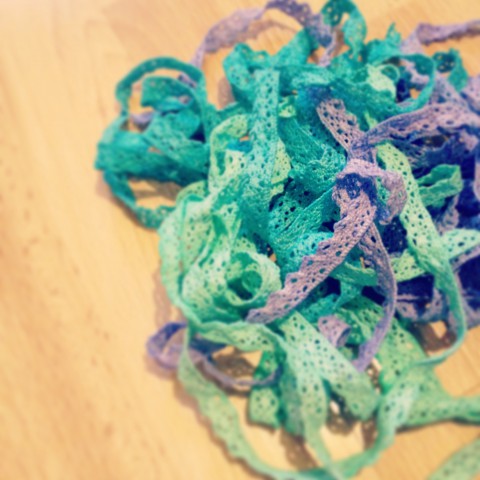
Once you’ve got the lace trim the colour & hue you want, lay it out on a plastic try or baking sheet and let it air dry completely. Once it’s dry, pop it into the dryer for about 20min (I just used our medium heat setting). So far I have just been using the lace trim for my Love Catchers, which do not go into the wash. According to the instructions, putting the dyed items into the dryer should set the colour, but I haven’t personally tried washing any of them yet.
Hand Dyed Lace Trim ~ DIY Blog Post ~ By Bubblegum Sass

Viola! Pretty, pretty lace trims in a rainbow of colours, ready to be made into even prettier things!
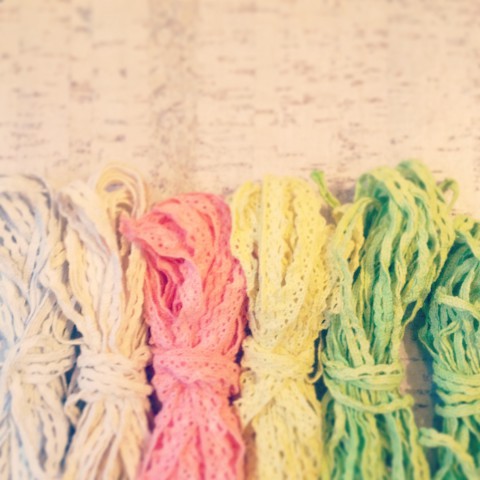
Hand Dyed Lace Trim ~ DIY Blog Post ~ By Bubblegum Sass

*If you wish to a achieve a much more even dye colour, just pour some of the dye into the glass pan, and do a dip-dye method instead of using the spray applicator. I prefer the spray applicator to achieve the vintage shabby chic look, but it’s up to you.*

Keep experimenting (I know I still am) and have fun with your dyeing projects!
In the Shop: Button Hair Clips

Busy, busy, busy, that is what I have been. Managed to get a bunch of button hair clip sets photographed and listed in the shop over the past 10 days. These include some of the very pretty Fancy Hair Clips that I started making with weddings in mind. I’ve had a bunch of those just sitting around for months & months. Tsk, tsk. Gotta get better about listing product. Doesn’t really do any good just sitting in a box in the sewing room, right?

Also, there was such interest in the Frozen-inspired clips, that I decided to make up some more and list those too. I kept thinking they were kind of seasonal because I originally made them with winter & Christmas in mind. Of course, when hubby pointed out that they looked like Frozen Hair Clips, I realized that little girl’s will likely long to be Queen Elsa year round 🙂 Check out the full selection of Button Hair Accessories in the shop.

Still more Love Catchers to come and longing to re-photograph some of the existing product to make the shop look more consistent. Also… keep your eyes open for a sale in the shop this spring. In hopes of clearing out old stock and putting together my curated collection, I will need to find homes for a bunch of items. Oh, oh, oh, annnnd hubby and I had a meeting the other night and hammered out the redesign of this blog!! YES! So you might notice some things look wonky over the next couple weeks or the site might actually go done for a short period, but all for the sake of good things! So much exciting stuff going on right now! Liking 2015 already.

In the Shop: Love Catchers

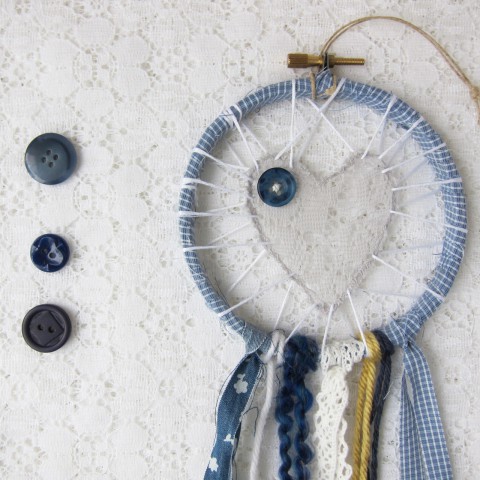
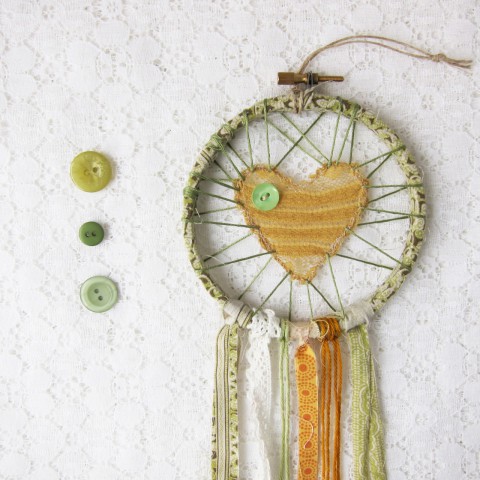
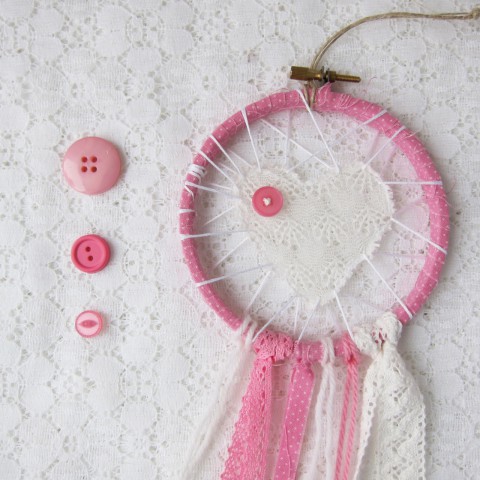
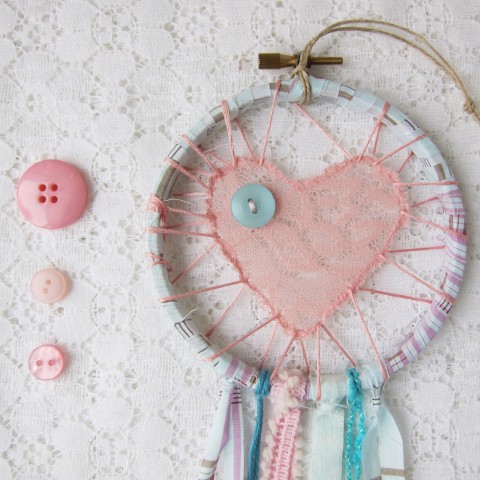
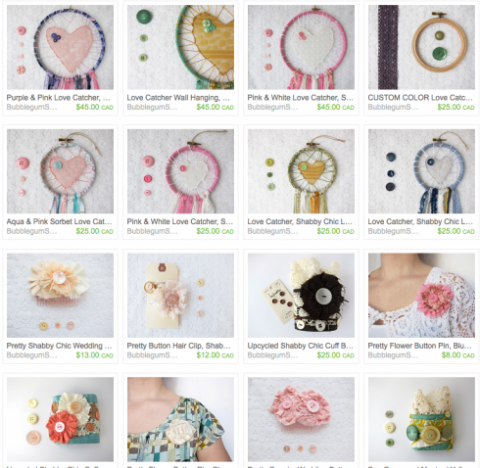
I have not been as productive this past week as I needed to be. Looking on the positive side of things though, I DID manage to photograph & list new items in my Etsy shop. Yep, you read that correctly. New items in the Etsy shop!!!! I’m just a tad excited about that! Feels good to FINALLY be able to share my Love Catcher beauties with the rest of the world! Here are some of the small 4″ Love Catchers that are in the shop right now (with more being made weekly):

Blue & Yellow Love Catcher ~ Bubblegum Sass

Green and Yellow Love Catcher ~ Bubblegum Sass

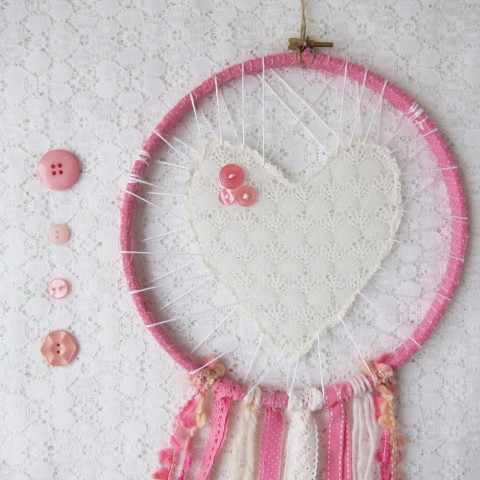
Pink and White Love Catcher ~ Bubblegum Sass

Pink and Aqua Love Catcher ~ Bubblegum Sass

There is also a small selection of slightly larger Love Catchers. The ones below are 8″ in diameter, but I make up to 14″ (and would love to try a super-duper large one sometime… just picture a hula-hoop sized one… craziness, I know, but I still want to try).

Large Pink and White Love Catcher ~ Bubblegum Sass

Adding the new product to the shop also means, that my shop is starting to take on the look & feel that I REALLY want to capture with Bubblegum Sass going forward. I’ve had to take a hard look at my product lines and re-assess things. I’m getting closer to that curated collection that I’ve been pondering for two years now. TWO YEARS?! Actually, you could say it has been a process of FOUR YEARS. Four years of trying to figure out just what Bubblegum Sass is truly all about.

It wasn’t something that I could just sit down and decide, hammer out in a bit of brainstorming & write-up in a business plan. It has taken lots of trial and error; going too far in one direction and having to come back again. Of course, meanwhile, the rest of life happens (sometimes too much of it) too and constantly influences my work. There’s a lot of creative vomit that seems to have to happen before you can get to the really good stuff. Let me just say friends, I truly feel on the verge of the really good stuff right now. Hope you’re going to stick around to see how it all turns out.

Etsy Shop ~ Bubblegum Sass ~ January 2015

In the Studio: Love Catchers

In preparation for the Market Collective Christmas show on December 5-7th, I’ve been sneaking in a bit of crafting time here & there. Mostly in the evenings while watching a show on Netflix (most recently Veronica Mars, and now onto the latest season of Vampire Diaries). Hoping for a bit more time in my actual sewing room in the coming weeks. The Love Catchers are starting to pile up, and I’m feeling very satisfied with how well they are all coming together. So how about some pics and quotes to inspire your week?

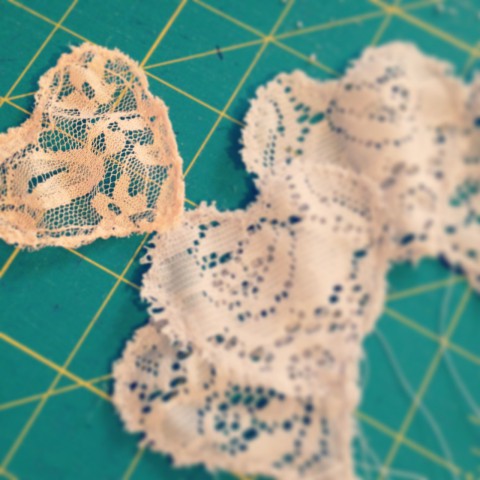
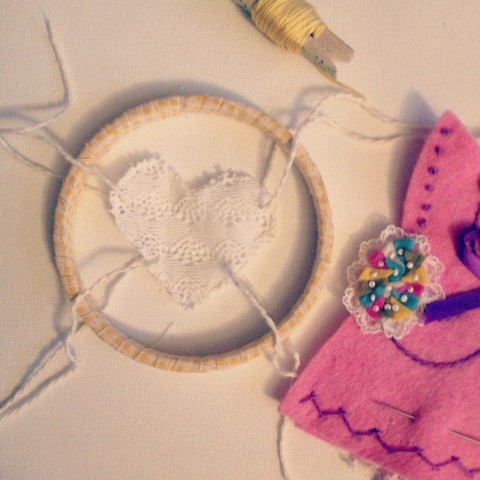
Love Catcher Lace Heart Prep by Bubblegum Sass

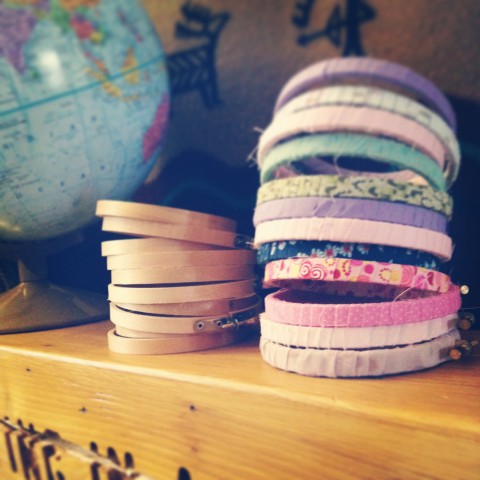
Love Catcher Hoop Prep by Bubblegum Sass

“Never give up on a dream just because of the time it will take to accomplish it. The time will pass anyway.” 

– Earl Nightingale

Love Catcher Heart Stitching by Bubblegum Sass

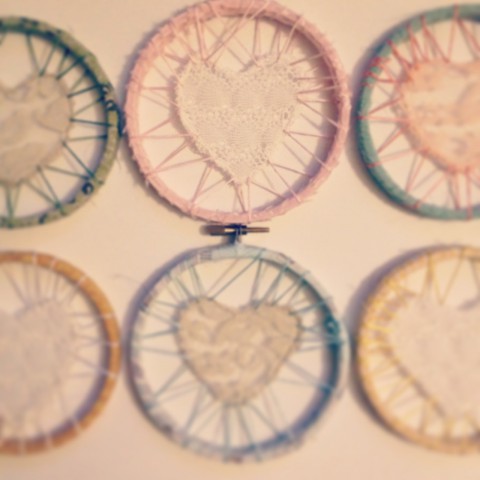
Colourful Love Catchers by Bubblegum Sass

Love Catcher Hanging Prep by Bubblegum Sass“When my heart is overwhelmed, lead me to the rock that is higher than I.”

– Proverbs 26:1

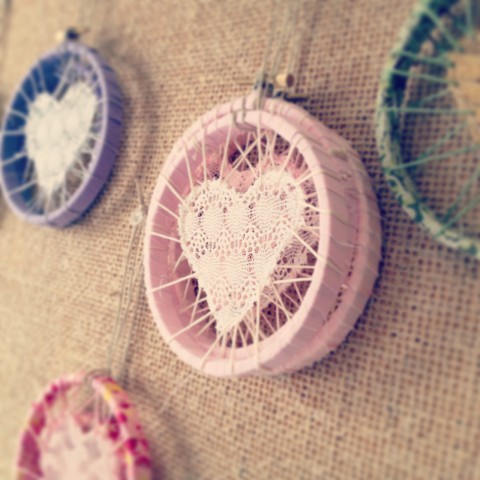
Shabby Chic Love Catchers by Bubblegum Sass

Blue Love Catcher by Bubblegum Sass“There are far better things ahead than any we leave behind.”

– C.S. Lewis

A Whole Lot of Pretty

This weekend, I was surrounded by such an amazing group of creative peeps! Every corner of the Boutique Wedding Market was full of pretty details, vintage finds, unique styling ideas, and handmade goodness. It was very inspiring! All the vendors seemed to be like-minded, perfectly quirky, talented folks. It was definitely a pleasure to be included in such an awesome group! The potential in that little space was CRAZY! Can you tell I’m just a bit jazzed by the whole thing? Here’s a peek at the show:

Pretty details by Kismet & Clover (event styling & design)

Reclaimed wooden signs by City and the Sticks
High quality creative photography by Chris Amat & Mike Seehagel
Unique vintage finds and restyled decor by Orange Trunk Rentals
Unique photography with tons of personality by Diane + Mike Photography

Jaunty accessories from by.Ginni

Stationary and design by Modern Pulp Design Studio
Ethically sourced floral design by Willow & Whimsy
The fabulously entertaining Penetration Attempt performed BOTH days of the market. If I had an event requiring live music, I would book them!
The aftermath of a DIY floral crown workshop offered by Willow & Whimsy. Messy is beautiful.

I realized after getting home, that I didn’t quite get pictures for every vendor. My apologies to Veden Woman (hair, make-up, and nail styling), Lannie Rae (baking & pastry artist), Bloom Invites (stationary and design), and Laura George Desgins (custom bridal wear).

Such a great show! I look forward to doing it again!