Button-spiration: Spring Flowers Pt.1

The official arrival date of spring has come and gone. In Calgary, that typically means we get more snow (no joke). This year is not much different, except that it is unusually cold out still. By now, the temperature is a little more mild, but the last few days have felt like full-on winter again. Le sigh. I am feeling VERY done with the snow & cold this year. I’m longing for those days when we can spend hours outside playing & discovering with Sam. Soon, soon, I keep repeating to myself. Well, not soon enough!

As we wait for the snow to fully melt, the ground to thaw, and a tiny hint of green to poke through, I thought we could embrace some simple spring flower button projects. This one is the first in a series of ideas, all collected on my Button-spiration Pinterest board. This cute egg carton button art project is brought to you by Mod Podge Rocks. She cut up a paper egg carton to form the flower blossoms, then had her kids paint and decorate them. When the blossoms were dry, they glued a button into the center of each. A bundle of pipe cleaners were tied with a ribbon to create the flower stems. Everything was then glued into place on a canvas (which she had painted beforehand, although you can now purchase coloured canvases from the craft store, if you’re short on time).


Sammy and I are using this flower egg carton idea to decorate a spring wreath. Hubby made a large twisted twig wreath several years ago, which we hang on the front door at this time of year. It needs a bit of colour to offset the current dreariness these days, but I don’t want to permanently attach anything to the wreath. I like the idea of having a wreath we can decorate a few different ways. I’ll get Sammy to paint & decorate the egg carton blossoms, then poke two holes through the bottom of each blossom & attach some yarn, so we can just tie them onto the wreath. Once the yarn is through the holes, we can cover it up with a button in the center of each blossom. I’ll try to remember to a) take pictures as we finish working on this and b) find the time to post them.

Until then, have fun playing around with your egg carton flower art!

Button-spiration: Stacking

This is such a cute idea! Little button stacking toys with wine corks. All I’m lacking are the self-adhesive velcro dots, otherwise, Sammy & I would be playing with these already. It’s the perfect project for this crazy mama who is determined to instill her love of buttons on everyone, especially her son. Find the full tutorial on the No Time for Flash Cards blog. If you’re looking for other button inspired kids games, check out the one I posted about back in July too.


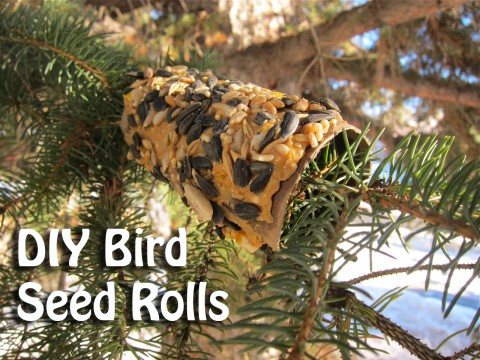
DIY Bird Seed Rolls

DIY Bird Seed Rolls by Bubblegum Sass

Our little man really does like watching birds. Two-years old and I’m already picturing him as a geeky birder. Plus, he looooves to look through all of his daddy’s seed catalogues, learning the names of plants and flowers. Definitely a future geek. Oh, I love him so!

We have several storybooks with birds in them. His two fave are Riki’s Birdhouse by Monica Wellington and Outside Your Window: A First Book of Nature by Nicola Davies. Sam has been learning about different birds & what they eat. So when I suggested one morning that we “make a special treat to feed the birds”, Sam was super excited! He ran to the front door with his winter boots in hand! Once I got him to put his boot back for the moment, I quickly gathered the few supplies we would need:

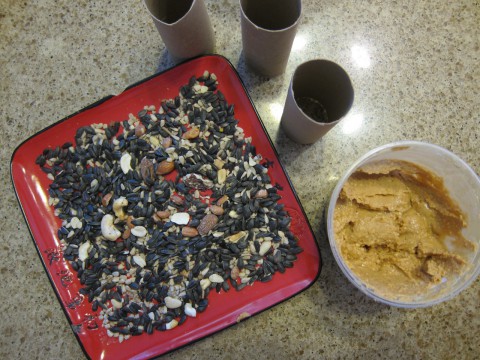
DIY Bird Seed Roll By Bubblegum Sass, Ingredients

  • Empty toilet paper rolls
  • Peanut butter
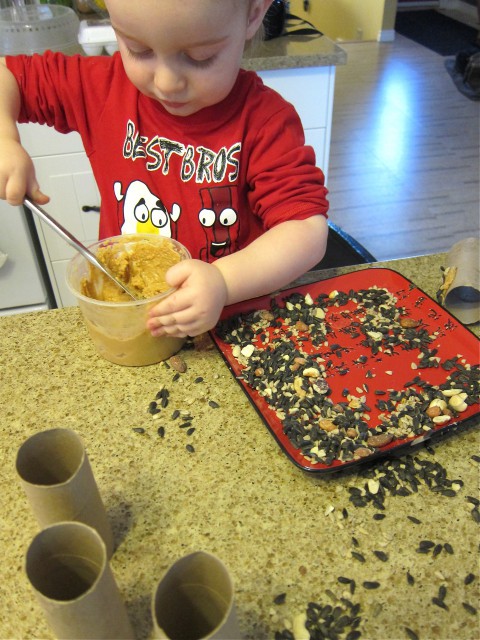
  • Plate (or baking sheet) with bird seed mix spread out on it (we used a variety of seeds, since I figured that both little & big birds would probably enjoy these, plus the occasional rascal squirrel)
  • Butter knife (the more dull, the better, if you’re going to let the kiddos to this craft)

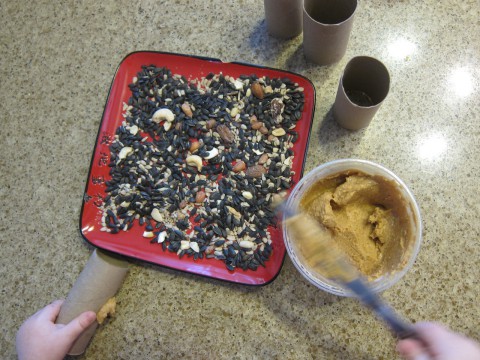
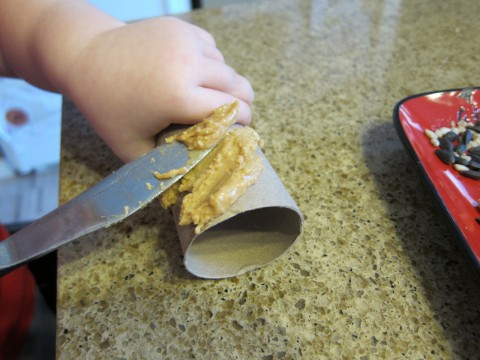
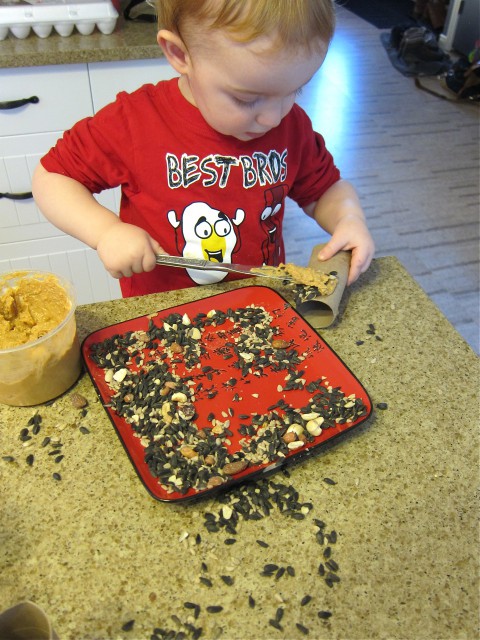
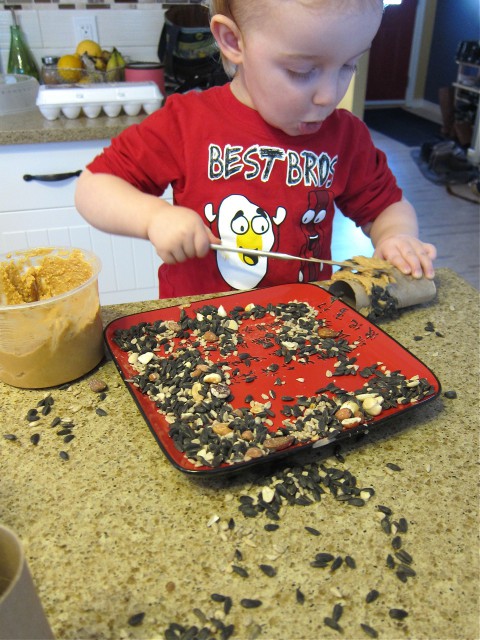
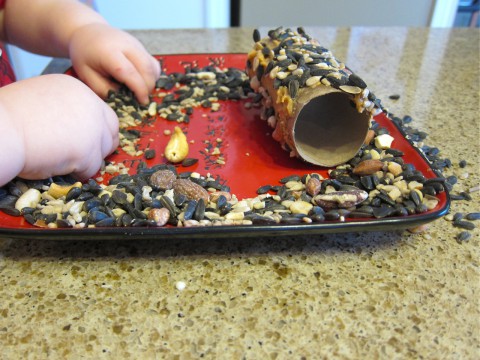
From there, the project is pretty straight forward. Spread peanut butter onto the toilet paper rolls (TIP: if you’re using a type of peanut butter that normally resides in the fridge, you might want to pop it into the microwave briefly to soften it). I figured Sam would enjoy rolling the toilet paper rolls through the seeds best, but then I forgot how novel it was that he was getting to use a knife. Needless to say, he loved spreading the peanut butter! One roll kept him busy for quite a while. Oh, and as with all toddler projects, just embrace the mess!

DIY Bird Seed Roll By Bubblegum Sass

DIY Bird Seed Roll By Bubblegum Sass

DIY Bird Seed Roll By Bubblegum Sass

DIY Bird Seed Roll By Bubblegum Sass

DIY Bird Seed Roll By Bubblegum Sass

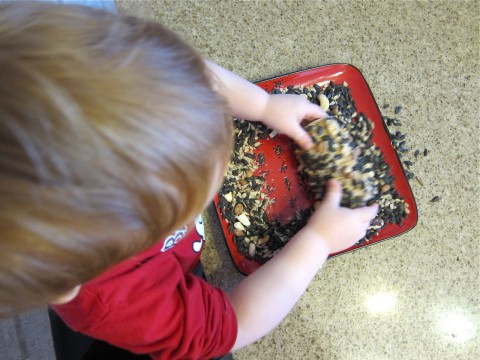
Once you’ve got peanut butter spread all over the toilet roll, gently roll it through your bird seed mix. Sam kept trying to roll his “partially” peanut-butter-covered toilet roll in the seed mix. Next time, I won’t put the plate of seed mix out until he is done putting peanut butter on the rolls, just to keep things simple.

DIY Bird Seed Roll By Bubblegum Sass

DIY Bird Seed Roll By Bubblegum Sass

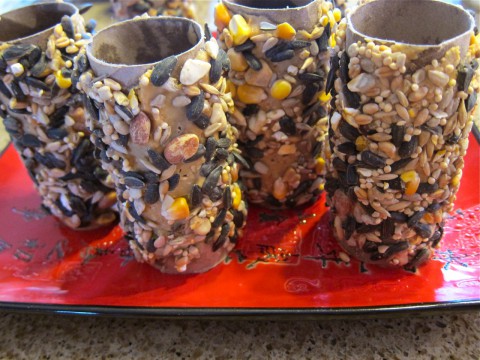
Ta-da! Homemade treats for the backyard critters!

Completed DIY Bird Seed Rolls By Bubblegum Sass

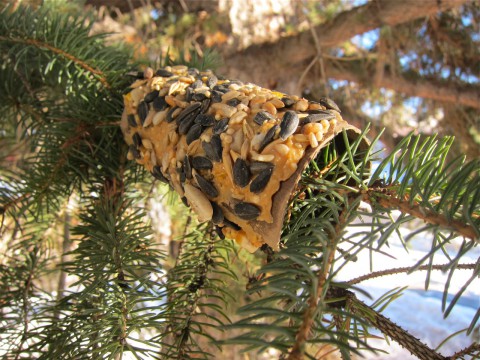
Now for the installation… really easy to do! Just slip the bird seed toilet paper rolls onto the branches of trees. I tucked ours into areas that would be protected from snow, and on branches that would be easy for birds to perch on and eat from. Once we had them hung on the trees, Sam & I sat in the backyard, listening to the birds and hoping that they would find our treats soon. Within a few days, the rolls were either picked completely clean (peanut butter and all) or the entire rolls disappeared (probably a squirrel or big crow made short work of ripping them off & dragging them back home).

DIY Bird Seed Roll By Bubblegum Sass, roll hanging on branch

This project is definitely on our list of things to do again! The supplies are things we often have on hand (if you have kids, I suggest you start an empty toilet paper roll collection), it was easy to do with a toddler without any frustration or tears, and clean-up just involved sweeping the kitchen a bit. Plus, it got us outside and into nature, probably the best benefit of the project! I’m sure all our feathered and furry friends were thankful for the surprise feast.

It’s In The Mail

Sam's Mail Art Postcards

Sammy and I have had a bit of fun lately making mail art for friends. I posted about my previous adventures in mail art, doing a postcard exchange with my art friends. It’s been years since all of that, but I continue to be fascinated with mail art, especially in light of all the postal changes coming to our Canada Post services (they’re phasing out home delivery of mail… we’ll all just have community post boxes). Maybe I’m just sentimental, but it makes me really sad to think of Sam’s generation growing up without knowing the joy of receiving mail right to your front door. Although, I realize that once we move out to the farm, we will likely have a PO box anyway. Does it make me old, that I still remember the joy of sorting the mail at home as a kid & discovering a letter or postcard from one of my pen pals living on the other side of the world? Who keeps pen pals anymore, when there’s Facebook? There’s still just something really wonderful about receiving a physical letter or card from someone, instead of a digital one or an instant message.

Sam's Mail Art Postcards 3

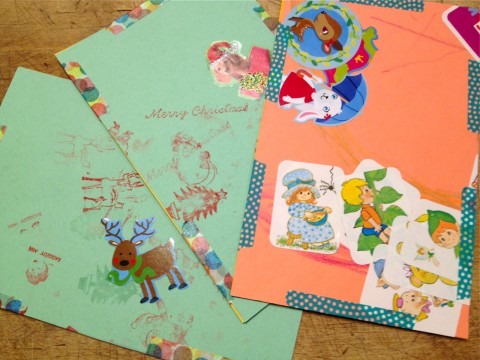
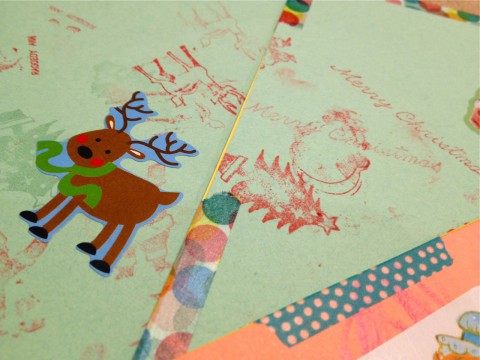
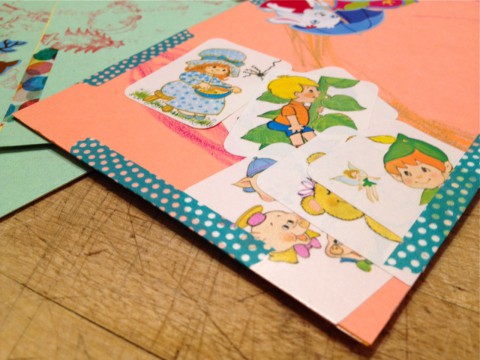
It with some of these thoughts in mind, that I put together little postcard making kits for two of Sammy’s dearest friends. I really meant to take photos of their kits before I gifted them, but le sigh, did not (I will add the postcard kits to the list of DIY projects/tutorials I want to share with you in the near future). One of Sammy’s friends has since moved to Ontario and we (ok, it’s mostly me at this stage) have loved receiving the colourful postcards from little Miss Summerlee. Sam is just reaching the stage when he will start to enjoy receiving the cards, after all, he now understands the concept of opening presents. And these postcards are really just little present that arrive in the mail. Sam finally returned the favor and got a few postcards off to friends before Christmas.

Sam's Mail Art Postcards 2

I used to glue the front & back of the postcards together, but that’s not exactly a toddler friendly activity to do. So I’ve opted instead to tape the postcard fronts & backs together with colourful washi tape. I also tacked them together a bit with double sided tape, which isn’t visible in the finished postcard. I do the cutting and taping, but Sam’s does all the “artwork”. He’s very fond of piling up stickers on top of each other. For these postcards being sent around Christmas, I also dug out some vintage Christmas stamps that my dad used to use. That was a slight mom fail, as I used some of my stamp ink, which is meant to be archival, and therefore not easily washable from little hands. Doh! Sam was a bit festive with red hands for the day, but it eventually came off once he soaked in the bath. Mom fails are a common occurrence in our home (and I know I’m not alone on these things).

Sarah's Mail Art Postcard

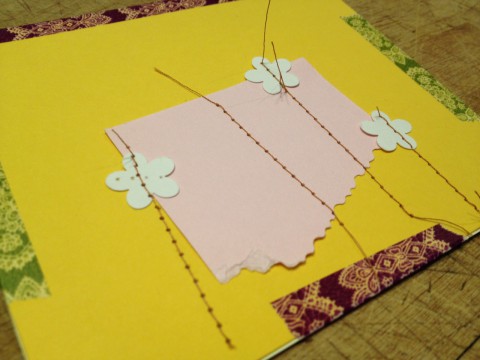
I also did a little mail art myself, with some shaped paper punches, scrap paper & the sewing machine. Simple, but cute, I think. It’s jut lacking a button. I blame all the crooked stitching on the fact that Sam insisted on sitting in my lap while I sewed. Not sure how long I’m going to be able to keep him from the sewing machine. That’s NOT another “mom fail” to come. He won’t be using it himself for years to come, but he does love to watch me & I can see the gears turning to figure out how it’s all working.

Don’t forget I keep a Pinterest board of inspirational mail art ideas. Do check it out, it you’re curious about some of the possibilities. There’s also an awesome book, which I should dig out & look through again, called A Good Mail Day by Jennie Hinchcliff. There’s also a tumblr feed to check out if you appreciate all the is associated with the “art” of real, honest-to-goodness mail. Enjoy!

Rainy days

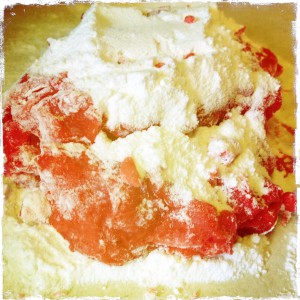
Homemade play dough in progressWe’ve had plenty of rainy days the past couple of weeks. That, combined with not spending a lot of our days at home due to the renos, has meant needing to create some new activities for Sam. This rainy day activity comes straight out of my own childhood. I used to spend hours, creating with play dough!

When I was a kid, we bought some name brand play dough on occasion, but my mom also used to make homemade batches of dough. There are lots of tutorials & recipes out there for making your own play dough. I decided to try the one from Modern Parents Messy Kids. The thing that appealed to me, was the use of jello packets for colour. Not only does the play dough come out quite vibrant, but it also has a fruity smell! Fun stuff!

I’ve tried making up two separate batches and the recipe works out pretty good. I did find that I had to add quite a bit more flour to the dough once it cooled & I started to knead it into shape. It recommends that you keep the dough refrigerated between uses and I sort of ignored that, but on days when the house warms up, the dough gets almost too sticky to use. So now I’ve started keeping it in the fridge.

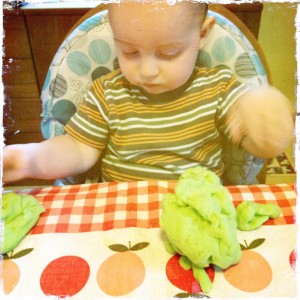
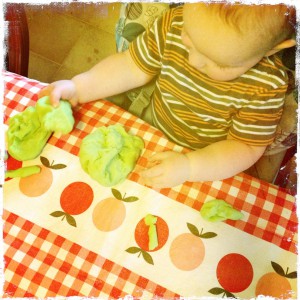
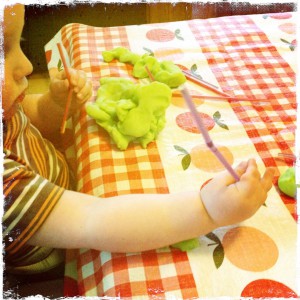
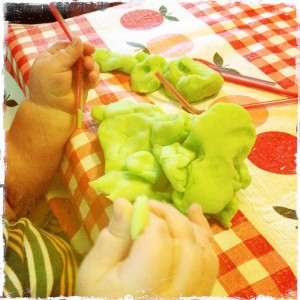
We made up batches of lime and raspberry. Sam got really into it the first day, squishing the dough, making piles, and ripping off pieces. I cut up some straws for him to stick into the dough and gave him a couple of plastic cookie cutters to use. The cookie cutters were mostly ignored, but he did enjoy the straws. We made aliens together and managed to kill off a good 20-30 minutes.

Sam playing with homemade play dough 2
Sam playing with homemade play dough
Sam playing with homemade play dough & straws 2
Sam playing with homemade play dough & straws

Looking forward to some more days of play dough making (lots of colour/flavour options on the horizon) and squishy fun. Think I need to start collecting some more “tools” (pipe cleaners, textured rollers, potato ricer, plastic knife, etc.)

Sam’s fort

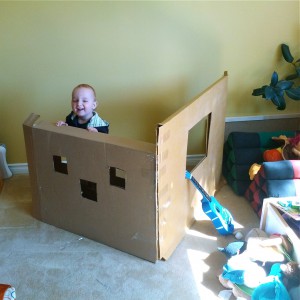
Sam in his cardboard fort

You know one good thing about kitchen renos? You end up with lots (and lots) of boxes. And if your kitchen is from Ikea, the boxes are all big flat boxes, perfect for building cardboard forts! After a few days of putting up with mom & dad being sick and crashed on the couch, little Sammy was pretty bored and needed something new & fun to enjoy. He was the one that gave me the idea, actually, as he pulled boxes out of the kitchen and started leaning them on each other.

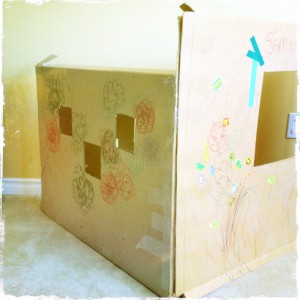
And so, with tape gun & marker & box cutter in hand, I set to work. Just a simple fort with two walls. Makes it easy for a clumsy toddler to get in and out of. I cut some little windows and cubby holes for Sam to stuff blocks through. Sam was right there by my side, helping with each step. We weren’t going for beautiful, just fun.

DIY cardboard fort

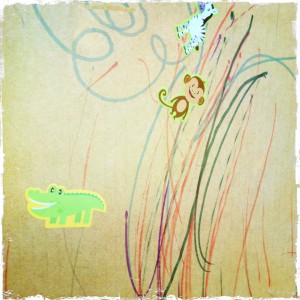
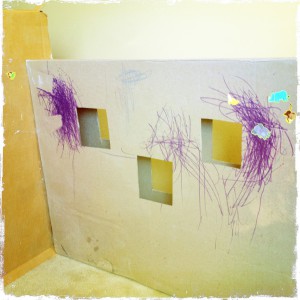
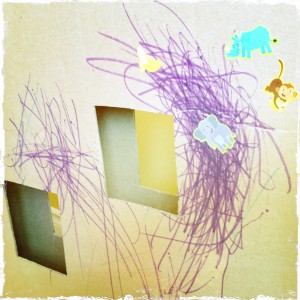
Sam thought it was great as is. Perfect for playing peek-a-boo. Then I handed him a felt marker… and then a booklet of stickers, and rolls of colourful electrical tape. Not sure who had more fun, Sammy or me? Purple was definitely his fav colour of the day.

Sam's drawing on cardboard fort
Sam's drawing on cardboard fort 2
Sam's drawing on cardboard fort 3

Sadly, not all the felt marker stayed on the box… some of it ended up on his clothes and face. Lets just say it was a bit of mom fail not to double check that the markers were washable (they weren’t). The stuff on his face came off after a few washings. No biggie. It was worth watching his imagination run wild for a little bit. I will be picking up washable markers the next time we’re at the store though.

Felt marker on Sam's face