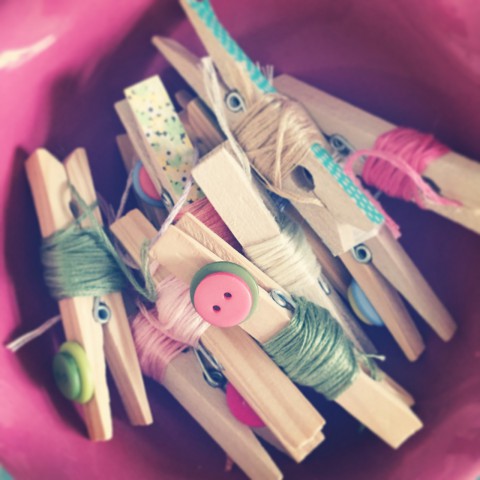
I was recently on a mission to tidy up my Love Catcher sewing box. It contains all the bits and pieces I need to prepare the embroidery hoops for the Love Catchers. I began pulling everything out of the box and sorting things into piles, which is when I quickly discovered a mishmash of embroidery thread pieces. They’re good lengths of embroidery thread (perfectly suitable to keep around), so I whipped out some clothespins and got to work on organizing them. When I posted a picture on Instagram of the nicely organized threads, folks were tickled {and surprised} at how a simple thing like a clothespin could make such a great thread saver. And so, I’m sharing it here with you. Pull out your sewing box and errant threads and let’s get to work!
This is the mess of embroidery threads I found in the bottom of my Love Catcher sewing box. They aren’t actually too tangled, but they just need some practical organization.
Here are the supplies you will need for this project:
wooden clothespins
washi tape
buttons
hot glue gun & glue
scissors
embroidery thread in desperate need of organizing
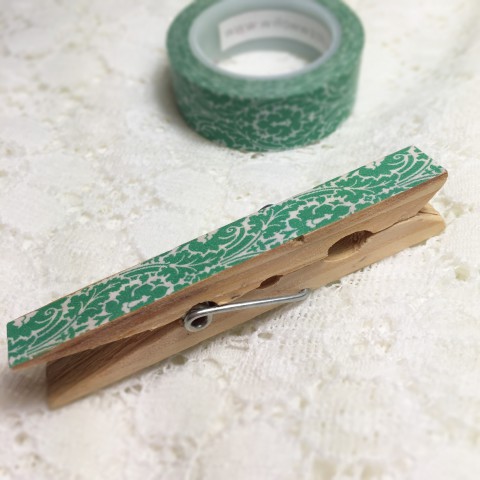
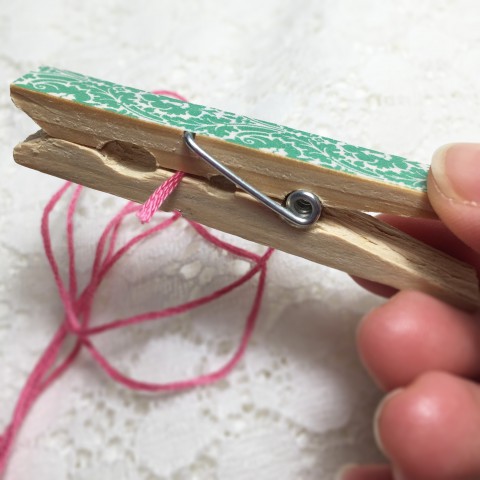
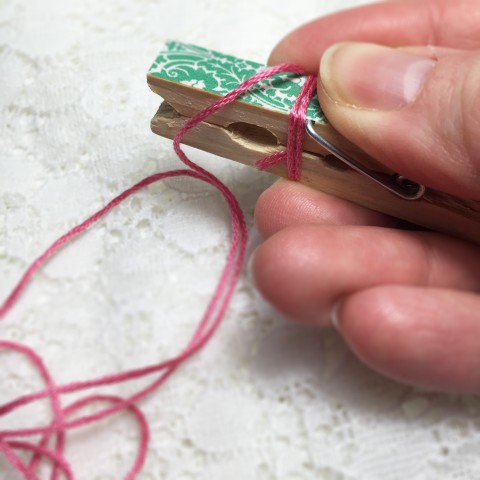
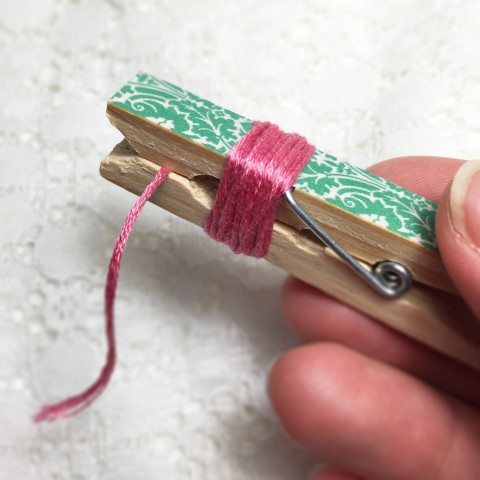
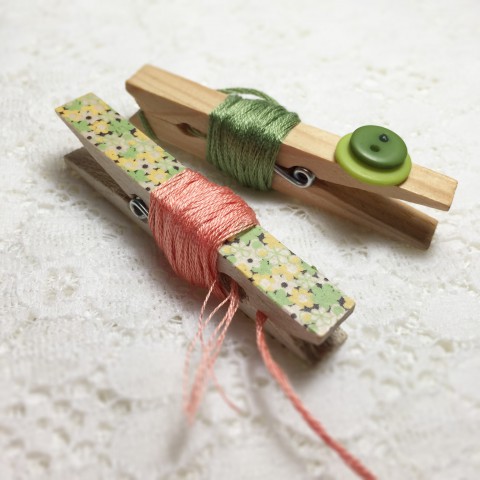
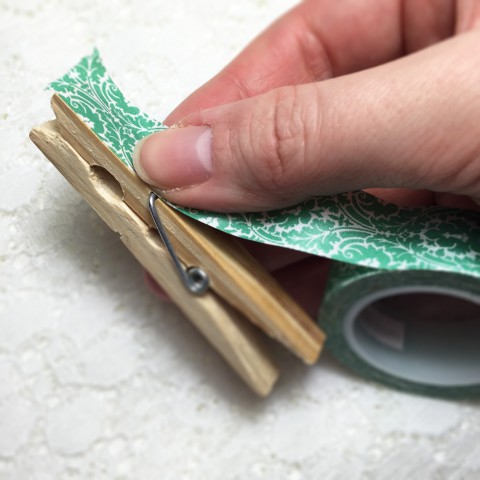
I like to decorate my embroidery thread savers in two different ways: with washi tape and with buttons.Simply stick a bit of washi tape onto the flat “top” of the clothespin. Press it down firmly at one end, and hold in place while you stretch it a bit. Move along the length of the clothespin doing this. I have found the washi tape sticks very well when you stretch it a bit.Using your scissors, snip the excess washi tape off along the sides and ends of the clothespins.You can decorate both sides of the clothespins or only one. Simple, but cute.To wrap your embroidery thread, take one end and insert it into the clothespin just under the hinge area. I leave a bit of a tail hanging out, to keep it from slipping out & coming undone while I wrap it.Gently, but firmly begin wrapping the thread around the clothespin.Try not to wrap the thread too close to the top of the clothespin, or you won’t be able to open it. When you near the end of your embroidery thread piece, simply pinch the end near the top of the clothespin as pictured (again leaving a bit of a tail). The washi tape decoration is nice because it also allows you to record the color code of the thread, if you desire. Just write it on the tape. Once the thread is gone, you can pull the tape off and use the clothespin for another thread color.If you would like to decorate the thread savers with buttons, just use a hot glue gun to attach the buttons towards the back of the clothespin. Once the glue is cooled off & set, you can wrap the embroidery thread using the method described above.Ahhhh… that’s much better. Don’t you just love when organizing craft supplies involves pretty things? A bit of domestic bliss indeed.
After Thoughts:
One of my favourite shops to purchase washi tape is Willow and Washi. In fact, that is where the washi tape used in this tutorial is from. If you’re on Instagram, they are a lot of fun to follow. I also admire the washi at Le Box Boutique, but I have yet to order from them. Do you have somewhere special you like to buy your washi tape from?