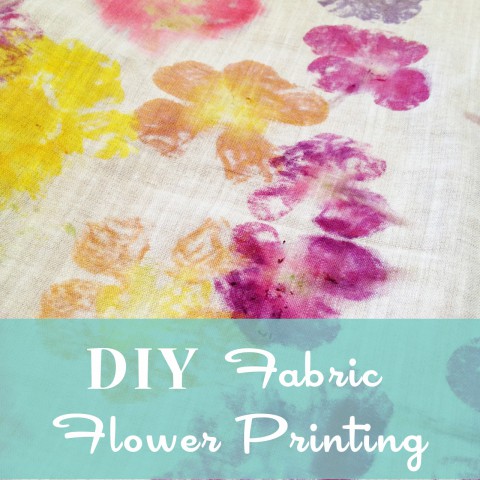
This is actually an activity that Sam and I did last spring, but I never got around to blogging about it. With gardens full of fresh flowers, summer is the perfect time of year to give this fabric printing technique a try. And you heard me right, this is something you can certainly do with your young child, as soon as they show an interest in using a toy hammer.
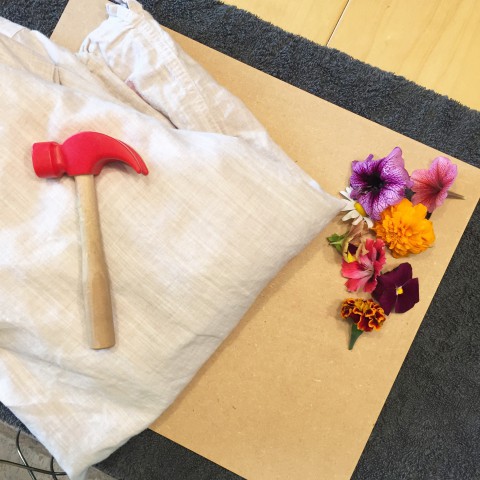
Here are the supplies you will need for this project:
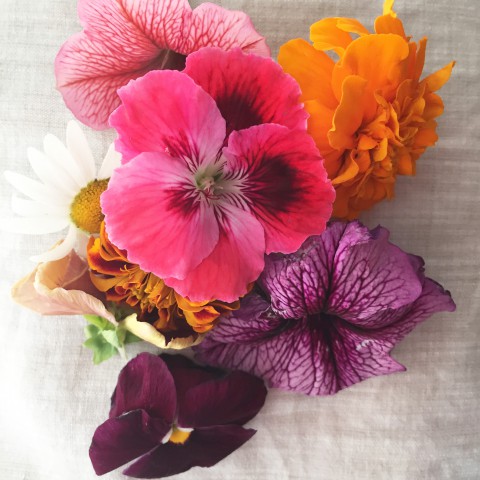
variety of fresh cut flowers or petals
plain, cotton fabric in a white, cream or light colour (1/2 yard piece would be good, especially if doing with a younger a child, although you can use smaller pieces of fabric once you get the hang of it)
a hammer (even a toy hammer will do, if it has a bit of weight to it)
a large towel (to protect table surface)
wooden board (to provide flat surface over towel)
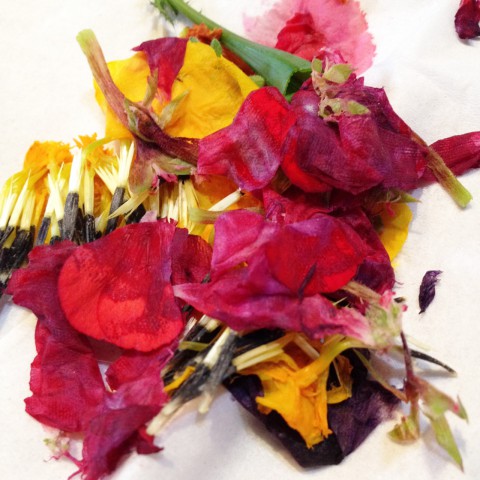
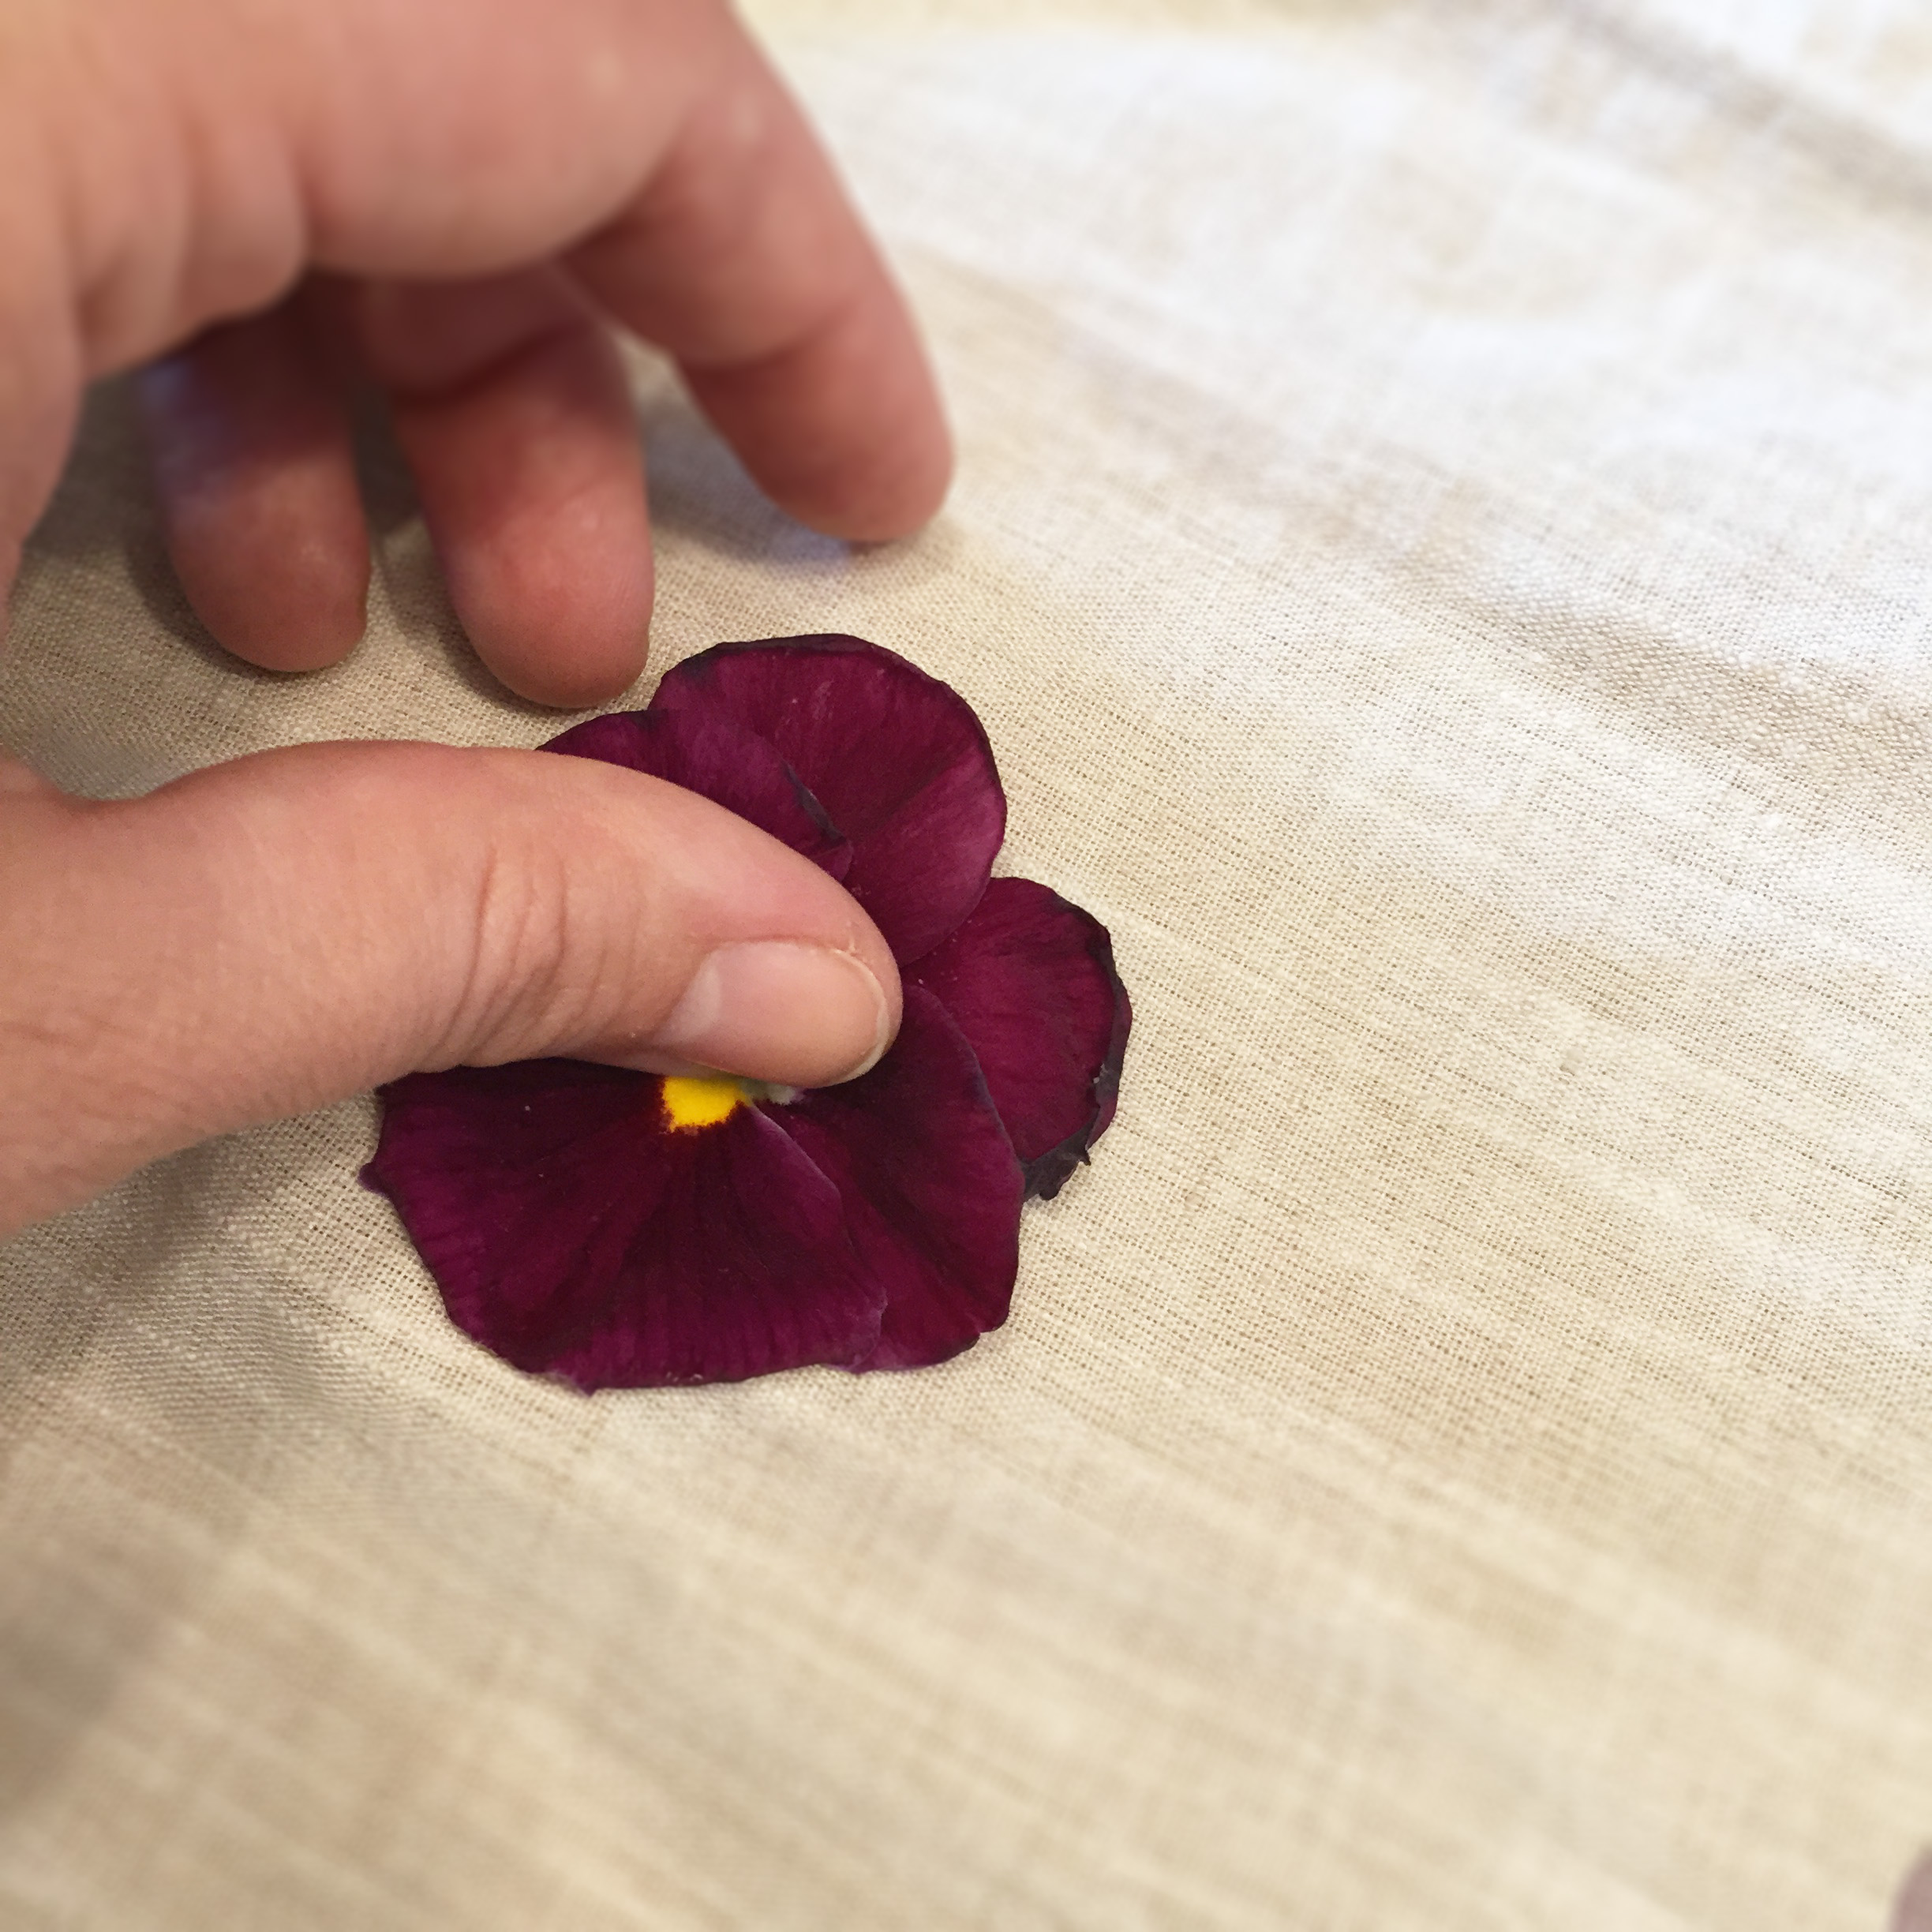
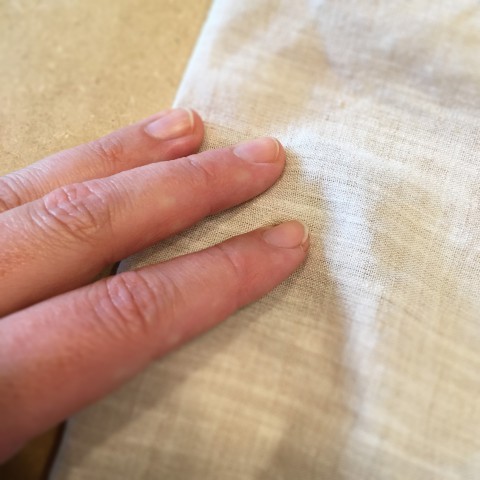
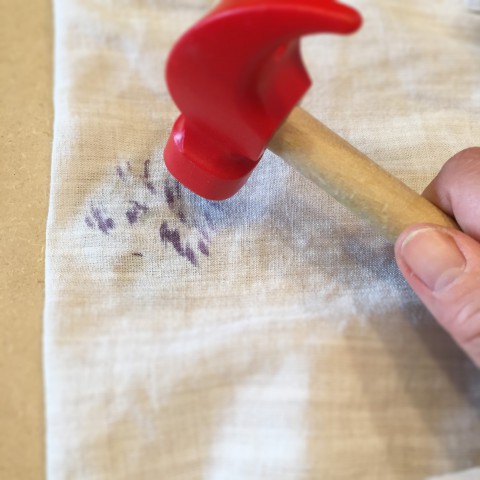
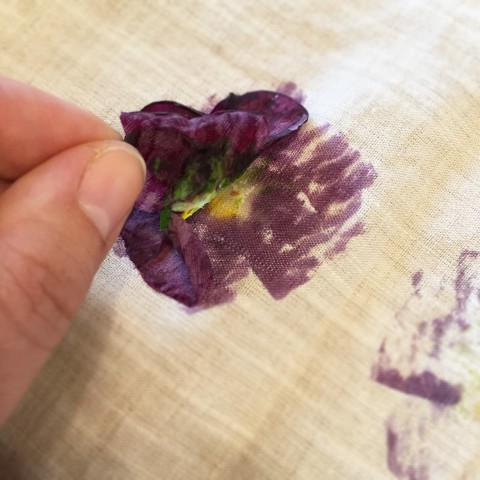
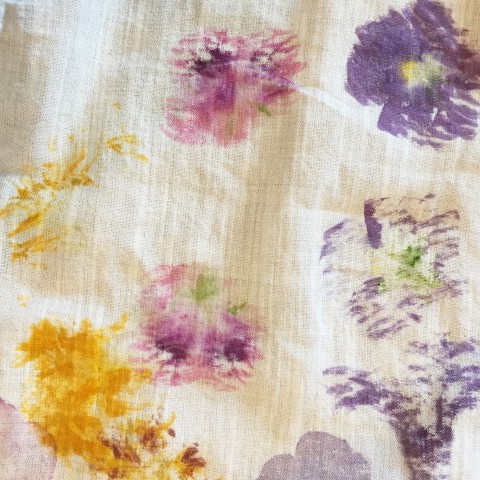
Collect a variety of flowers & petals from the garden. This is all about experimenting. You never know which flowers are going to create the effect you want. I grabbed petunias, marigolds, daisies, and violas.I folded the towel up on our table and then placed the wood board on top. This provided a good surface to hammer on, while protecting our table.Place one flower down onto fabric. Press it down firmly.Fold fabric over top of the flower, so that the flower is sandwiched in between two layers of fabric.Begin to slowly hammer.As you hammer, a flower impression will begin to appear. Make sure you hammer the entire flower surface.Once you’ve hammered the entire flower, gently fold the fabric back.Gently pull the remaining flower off the fabric.You end up with two flower impressions on the fabirc: one darker, more defined flower print and one lighter ghost print.You can play around with creating patterns on your fabric with the flower prints. I just placed mine randomly with the intent of cutting the fabric up to incorporate into other projects.I think a pretty wall hanging with some hand stitching would suite these flower prints. I’ve also had in mind to make a pretty bunting to hang on our front door in the spring. Lots of possibilities!I just popped the leftover hammered flower bits into our compost. If you think of a good project to use them up, let me know!
